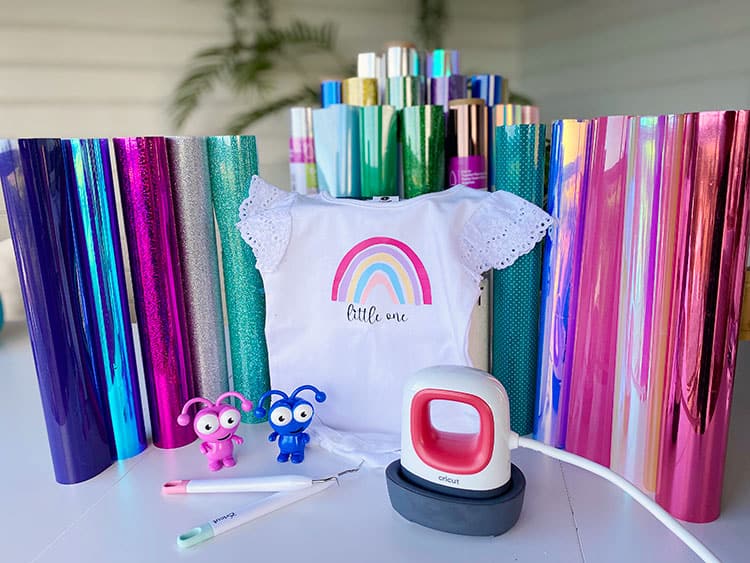
I love all things Cricut. I'm not going to lie, I'm a massive fan of Cricut! I love the Cricut Cutting Machines and I'm a massive fan of their products, especially the Cricut Iron-On Vinyl.
Honestly, you can take any garment or product and change it from drab to fab by simply adding some iron-on Cricut vinyl to it.
Wondering how to use Cricut Iron-On?
To be honest, there is a slight learning curve when it comes to working with iron-on and you might even mess up a few products whilst trying to get the hang of it. But don't worry, that is what this whole entire post is for.
So let's make a start with the Cricut Iron-On Vinyl tutorial.
Ultimate Guide to Cricut Iron On HTV
Below we have loads of information on what Cricut iron vinyl is used for, what different types you can purchase as well a list of the best places to buy the HTV vinyl.
1. What is Cricut Iron On Vinyl & What is it Used For?
Before we dive into how to use iron-on vinyl, it is really important to understand exactly what Cricut Vinyl Iron On is (and what it is not).
Cricut designed a special HTV (heat transfer vinyl) which is also known as iron-on vinyl. They made their own brand iron-on vinyl for Cricut machines, but of course, you can indeed use the Cricut Iron-On for other brand machines as well.
Basically, it is a type of vinyl that adheres to surfaces with the application of heat.
So you will either need an iron (not ideal), a Cricut EasyPress (for hobby-users), or a decent heat press (for advanced users) in order to adhere the vinyl to a fabric surface.
It is typically used to add beautiful vinyl designs to products such as canvas bags, t-shirts, cushions, umbrellas, curtains & more.
But you can get even more creative by applying it to wood, metal, and more!
Tip: We explain the differences between all the different Cricut Vinyl types in our guide here.
2. Different Types of Cricut Iron-On Transfer Vinyl
The next thing that you should know before we dive into the Cricut iron-on instructions, is that there are currently 7 different types of iron-on vinyl.
Some are easier to work with than others. We will outline which we recommend you should start off with, and which type would be more suitable for advanced users.
a) Cricut Iron-On Everyday
The Everyday Iron-On by Cricut is probably your go-to iron-on when you aren't sure which type of iron-on to use. This vinyl is so easy to use that you can use it on the widest range of surfaces – even wood!
Cricut Iron-On Everyday is a standard heat transfer vinyl that comes in 12 x 24″ pieces. It is currently available in 17 different solid colors.

b) Cricut Iron-On Lite
The easiest type of Iron On to work with is the Cricut Iron-On Lite. It is also the one that you will probably find that you use most often. It is ideal for T-shirts, team or club wear, bags, aprons, home decor, and more!
Cricut Iron-On Lite is the standard heat transfer vinyl that you can use. It comes in 12 x 19″ pieces and is available in 13 different solid colors.

c) Cricut Iron-On Foil
Once you are ready to step up your heat transfer game, why not invest a bit more money and grab some foil iron-on. Ideal for custom fashion and accessories, bags, pillows, parties, and home décor, and more!
It comes in 12 x 24″ pieces and is available in 12 different shiny colors.

d) Cricut Holographic Iron-On
After something that will add some sparkle and shine to your custom item? We love playing with the Cricut Holographic range.
It comes in 12 x 24″ pieces and is available in 5 different sparkly colors.

e) Cricut Glitter Iron-On
Now, how can you not be excited by anything glittery! We love this range of glitter iron-on, so once you get the hang of working with the Everday and Lite range, do make sure you try these out.
It comes in 12 x 19″ pieces (from Cricut.com) and is available in 19 different glittery colors.
As a tip, if you really find that you are LOVING this glittery iron-on, we highly recommend that you buy them in bulk on Amazon. You can grab rolls of 12 inches by 120 inches from there.

f) Cricut Patterned Iron-On
We LOVE LOVE patterned iron-on vinyl. I really feel that a pattern just takes your item to the next level of ‘custom-made'.
These beautiful Cricut Patterned Iron On's comes in sets with 3 sheets 12″ x 17″ (30.5 cm x 43 cm). Loads of different combinations to pick from though.
g) Cricut Sportflex Iron-On
As suggested in the name, this iron-on is brilliant for custom sportswear. The vinyl is thin and lightweight and has the ability to stretch and flex on activewear. Made for tech fabrics like polyester and nylon.
It comes in 11.8″ x 24″ pieces and is available in 8 different colors.

3. Where to Buy Your Cricut Iron-On Vinyl
Find below the best places to buy vinyl for Cricut machines.
a) Cricut Website
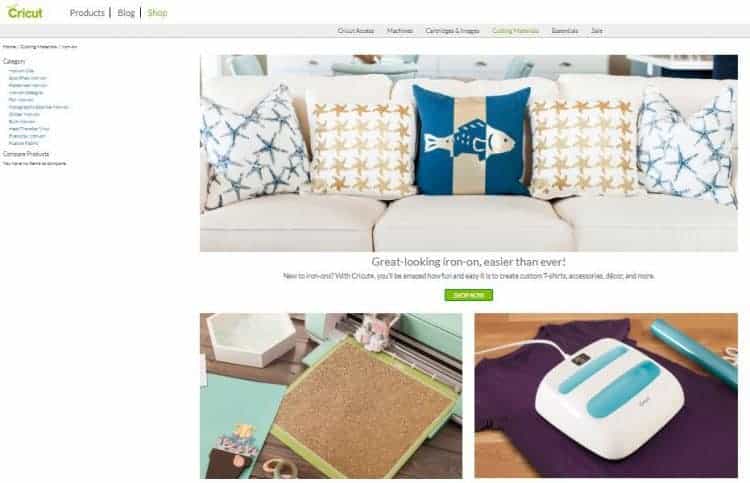
Of course, it only makes sense for Cricut to sell their own range. Look out as they often have sales and deals on their tools and accessories.
Here are two money-saving tips!
- Sign up for their newsletter to get a $10-off voucher to use on your first purchase of $50 +.
- Become a Cricut Access member to permanently save 10%-off products, receive free shipping on orders of over $50, and receive special access to members-only sales. If you are not a Cricut Access member you can read about the program here.
>>> Click here to see the Cricut Iron-On range and to check prices
4. Additional Items You Will Need to Work with Iron-On Vinyl
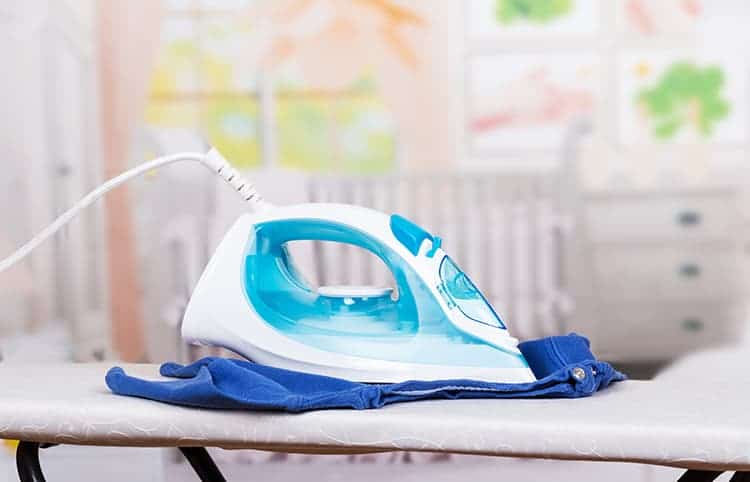
Now, together with your product that you would like to adhere the vinyl to, you will of course also need some iron-on vinyl, as well as a tool that can be used to apply heat. You won't be able to work successfully with iron-on vinyl without this!
You could use a normal iron, but I think that it makes life a lot harder than it should be, as a lot of the heat application is left to guesswork.
You can read our full post on why we prefer a heat press over an iron here.
In saying that, if you are unsure about whether you will be doing more than one iron-on project, then we highly recommend you stick to an iron, rather than investing in a new heat press machine.
If you plan on doing a lot of HTV projects, we do highly recommend that you invest in a heat press machine.
A heat press machine takes all the guesswork out of the heat application, as you can set the machine to the temperature that is required (according to the packet instructions).
If you prefer, you could start off with a smaller and more affordable heat-press, such as the Cricut EasyPress 2.
Read our post about which size EasyPress to purchase here.
But if you are more serious about vinyl crafts, we do suggest that you invest in a more professional heat press machine.
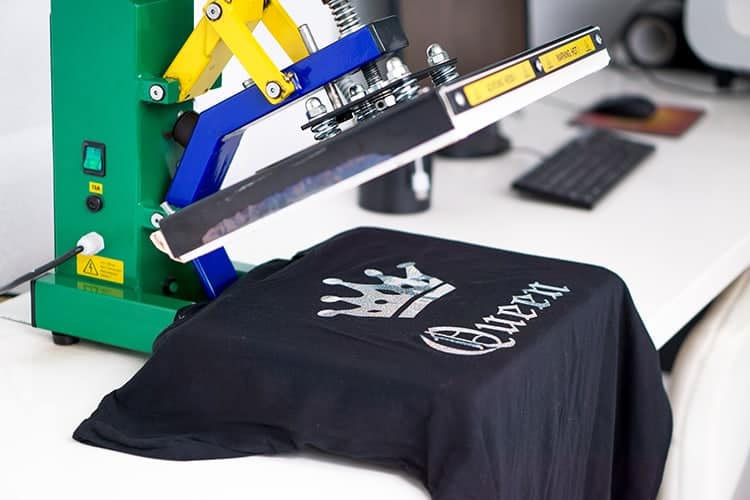
They are great as they have some really nifty settings and they do a fabulous job of applying heat evenly.
Click here to see our full guide that will help you find the best home heat press.
You will also need your Cricut machine, your Cricut cutting mat, a computer/laptop, and a weeding tool.
5. How to use Cricut Iron-On Vinyl Instructions
Okay and finally, now that you understand what iron-on vinyl is and you know what you need in order to apply it, let's have a look at the steps involved of how to actually use it.
If you have been browsing Cricut.com store whilst following along on this post, you would have probably realized that Cricut vinyl isn't really that cheap.
This is probably why you are here – to find steps on how to use the product – because you don't want to waste money whilst trying to figure it out by yourself.
1. Create Your Design
The first step – create your design. You can either find a design that has already been created or whip one up yourself.
Here is a great post about why you should grab a Cricut Design Space Membership.
So head on over to Cricut Design Space and pick your design.
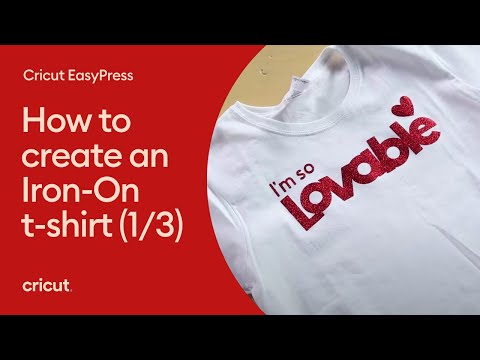
This video will help you with the creation of your design.
Please leave us a comment below and let us know what you made.
Hi, thanks for sharing. It’s help me a lot!