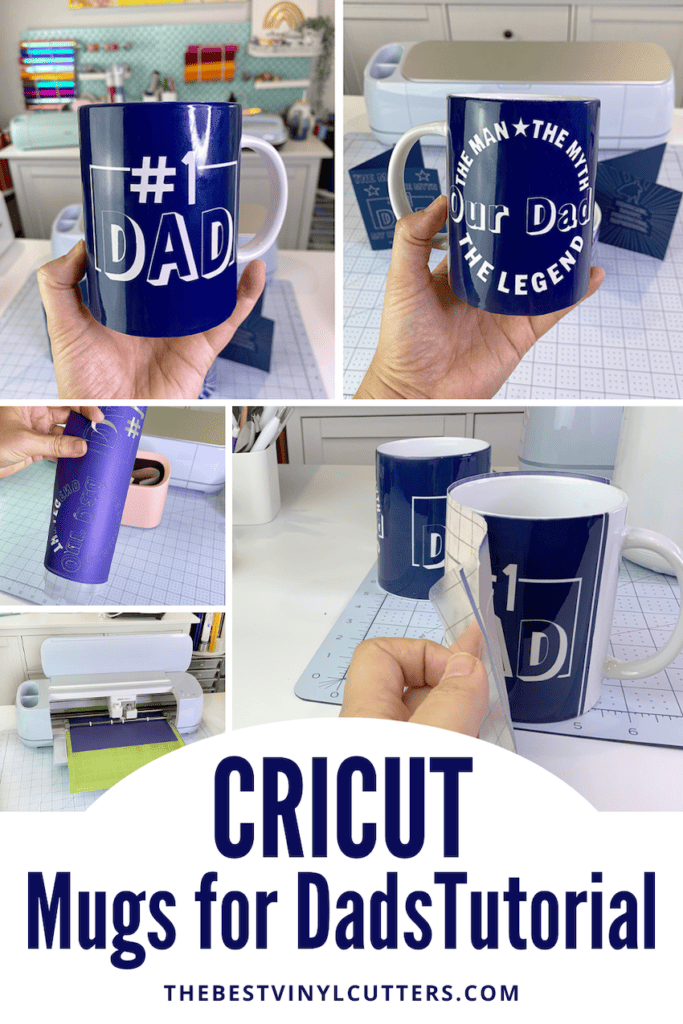
Have you ever wanted to create your own custom mugs for Father's Day? With Cricut Infusible Ink, it's easier than ever!
With Cricut Infusible Ink, you can create custom mugs that are truly one-of-a-kind.
In this tutorial, we'll show you how to use your Cricut machine and Infusible Ink to create beautiful, personalized mugs that you can enjoy for years to come.
We'll walk you through the entire process, from choosing the right materials to pressing your design onto the mug.
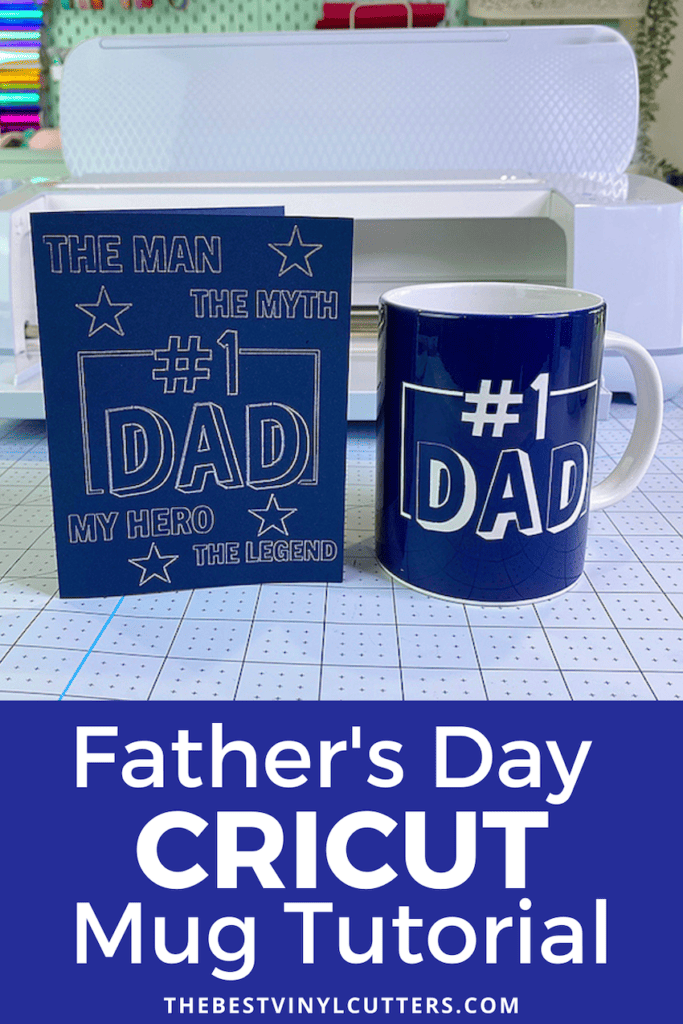
We even have a matching card that you can create using the foil transfer tool and some card stock.
So what are you waiting for? Let's get started!
Create a Quick & Easy Father's Day Mug with a Cricut and Infusible Ink
Follow the below steps on how to make a Quick and Easy Cricut Infusible Ink Mug for Father's Day. All you need is some Cricut Infusible Ink Transfer Sheets, a Cricut Mug Press, and Cricut Mug Blanks.
Supplies Needed:
- Cricut Infusible Ink Sheets
- Vevor Mug Press or you can use the Cricut Mug Press (or a mug press like this)
- Cricut Machine (I used a Cricut Maker 3)
- Cricut StandardGrip Cutting Mat
- Heat-resistant ceramic mug or other compatible Cricut Infusible Ink mug blanks
- Heat Resistant Tape
- Lint roller
- Butcher Paper (comes in the box with your transfer sheets)
- Scissors, Tweezers & Weeding Pick (you can also get all these tools in the Cricut Basic Tool Set)
Step 1: Customise Design In Design Space
Detailed below are the step-by-step instructions that you can follow to make this exact design for your Father's Day Cricut Infusible Ink Mug.
- Open your Cricut Design App.
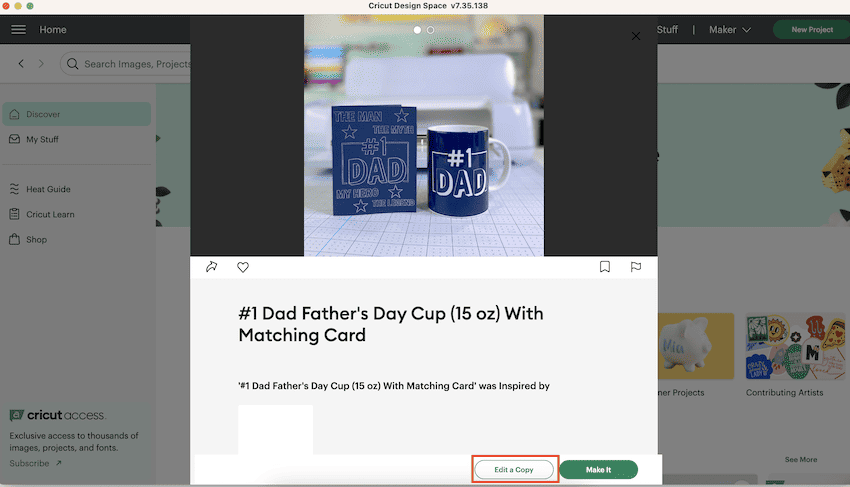
- Click here to find the project in Cricut Design Space.
- Click “Open in App” to start using the project.
- Make sure to tick to Agree to Cricut Terms of Use.
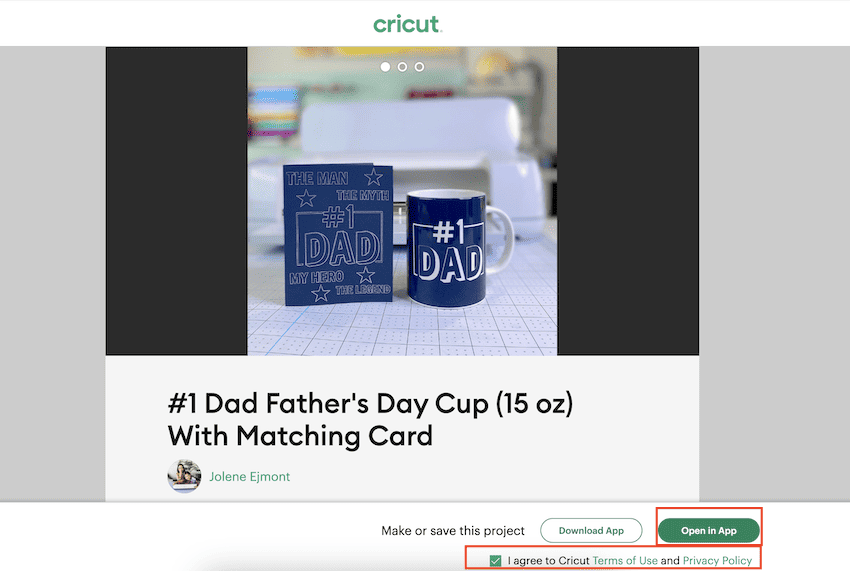
- Click on “Edit a Copy” as we will need to make the mug design then the card design.
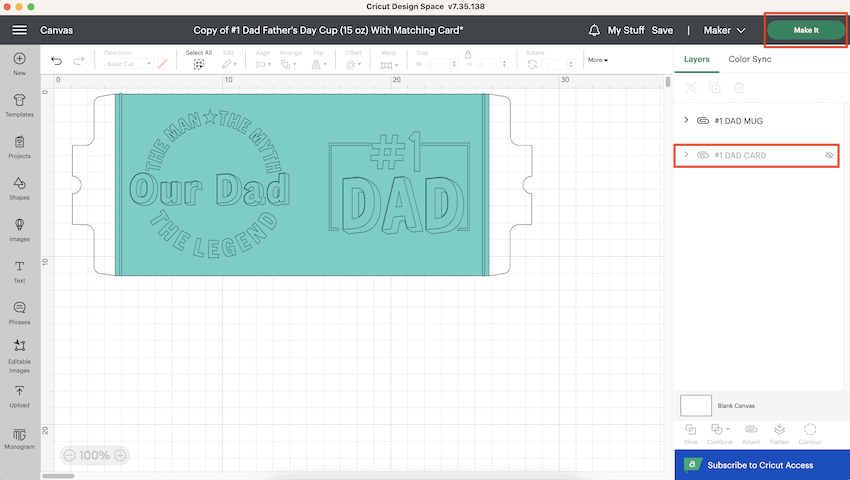
- The project will now open in Cricut Design Space.
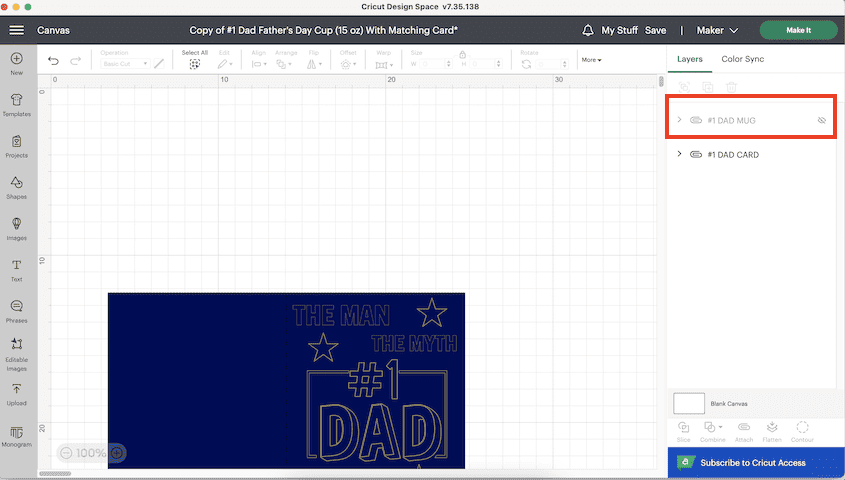
- Click on the small expansion arrow for each design to uncollapse the layers for each design.

- Now click on the “Eye Icon” next to the card design called “#1 Dad Card” to hide the card design whilst we make the mug.
- Select the “#1 Dad Mug” Layer.
- Turn on your Cricut machine.
- Click on “Make It” to send your Mug Design to the cutting mat.
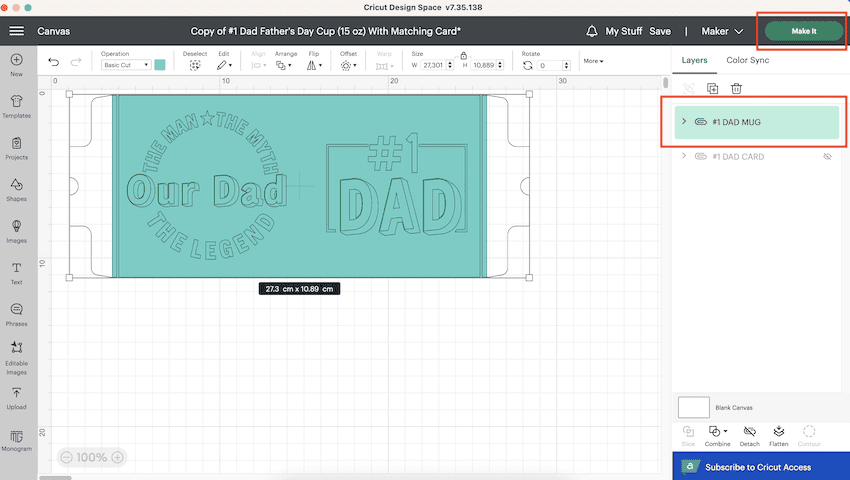
- The mug design is now on your cutting mat.
- Click on “Mirror” to mirror the design before cutting.
- Click on “Continue”.
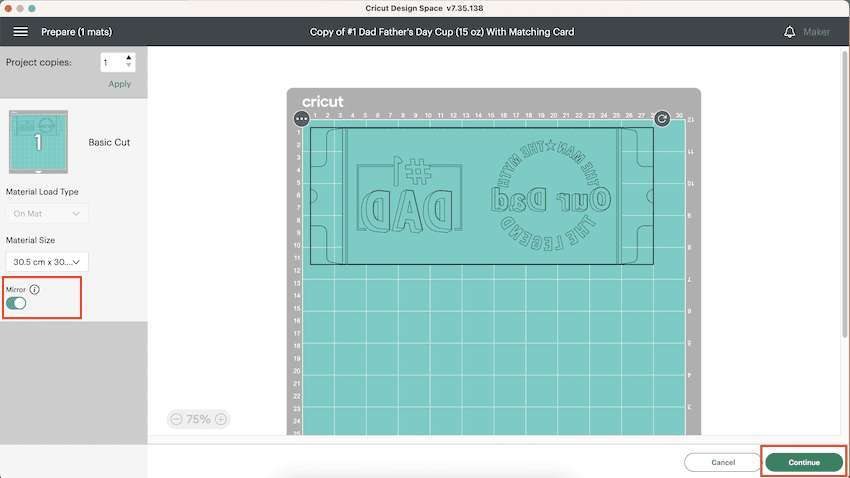
- Select “Infusible Ink” for your material type.
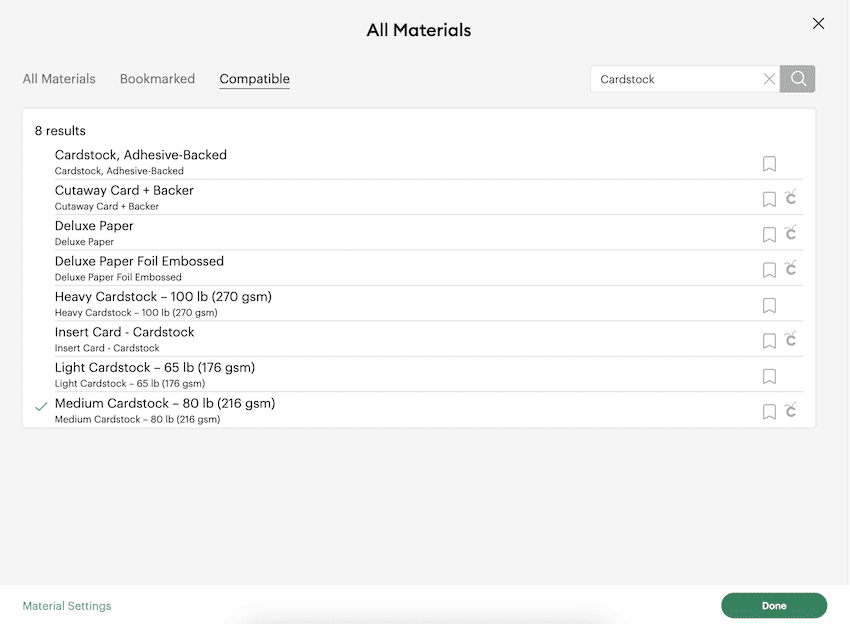
- If you do not have it saved as a favorite you can search by clicking on “Browse All Materials”
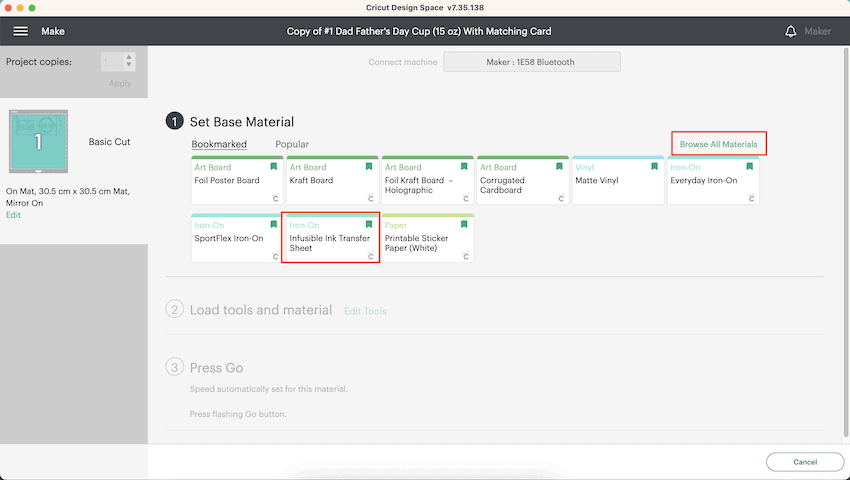
- Search for Infusible Ink Transfer sheet and select Infusible Ink.
- Click on “Done”
Step 2: Cutting Your Mug Design
Now it is time to cut your mug design using your Cricut machine and Infusible Ink sheet.
TIP: If you have not used Infusible Ink before, read our Beginners Guide to Cricut Infusible Ink.
- Make sure your blade is in your Cricut machine.
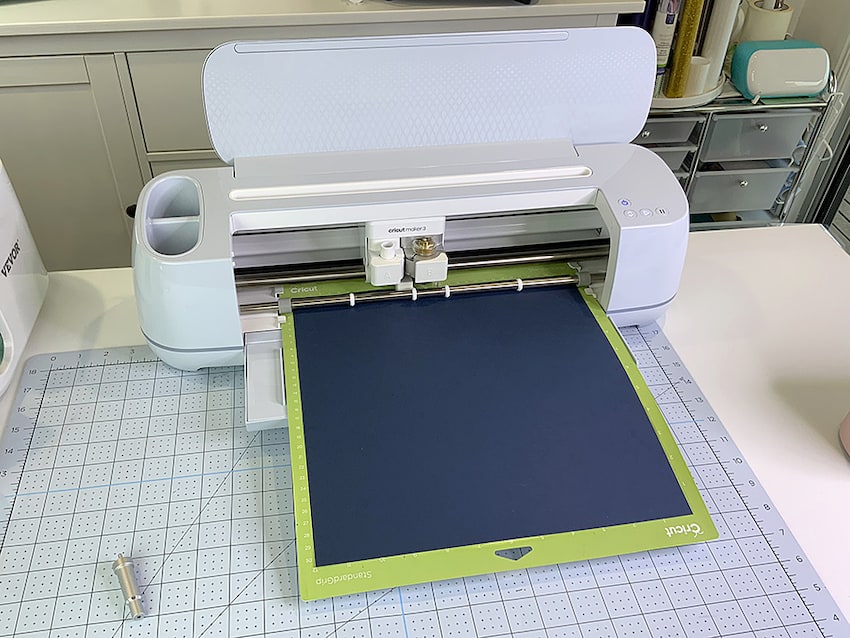
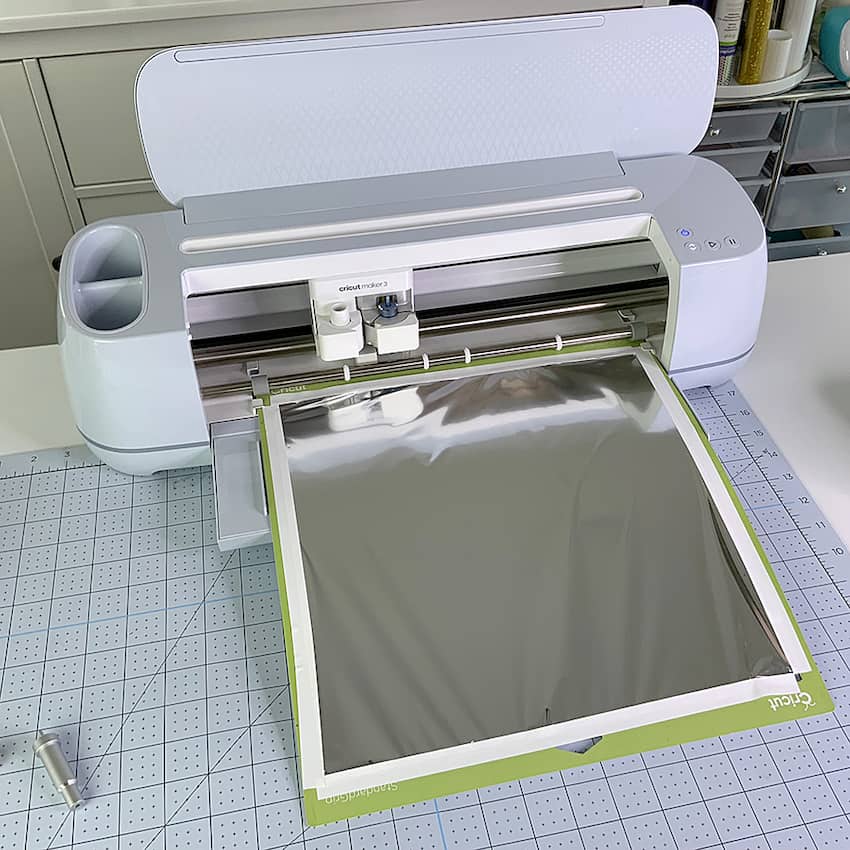
- Place your Infusible Ink sheet onto your cutting mat.
- Place your cutting mat onto your Cricut machine.
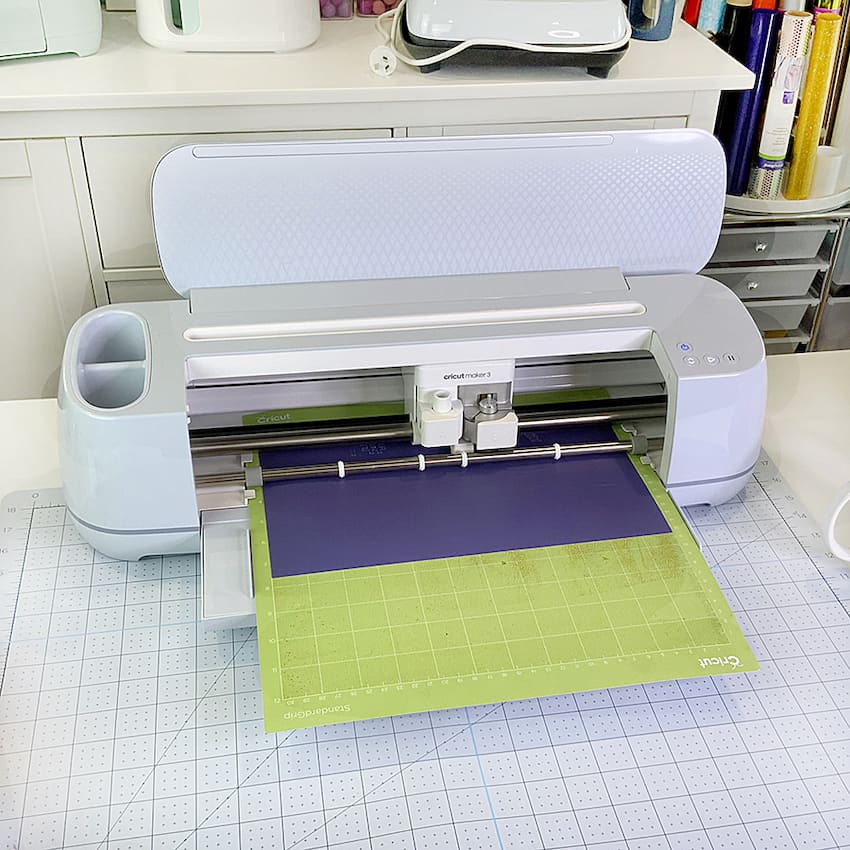
- Load your cutting mat by pressing the flashing “Arrows” on your Cricut machine.
- Press the “Go” button to start cutting your design.
TIP: Before removing your cutting mat from your machine, check that your design has been cut through to make weeding easy. If not press the “Go” button again to send the design to be cut again. I usually cut twice to get a clean cut with Infusible Ink.
- Remove your mat from the Cricut machine when you are happy with the cut.
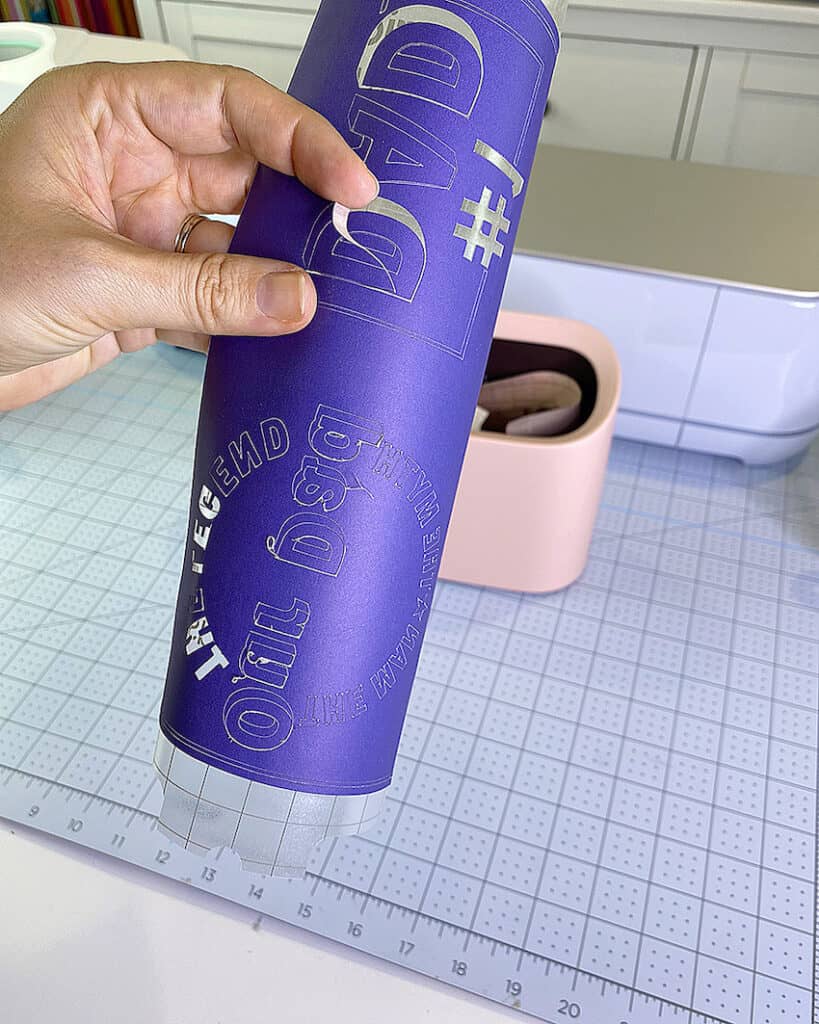
- Remove the Infusible Ink sheet from your mat. It can be easier to flip your mat over and to peel the mat away from the Infusible Ink sheet.
- Weed your design.
Step 3: Transfer Father's Day Mug Design onto Mug
Now that you have your weeded Infusible Ink design, it is time to prep your mug and transfer the design using a mug press.
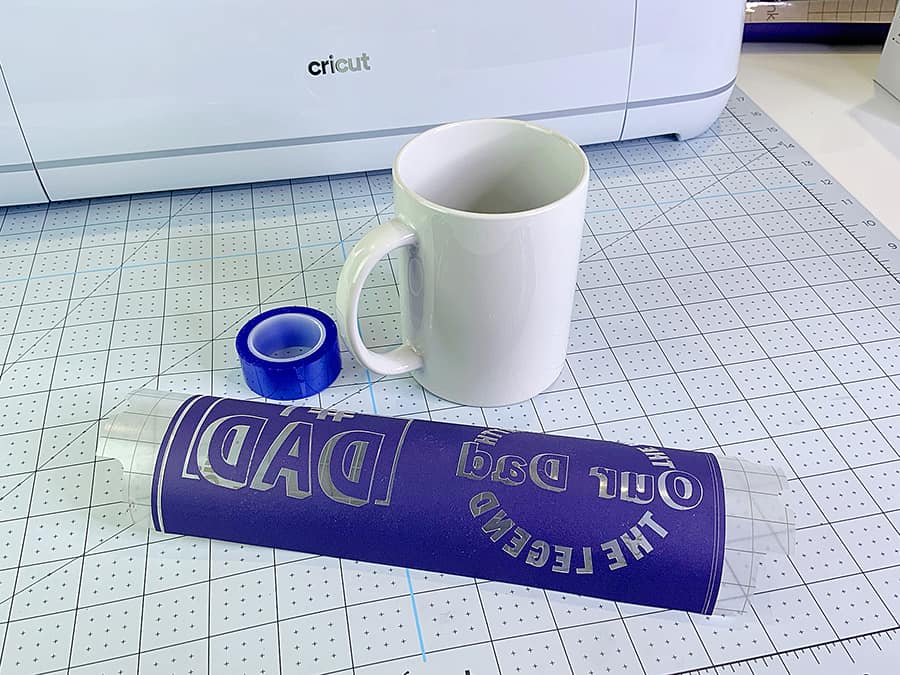
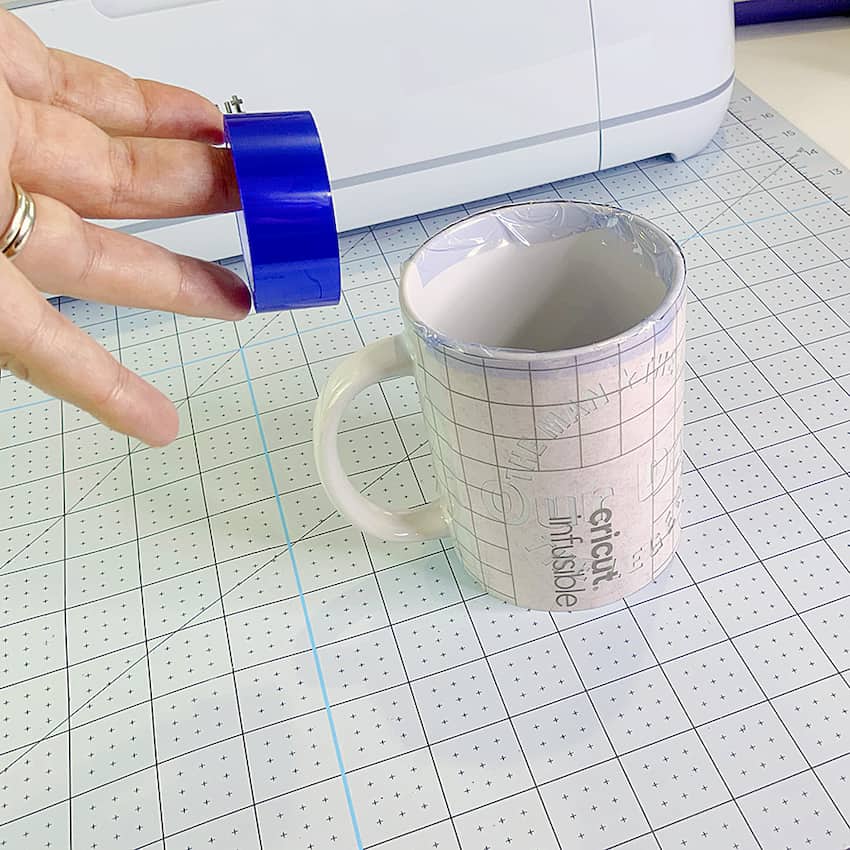
- Use a lint roller to clean your mug so it is free of any small lint pieces.
- Using heat transfer tape wrap your Infusible Ink sheet around the mug.
TIP: Make sure your Infusible Ink sheet is wrapped tightly against your mug to ensure that your design transfers without creating a ghosting effect.
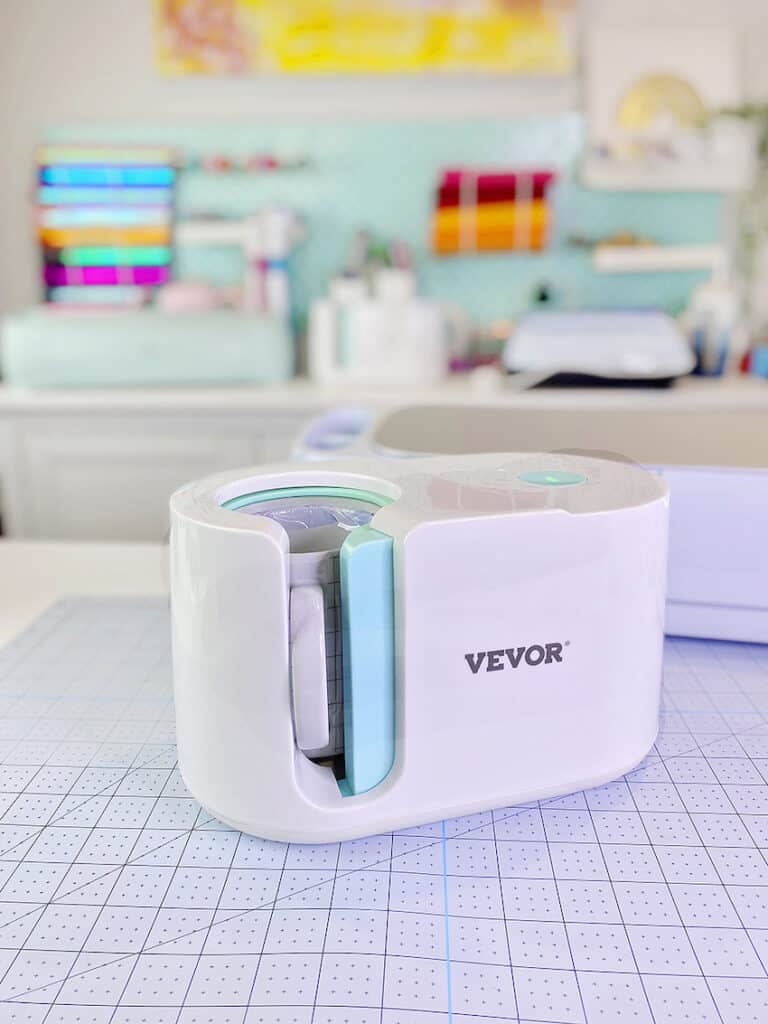
- Turn on your mug press.
- When your mug press is ready, place your mug into the press.
NOTE: I'm using the Vevor mug press that looks like the Cricut Mug Press. This press is also has a one button press to warm it up. Once you insert the mug it automatically closes (unlike the lever on the Cricut press) and it automatically opens when it is done.
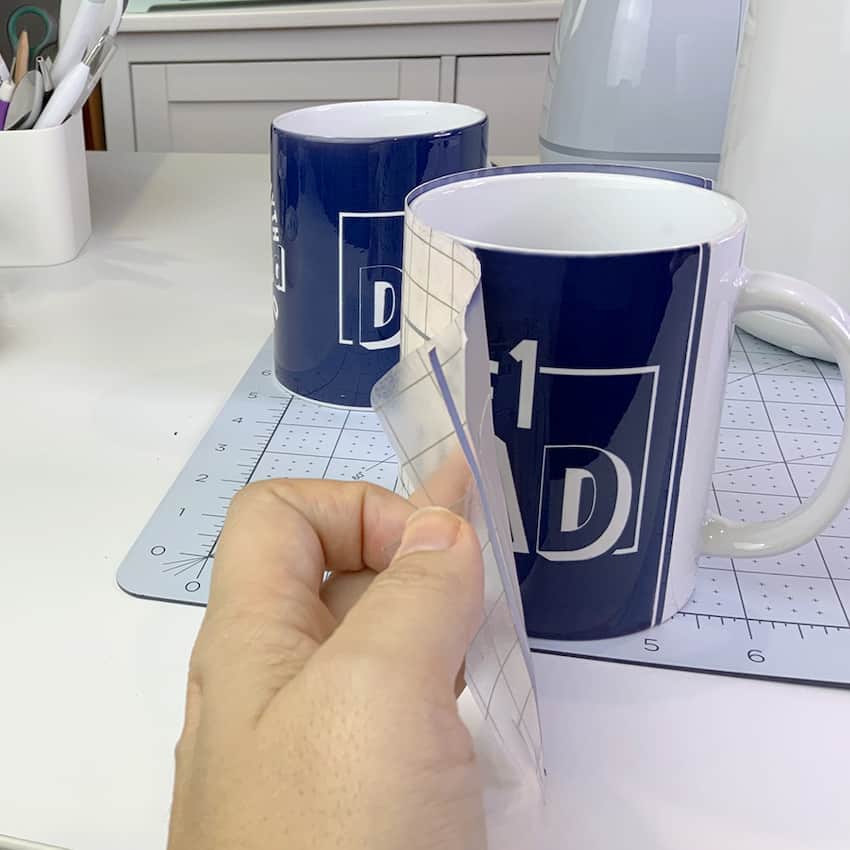
- When your mug press has finished pressing, carefully remove your mug from the press.
- Leave your mug to cool before removing the Infusible Ink transfer sheet.
NOTE: Looking for a mug press? Check out the best Cricut Mug Press Bundle Deals before buying!
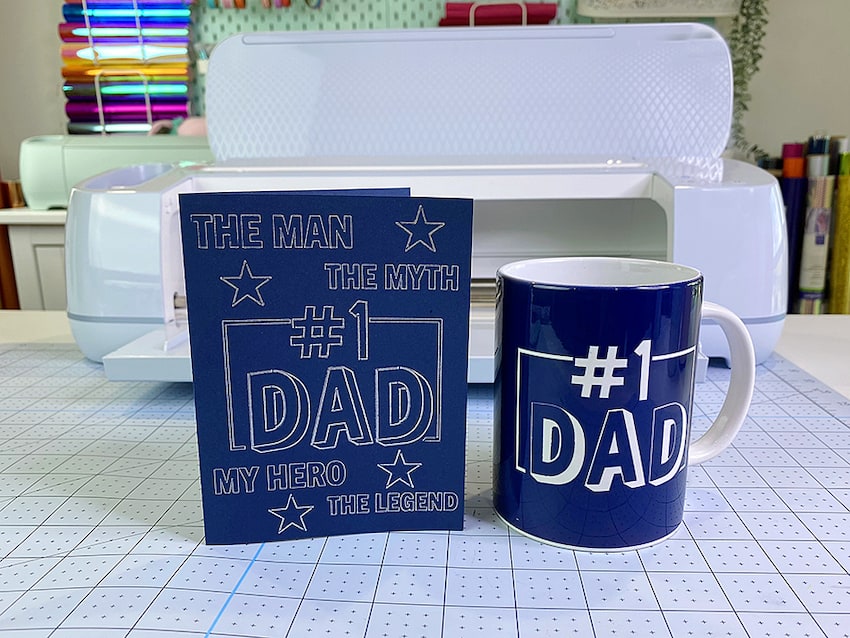
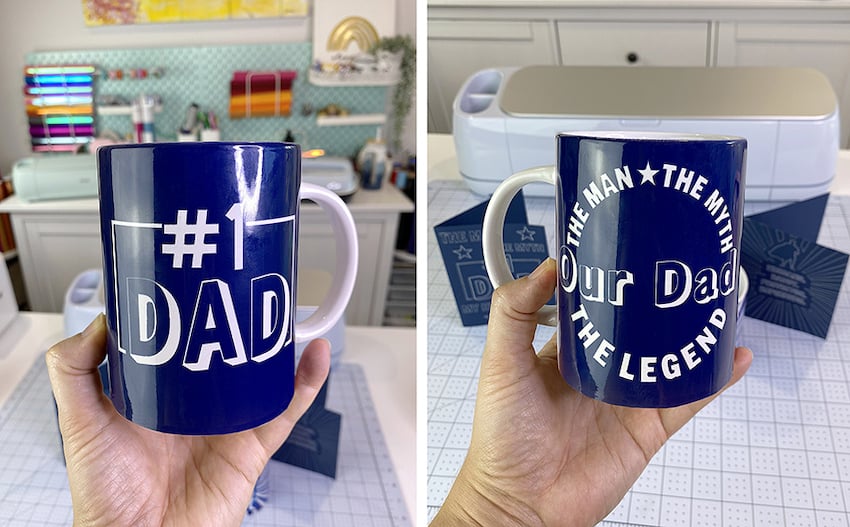
There you have it! A perfect Father's Day Cricut Mug using Infusible Ink to make any dad feel like the number one dad this Father's Day.
Note: Did you know you can use Cricut Infusible Ink on Mugs? Check out this post if you want some Cricut Cup Ideas!
Create a Matching Father's Day Card with Foil
If you want to take your gift to another level, why not create a matching card for that number one dad!
For this card we will be using card stock and foil transfer sheets.
Supplied Needed:
- Cricut Machine (I used a Cricut Maker 3)
- Card stock
- Green StandardGrip Cutting Mat
- Cricut Foil Transfer Sheets
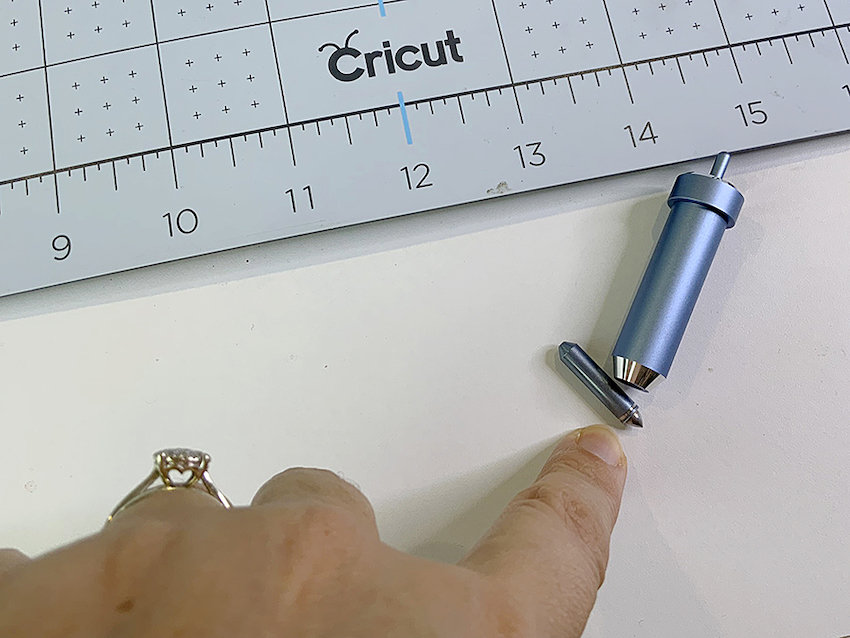
- Cricut Foil Transfer tool and tips
- Scoring wheel or Scoring Stylus
Step 1: Editing Card in Cricut Design Space
- If you closed your project after creating your mug, click here to find the project in Cricut Design Space.
- With your open project in Design Space, click on the Card layer (if it is still hidden click on the eye icon to unhide the card).
- Click on the Mug Layer and select the “Eye Icon” to hide the mug design.
- Select the “#1 Dad Card” layer and click on “Continue”.
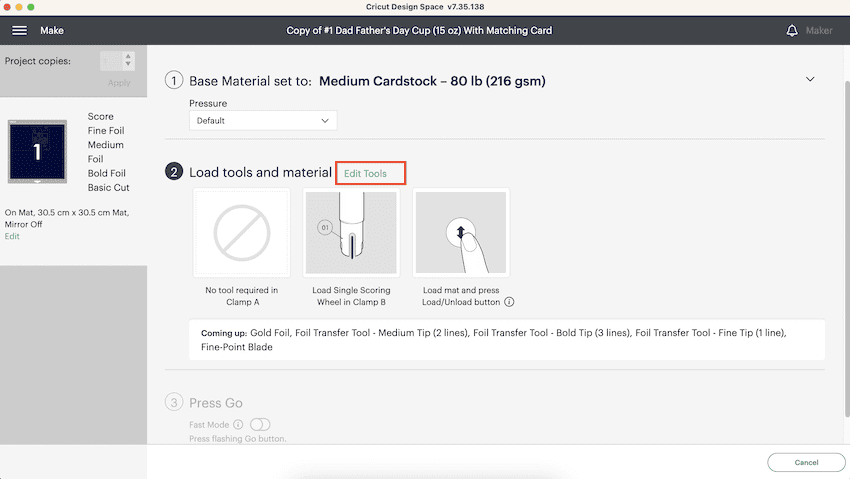
- Your card design is now displayed on your cutting mat.
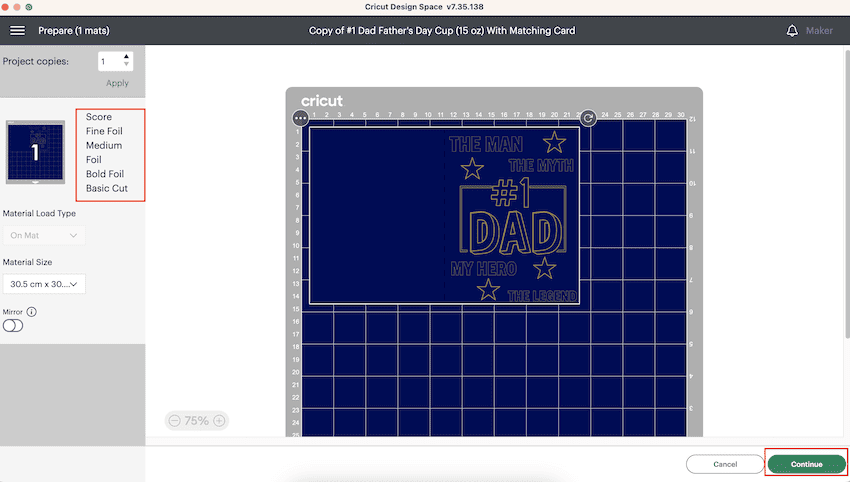
NOTE: You will see the functions that the Cricut machine will perform and the tools required on the left (Score, Fine Foil, Medium Foil, Bold Foil, Basic Cut).
Step 2: Cutting Card in Cricut Design Space
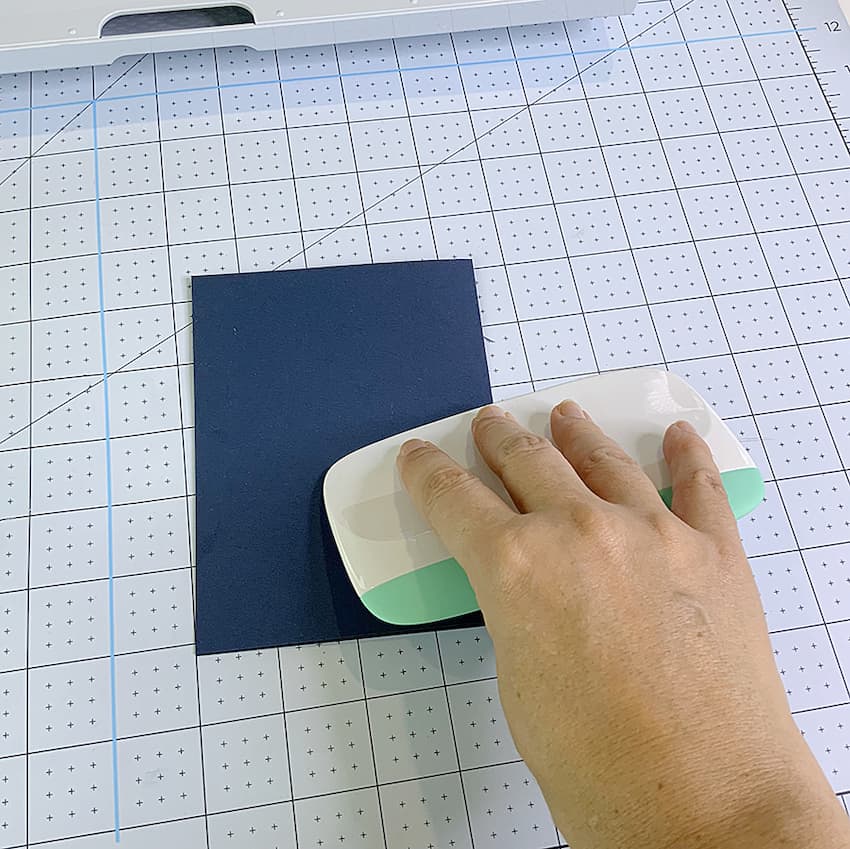
- Place your card stock onto your cutting mat.
- Load your cutting mat into your Cricut machine.
- Click on “Continue”.
- Select your materials and tools and click on “Done”
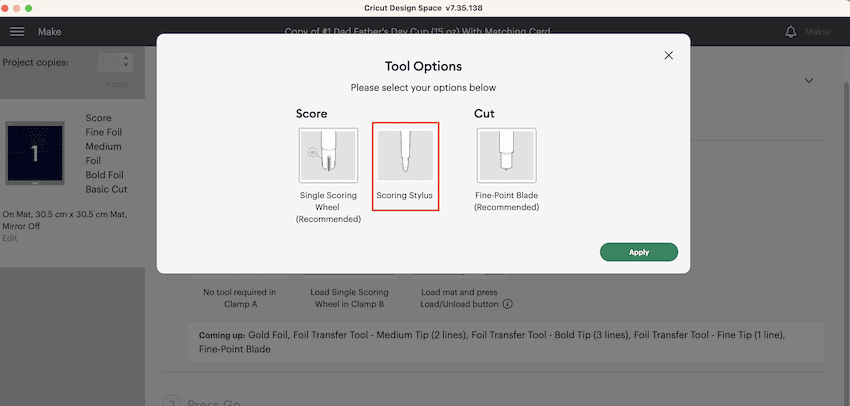
- Insert your Single Scoring Blade (or Scoring Stylus) into the correct clamp.
- If you need to change the Single Scoring Wheel to the Scoring Stylus, click on “Edit Tools”
- Change the tool type to the Scoring Stylus.
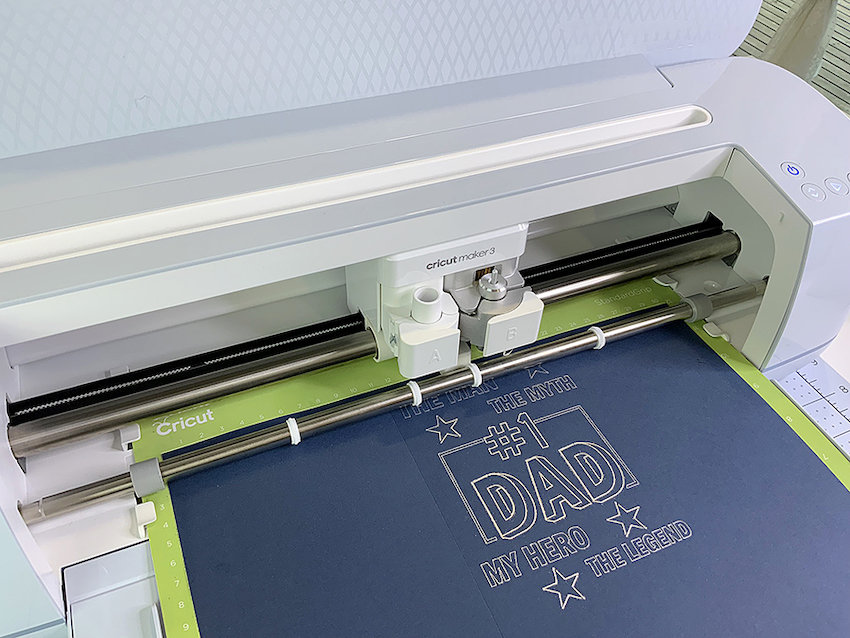
- Press “Go” for your machine to start creating your card.
- When your machine is finishes scoring DO NOT unload the mat.
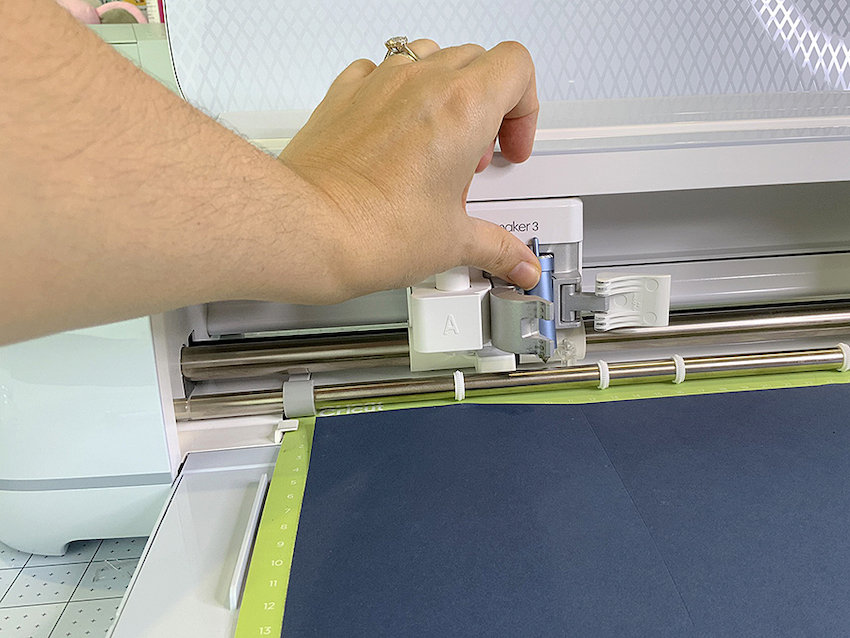
- Follow the prompts in Design Space to load your fine foil tip into the Clamp B housing.
- Add foil sheet to the cutting using the sticky strips around the edges.
- Now add the bold foil tip when promoted.
- When then foil design has been completed, remove the foil sheet from the card stock.
- Pop the normal blade in to cut around the card.
- When the Cricut is finished cutting, unload your mat.
- Remove the card stock from the mat by flipping your mat and peeling the the mat away from the card.
- Now you can fold the card.
NOTE: An optional step is to make an envelope but we don't have an envelope template included for this project. You can find one in the Cricut Design Space library.
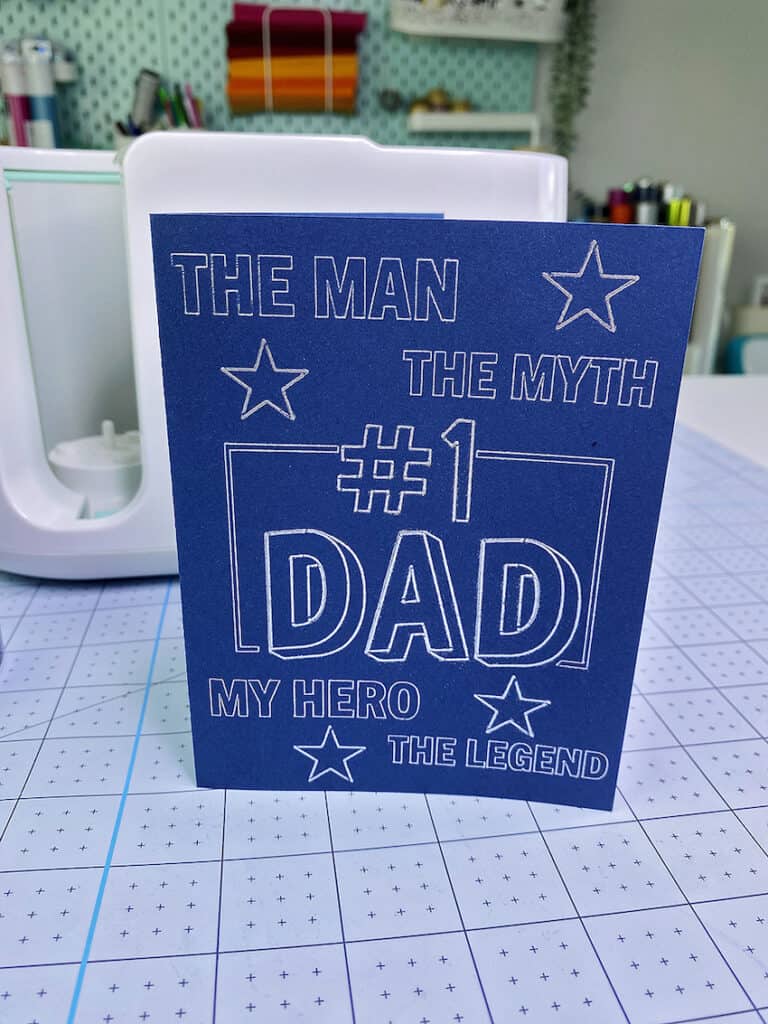
Now you have a matching personalized card and mug for your number 1 dad this Father's Day. I am sure that he will really love and appreciate this super cool Father's Day Cricut mug and card.
I love creating gifts for family and friends as it is such a great way to show how much you love and care for them.
Creating gifts means that I can personalize the item to suit the occasion and also make it unique and special just for them.
Love this and want more ideas Cricut gift ideas for dad?
- Want to make a funny Father's Day gift – be sure to check out this funny gift!
- Create a personalized grill set such a great idea for Cricut Gifts for Him if your dad is King of the Grill!
- Here are 6 DIY Father's Day Cricut Gift ideas.
- Want a FREE SVG – check out this Free Super Dad SVG.
- Want even more – check out all our Cricut tutorials and project in our Cricut Resource Hub.