Using Infusible Ink is a bit challenging (only because the steps are different from using vinyl), but once you get the hang of it, you might get addicted to creating those Infusible Ink projects.
There are lots of projects that you can do with Infusible Ink. One of my favorites is creating Infusible Ink shirts for my daughter.
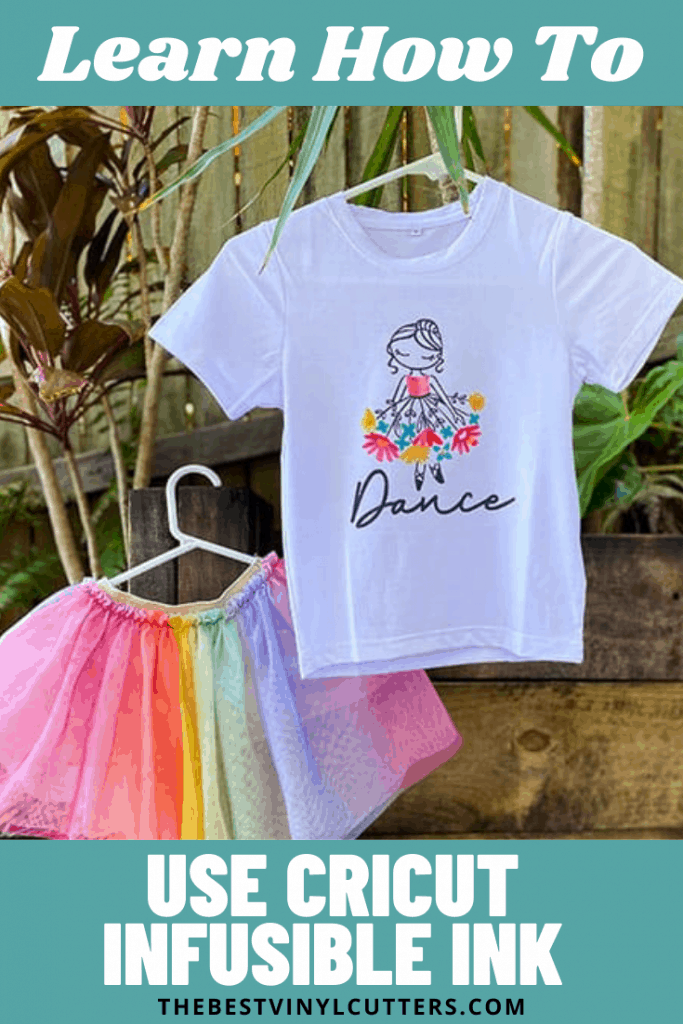
With just a plain blank t-shirt, Infusible Ink transfer sheets, and your Cricut machine, you can turn this simple shirt into gorgeous and fun shirts that your kids will love!
What are you waiting for? Follow the simple tutorial below so you can start creating Infusible Ink shirts for your kids.
>>> Want to know what is Cricut infusible ink used for, check out our beginner guide that has all the answers!
How To Create A Super Cute Cricut Infusible Ink Shirt for Girls
Find below the steps to follow in order to create this super cute Infusible Ink shirt. Important to note that your shirt HAS TO BE high in Polyester.
I am using the Cricut Infusible Ink Shirt here, but you can also purchase other shirts that are high in Polyester as well.
VIDEO TUTORIAL: If you prefer to follow video tutorials – you can also find our tutorial on YouTube that you can use to follow along with. Simply click here to view the video tutorial.
Supply List
- Cricut Infusible Ink Shirt
- Cricut Maker or Cricut Explore Air 2
- Cricut EasyPress 2
- Cricut EasyPress 2 mat
- Cricut StandardGrip Mat (green colored mat)
- Cricut Infusible Ink Transfer Sheets (black, pink, orange and blue)
- Butcher Paper (comes with the Infusible Ink transfer sheet box)
- Cricut Brayer (not required but recommended)
- Heat Tape (not required but recommended since regular tape can't handle high heat)
- Cardstock or a small stack of Printer Paper (preferably white and big enough to get inside your blank shirt)
- Lint Roller (this is to remove all the excess threads off your shirt)
- Scissors
- Tweezers
- Cricut LightPad (not required but recommended)
- Tshirt Alignment Guide (not required but recommended)
- Printed copy of your design (important if your have a detailed design)
NOTE: Before we start, this is a more advanced Infusible Ink tutorial. If this is your first time working with Infusible Ink you might prefer to work with only one sheet of Infusible Ink (rather than multiple layers as we are in this tutorial). Click here to grab the easier tutorial.
Step 1: Create or Upload your SVG
In this tutorial, I used an image that I got from Google. We need to make sure that the image will fit the shirt once we cut it.
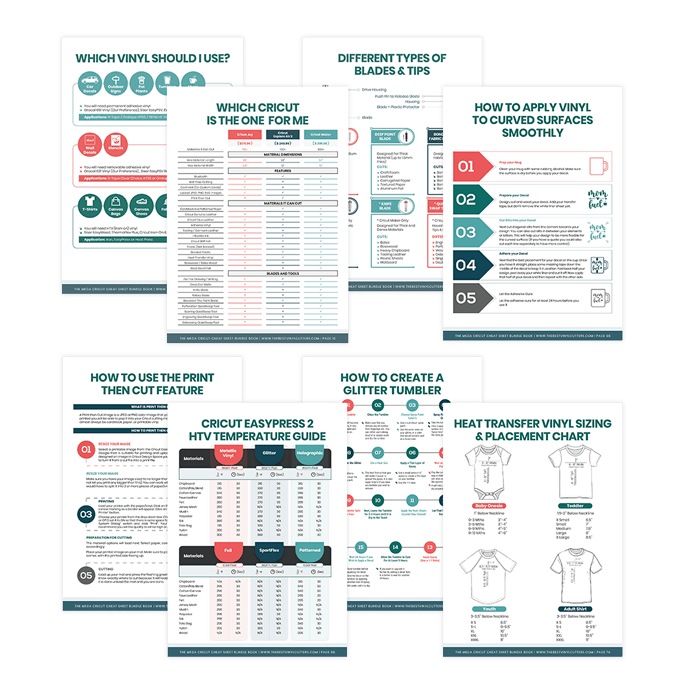
Tip: If you are not sure what size and where to place the decal on your shirt, I have a sizing and placement chart available in the book I have created.
Our book: The Mega Cricut Cheat Sheet Bundle Book has 80 Cricut Cheat Sheets to make your crafting life super duper easy!
Check out all info (as well as pictures of what the cheat sheets look like) on this page. Click here to grab more info on our best selling book.
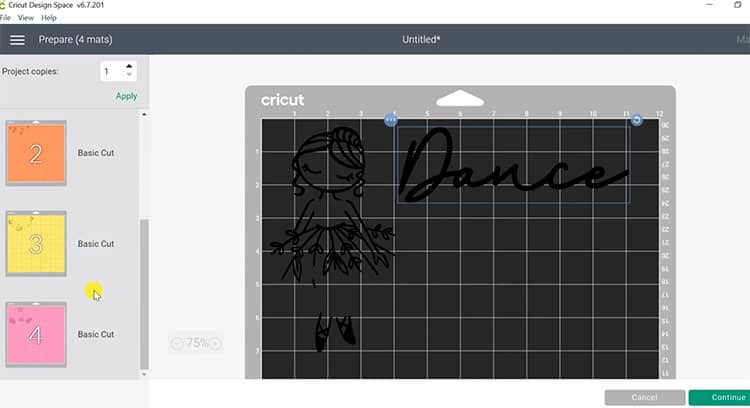
- Choose an image that you want to put on your shirt (this is the SVG that I chose to purchase for my shirt). I have chosen a ballerina girl and added the word “Dance” to complete my design.
- Resize your decal on Cricut Design Space. I set the width to 7 inches then to double check the height, just grab a ruler and quickly measure the height on your shirt.
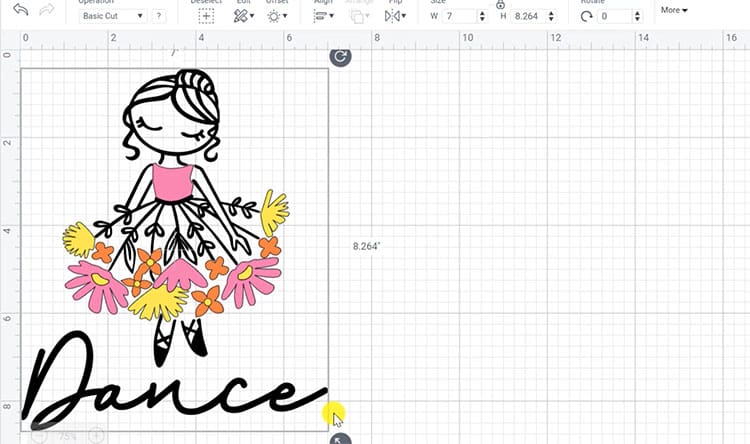
Tip: I used a Small sized shirt hence my decal should be 7 inches in width and 8 inches in height. It should also be placed 1.5-2 inches below the neckline.
Step 2: Cut your Decal
Start cutting your decal. Infusible Ink has to be placed colored side FACED UP (which is different from Iron-On Vinyl which has to be placed shiny side down)
- Click Make It to move onto the material setting page.
- I will need to cut 4 mats of Infusible Ink as the bits gets seperated out by color.
- Click on Continue and wait for your machine to connect.
- Choose Infusible Ink as your material.
- Make sure that Mirror is switched on.
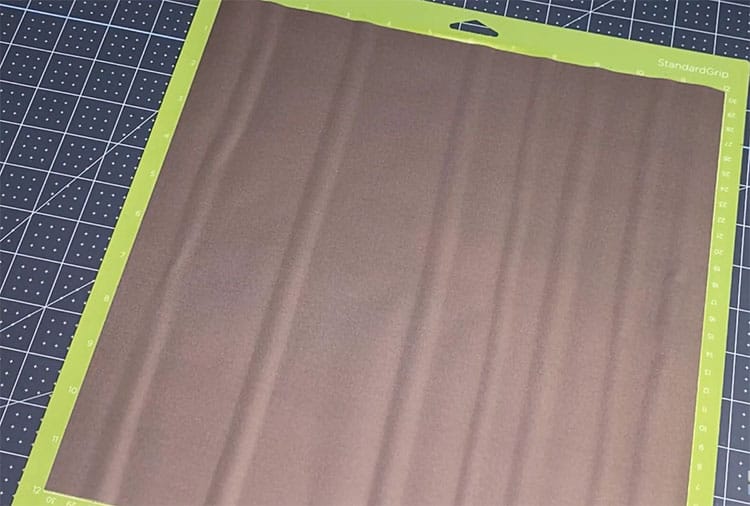
- Grab your StandardGrip mat, place your Infusible Ink colored side faced up.
Tip: Want to know more about how to use Infusible Ink? I have an incredible Infusible Ink Cheat Sheet Bundle on Etsy which will be so helpful for you! Grab it here.
- Use a brayer to smooth out the Infusible Ink sheet on your mat. You can also use your hand if a brayer is not available, but first make sure that your hand is clean and dry.

- Load the mat in your machine and press C to start cutting. Wait for it to finish.
- Once done, unload the mat.
- Remove the Infusible Ink from the mat. To do this, flip over the mat then carefully peel the mat away from the sheet
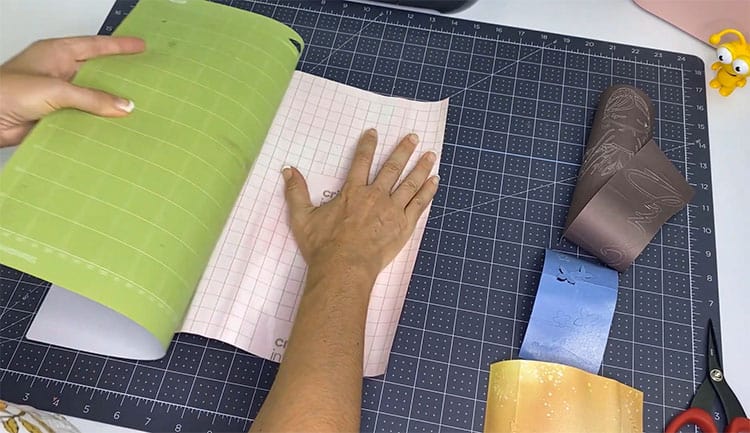
- Repeat the above steps if you are cutting multiple mats like me.
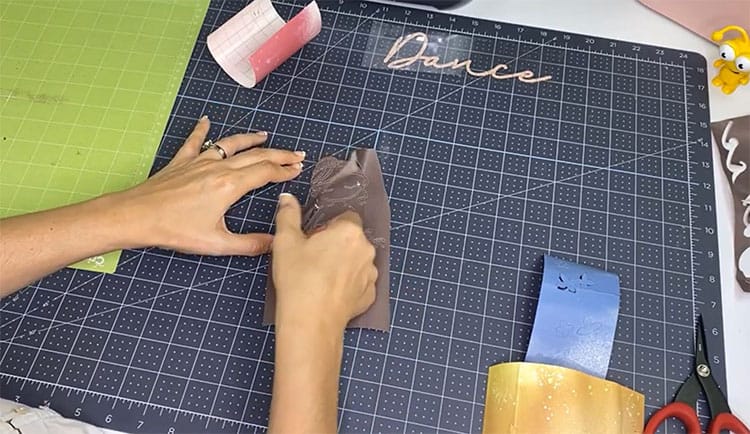
Step 3: Weeding Time!
Remove the excess and unwanted pieces of Infusible Ink on your design!
- Using your scissors, trim down the area of the Infusible Ink that you need.
- You only need your fingernails to weed Infusible Ink. To make weeding easier, you need to crack the sheet – so roll it up, squeeze and bend until you can hear it crack and snap.
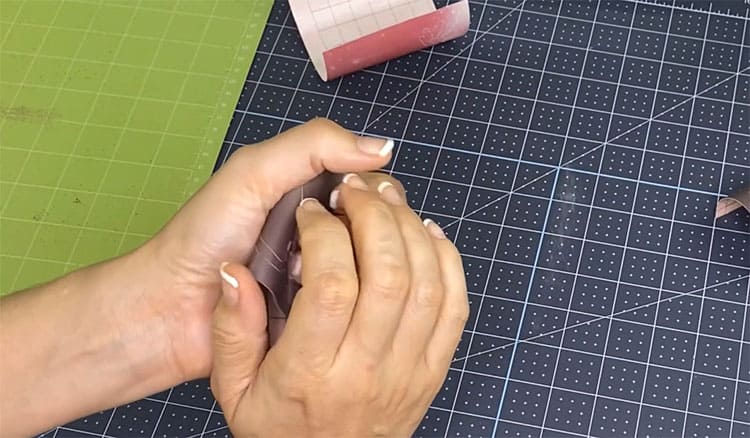
- Now, you peel away the excess from your sheet to reveal the design of your decal. Don't forget to remove the insides of your letters as well.
- Do this to all your cut designs.
Step 4: Add the Different Layers of Infusible Ink
Here is a tip on how to work with different colors of Infusible Ink transfer sheet on your shirt.
Tip: Layering different colors of Infusible Ink transfer sheet on your shirt will cause the colors to blend where they overlap and this is not your desired effect. In addition, multiple applications of heat may cause Infusible Ink designs to fade so it is better to build your design befor you apply it.
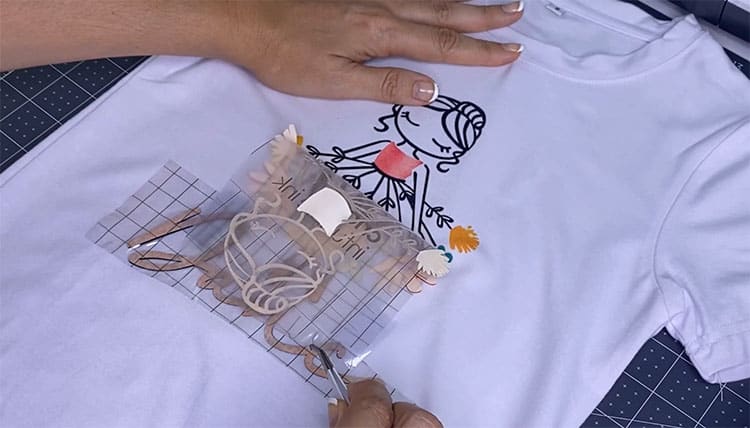
- Print your design on a paper. This will serve as your reference when you build your design.
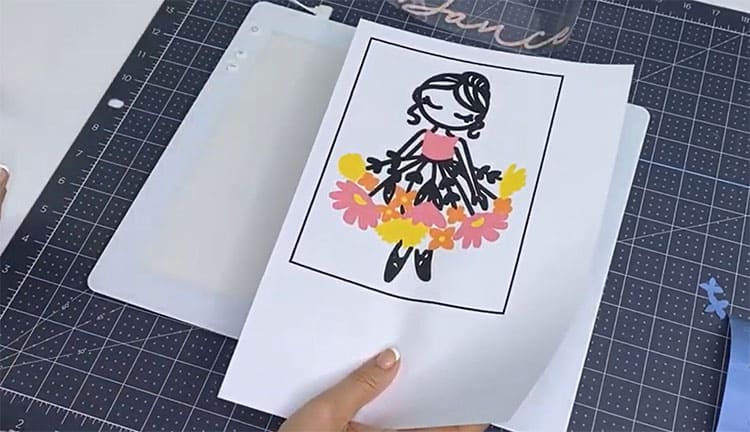
- So grab your biggest piece of Infusible Ink to use as the base. We will be building our decal on here and apply it all at once to the shirt.
- Get your printed design and since it is on mirror, turn the printed design upside down and put your Infusible Ink design on top.
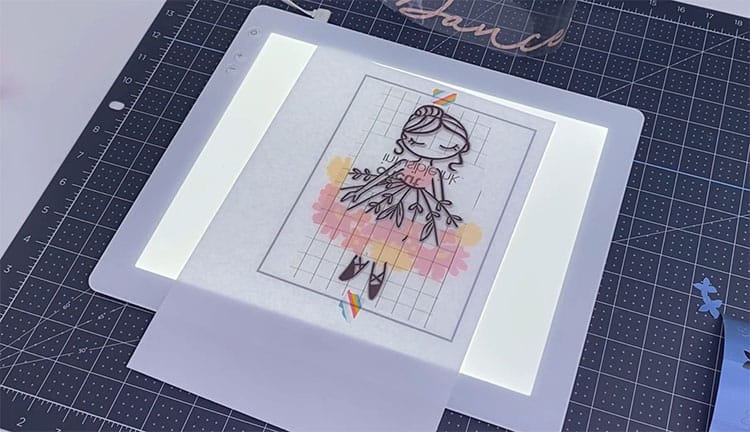
Tip: You can use a light pad if you have one, or something that will bring light from beneath your design to see the details clearly. It is not necessary but it could be very helpful to make the task easier.
- Stick the decal to your printed design using sticky tape so it will not move around.
- Grab the different colors of the flowers to start building your design. Give a little squeeze to crack and release those little pieces so you can peel it off then stick them down in place on your design.
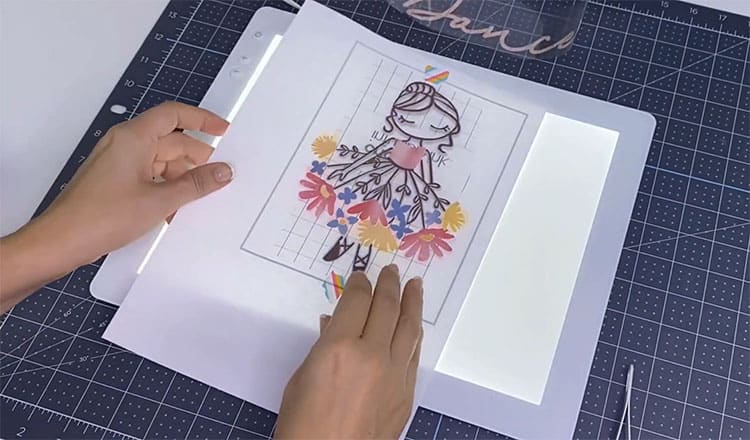
- Continue building your decal until you stick all the little pieces together as one single piece of design.
Step 5: Apply your Design using Heat
Next, it is time for us to get this decal onto your shirt! This is the fun bit as it is always a bit of a surprise how bright and colorful your end result will be.
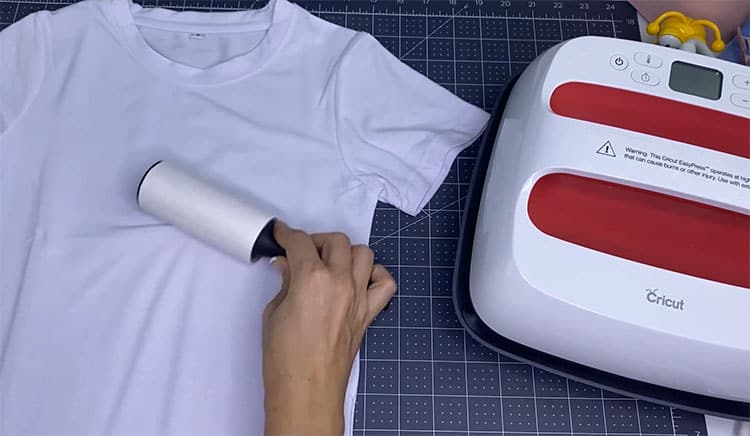
- Grab your shirt, use the lint roller to remove any loose fibers. Loose fibers will prevent the ink from sinking into the fabric, so it is important to remove them.
Important: You should not move the EasyPress 2 when working with Infusible Ink so make sure your press is LARGER than the designs that you are making so you will have your whole design covered by the plate.
If you are using an EasyPress Mini or iron, make sure that you are constantly moving your EasyPress Mini or iron around your design so it will even out the colors of the ink on your shirt/fabric. Don't stop moving it.
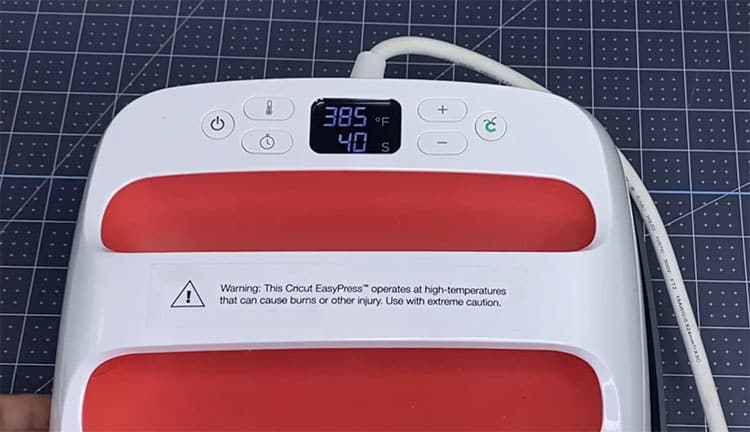
- Next set the time (40 sec) and the temperature (385°F) on your EasyPress.
- While your EasyPress 2 is heating up, give your shirt a 15-sec pre-press to remove any moisture and wrinkles then wait for your shirt to cool down.
- Wait for the Cricut logo (C) to turn green to indicate that it is hot enough.
Tip: Take a look at your cheat sheet to find the stacking order for your Infusible Ink application. If you don't have the book yet – you can buy the book which has 80 cheat sheets in it here.
Here is the stacking order (1 is the top and 6 is the bottom):
- Cricut EasyPress 2
- Butcher Paper
- Design (facing down or colored side down)
- Shirt
- White Cardstock (80lb / 216gsm) or 3 Sheets of Printer Paper
- Cricut EasyPress Mat
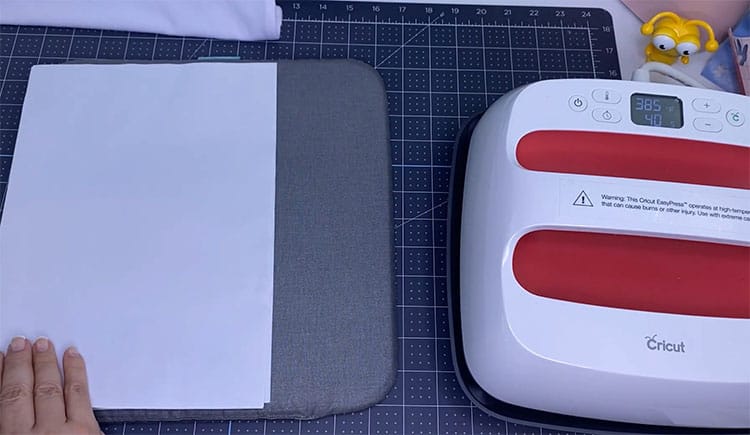
- First lay down your EasyPress mat (I really suggest you don't use a folded towel when you work with Infusible Ink).
- Next, place your cardstock or 3 sheets of printer paper over the EasyPress mat (this is important as this will protect the mat from the ink) then insert both the mat and the cardstock/printer paper INTO your shirt.
- Use a t-shirt alignment guide if you have one or alternatively fold the shirt in half to figure out where the middle of the shirt is.
Tip: The easiest way to know what size your decal should be and how low below the neckline your decal should sit is by using my cheat sheets (cheat sheet for the measurement is also available on my Etsy shop.).
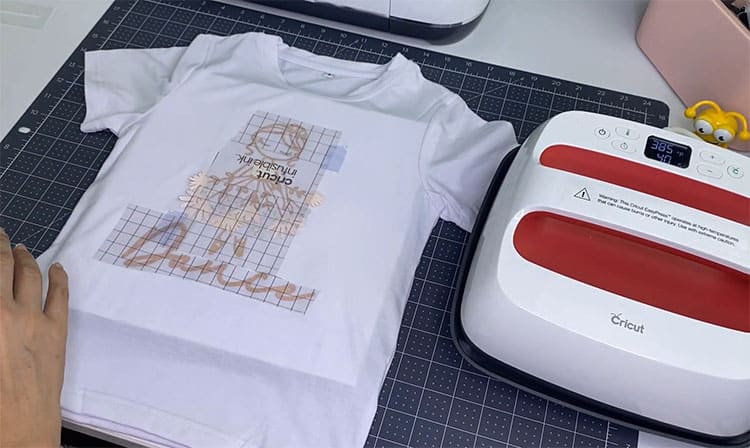
- Place the Infusible Ink sheet facing down on the shirt. Since the Infusible Ink transfer sheet is not sticky enough, apply some heat tape to hold the Infusible Ink Transfer Sheet in place.
Tip: Unlike the normal sticky tape, heat tape doesn't melt under heat. Use heat tape instead of sticky tape since you will be using an EasyPress on your design.
- Next place the butcher paper on top of the Infusible Ink. The butcher paper is needed to protect your EasyPress from the ink. You don't need to buy butcher paper as it is included in your Infusible Ink box.
- Place your EasyPress on top of the butcher paper. Press the C button to start. Hold your EasyPress still. You also don't need too much pressure, light pressure is fine.
- Once you hear the beep, lift the EasyPress off your shirt then remove the butcher paper.
- Remove the backing while it is still warm. Use tweezers to remove the transfer sheet backing as it is really hot right after pressing.
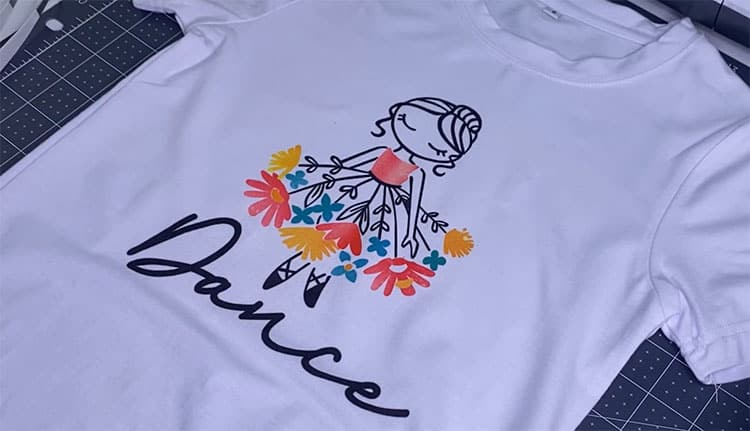
That's it! Your super cute shirt is now ready. I'm so excited to show this shirt to my daughter, I can literally hear her squeal!
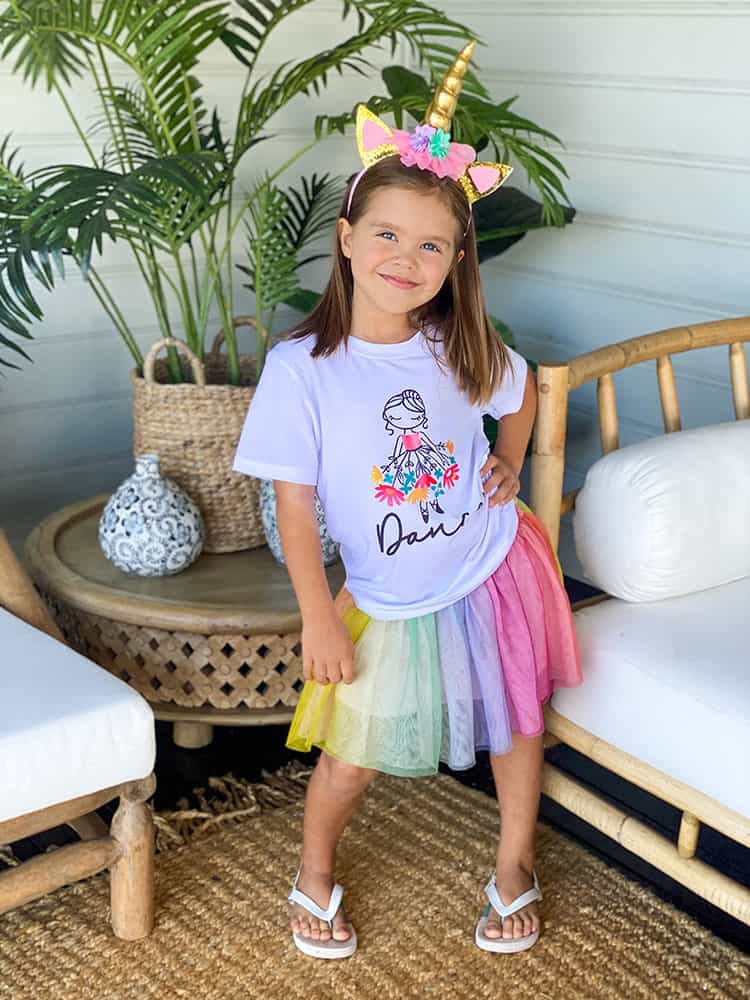
I hope you found this tutorial helpful. Infusible Ink is pretty addictive (pity it is also pretty pricey). Once you get started it is hard to go back to vinyl, I much prefer the look of Infusible Ink.
Want some more inspiration? Check out our blog post for some other cool Cricut t-shirt designs using HTV or infusible ink!
Check out this post if you want more Cricut Infusible Ink t-shirt ideas. There is tie-dye to distressed looks to even Harry Potter theme tee's!
Want to try something different from shirts? We also have an Infusible Ink Puzzle tutorial that you can check out here.
Read our Ultimate Beginners Guide to Cricut Infusible Ink to learn more!