You can put infusible ink on so many things, not only the official Cricut Infusible Ink blanks! The two big keys to determining what you can and can’t put the Infusible Ink onto are MATERIAL CONTENT and COLOR.
For Infusible Ink to transfer properly, they need to bind with polyester or polymer surfaces and because the infusible inks are transparent rather than opaque, they need to be on white or light-colored surfaces.
A good Cricut Infusible Ink blank is one that has a high polyester count or polymer coating and is white or pastel.
When I recently tested Cricut Infusible Ink on various surfaces, I decided it was a great opportunity to create a puzzle using my Cricut machine as I have wanted to create one for quite a while now.
So today we will be creating a St. Patrick’s Day-themed puzzle!
Here is our tutorial on how to create a puzzle with Cricut Infusible Ink Transfer Sheets.
>>> Read our Ultimate Beginners Guide to Cricut Infusible Ink to learn more!
Create a Fun Cricut Infusible Ink Puzzle
Find below the steps to follow in order to create a puzzle with the image of your choice using Cricut Infusible Ink. You can even create puzzles for any occasion or even just one as a great gift.
Supply List
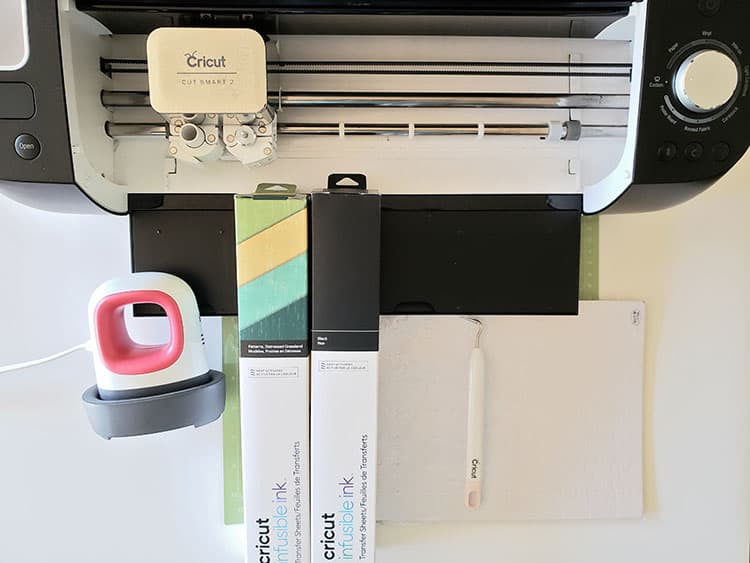
- Cricut Cutting Machine (I used the Cricut Explore Air 2 – see the review for the machine here)
- Cricut StandardGrip Cutting Mat
- Cricut Infusible Ink Transfer Sheets (I used the St. Patricks Day Bundle)
- Cricut Weeding Tool
- Puzzle Blank (I used the 7.5 X9.4 Inches Blanks White DIY Custom Jigsaw Puzzle with 80 Pieces)
- Cricut EasyPress (I used the EasyPress Mini)
- Cricut EasyPress Heat Mat
>>> Want to know what can you use infusible ink on? Check out our beginner guide that has all the answers!
Step 1: Download and Upload your SVG to Cricut Design Space
Find below the step-by-step instructions on how to prepare your St. Patrick’s Day SVG for cutting.

- Locate the St. Patrick’s Day SVG files or project by clicking here to find the project in Cricut Design Space
Note: The designs are obtained through the Cricut Assess profile
- Next select “Open”
- After select “Open Cricut Design Space Application”
- From there you can select “Edit Copy” or “Make It”
Note: If you want to customize or change the color and size to suite your puzzle size, select “Edit Copy” otherwise to keep the project as is, select “Make It”
- Once you are satisfied with the design you may move forward with cutting the design
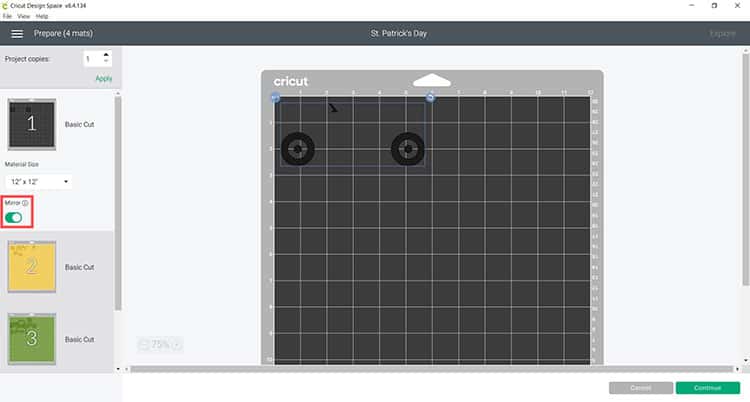
Step 2: Prepare Your Cutting Mat
Next, it is time to cut your design. This project will load the project onto four different mats.
- When you are happy with the size and color of your design click on “Make It”
- Make sure to select “Mirror” on each mat
- Select continue and connect your Cricut machine
- You will now be able to pick your material and cut settings
- If you have an Explore Air 2 – Select “Custom” on your material dial
- In Design Space select “Infusible Ink Transfer Sheet” from the material settings
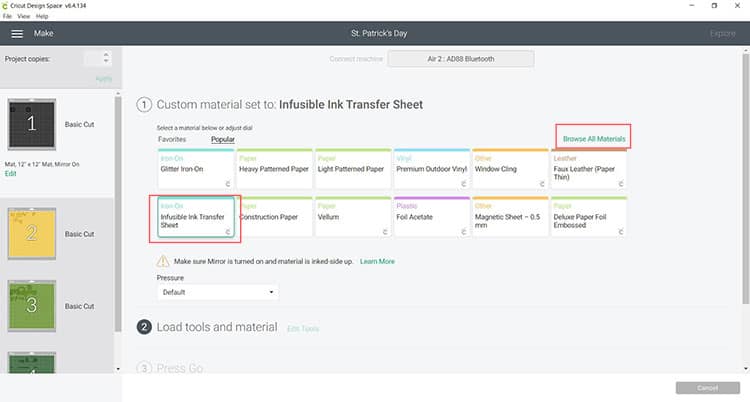
- Leave the pressure as “Default”
Tip: Wash and dry your hands properly before you touch the Infusible Ink Sheets as the oil from your hands can transfer onto the sheet which will effect the end result when transferring the image.
- Place the Infusible Ink Transfer Sheet on your StandardGrip mat with the color or pattern side facing up
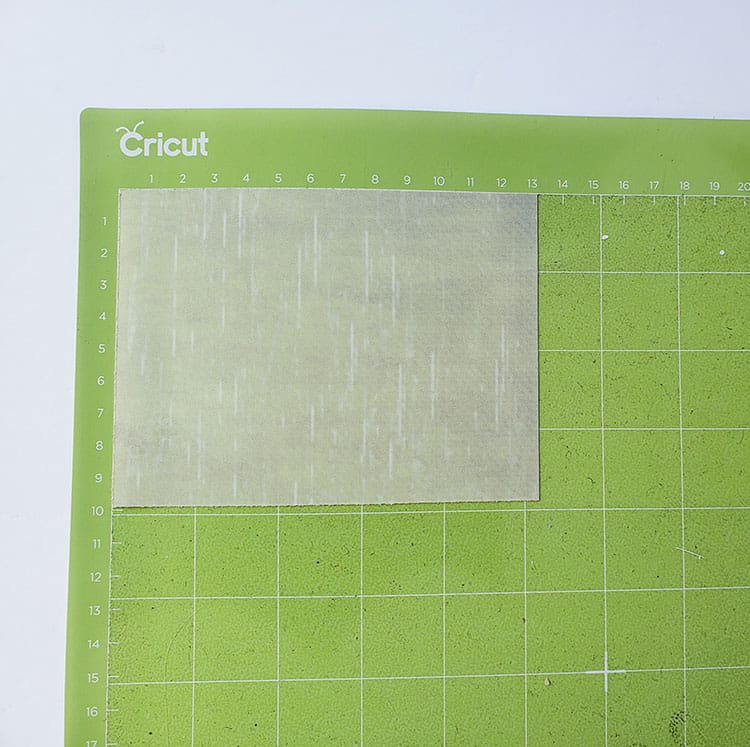
- Load the mat into your cutting machine and follow the instructions to cut the transfer sheets
Tip: By color coordinating the design prior to cutting, Cricut Design Space will instruct you on which color mat to load next
Step 3: Weed Your Design
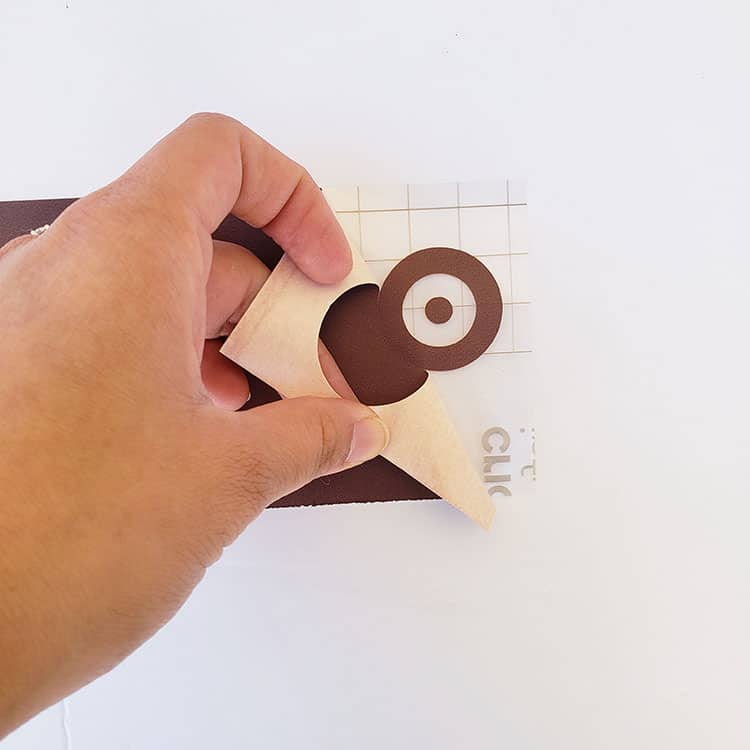
- Once you have cut all your pieces, remove the unneeded pieces of your design by weeding them from the transfer sheet.
Tip: It can be helpful to roll and squeeze the transfer sheet. You should hear cracking sounds as the cut pieces release from the excess pieces. Go slowly around the letters and fine details. Don’t forget to weed out the inside pieces.
Tip: You should be able to weed the design with your fingers, but use a weeding tool for smaller detail if required.
- Build your design on a large piece of transfer sheet as if it is the puzzle that you will be creating.
Note: Do not layer Infusible Ink as the ink will lighten with too much heat exposure therefore you want to build your picture on one sheet of transfer paper to minimise the layers and heat exposure.
Step 4: Press the Infusibe Ink Layers onto the Jigsaw Puzzle Blank

- Start by warming up your EasyPress. I am using the EasyPress Mini and selecting Medium for my heat setting. If you have an EasyPress 2 you can set your press to 360°F
- Place some white cardstock or a few blank pieces of printer paper on your Cricut EasyPress Heat Mat (to protect it from the infusible ink)
- Place your puzzle on top of the paper that is on the EasyPress Heat Mat. Make sure to place these on a sturdy table (not on an ironing board)
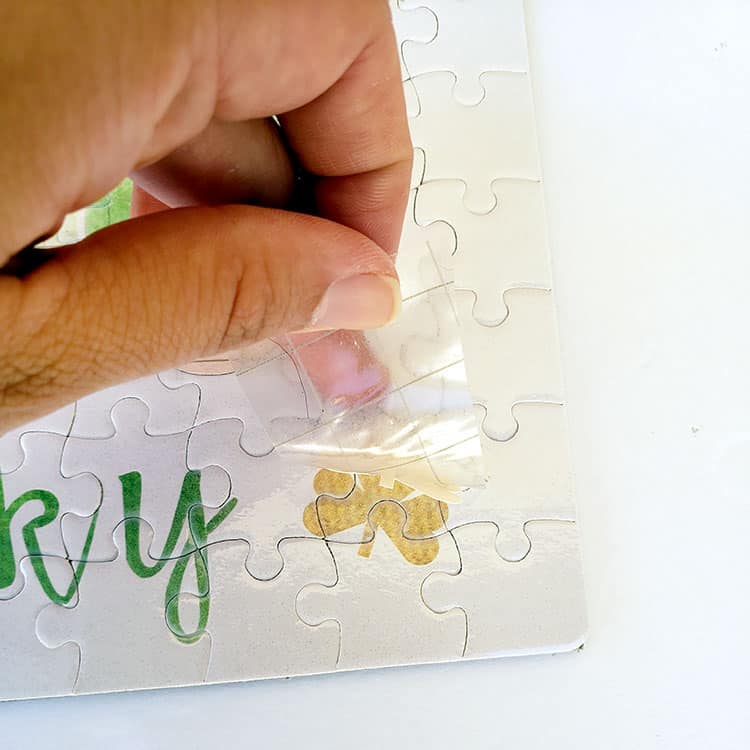
- Place the Infusible Ink design UPSIDE DOWN on the jigsaw puzzle blank
Tip: I highly recommend using some heat tape to secure your design to the puzzle. We really don’t want the Infusible Ink Sheet to move at all – if it does, it might cause ghosting which is a lighter imprint of the image slightly off from the original
- Now place your butcher paper, which you received in the Infusible Ink Sheet box, over the design
- Apply heat to your design for 90 seconds. If you are using the EasyPress 2 (highly recommended) you need to apply light pressure and be as still as possible.
Tip: If you are using an EasyPress Mini, make sure that you are constantly moving over your design while pressing with a light pressure. Ideally you want to use a press that is LARGER than your design so that you don’t have to move your press at all as moving while pressing might cause ghosting
- Wait for the transfer sheet to cool down before you remove it
Note: Applying Infusible Ink is a game of heat and time. If you don’t apply heat for long enough your design will have dull color; if you apply heat for too long, your design will lose the brightness in color that we are after.
If you are using an EasyPress Mini, don’t expect to get a perfect Infusible Ink puzzle as you will most likely get a bit of ghosting.
I also struggled to get a good even cover around the puzzle edges when using my Cricut EasyPress Mini. Regardless, I love the puzzle and I know my kids will have LOADS of fun with this one on St. Patrick’s Day.
And just like that, you have created your very own St. Patrick’s Day jigsaw puzzle. The beautiful thing about this is you can create a puzzle for any occasion!
Where to next? Browse through our blog post full of Cricut St. Patrick's Day Projects. If you have kids you might also like to grab our free St. Patrick's Day printable activities here.