Do you have a party coming up and want to avoid getting plastic cups but still want to find a fun and creative way for your guests to drink some agua frescas?
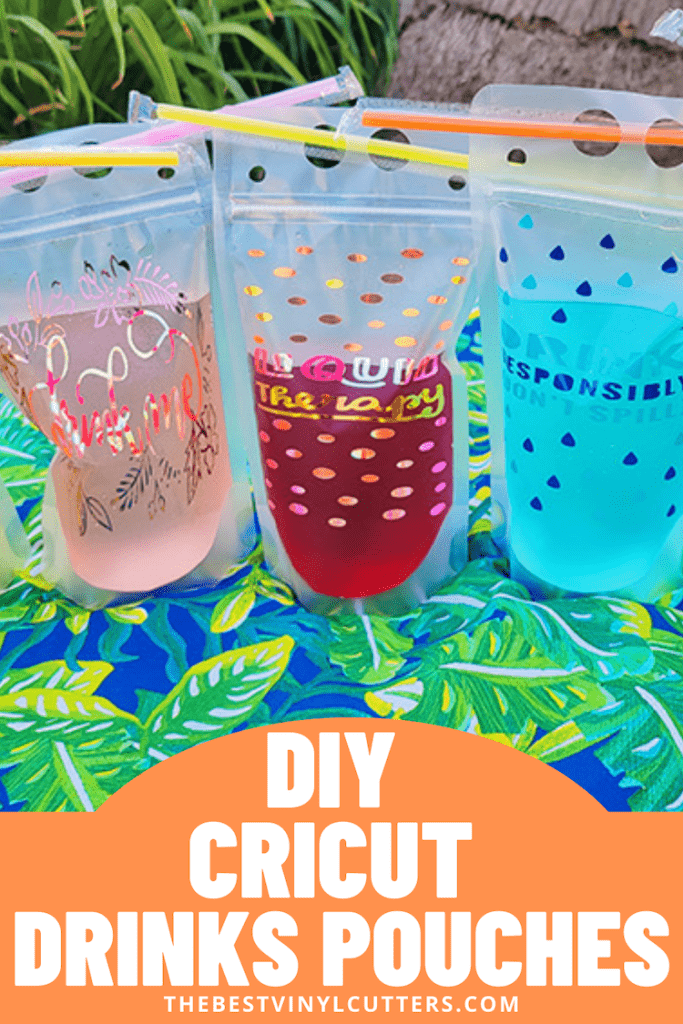
Today we will show you how to create your very own personalized drink pouches for adults.
Best of all these can be used for any occasion such as bachelorette, birthday parties, get-togethers and more.
In addition, you can use the same design over and over and switch it up based on the occasion. You can even color coordinate for the theme based on the vinyl colors you have in stock.
Plus they are pretty easy to make. Here is the full tutorial for you to follow along with.
How to Make Cricut Cocktail Drink Pouches for Adults
Below are the steps you can follow to create these really cool and fun Cricut drink pouches. They are simple and easy to make and will add a load of fun to any party!
Supply List:
- Cricut StandardGrip Cutting Mat
- Adhesive Vinyl
- Transfer Tape
- Cricut Scraper Tool
- Cricut Weeding Tool
- Cricut Tweezer Tool
- Drink Pouches with Straws
Step 1: Prepare Design in Cricut Design Space
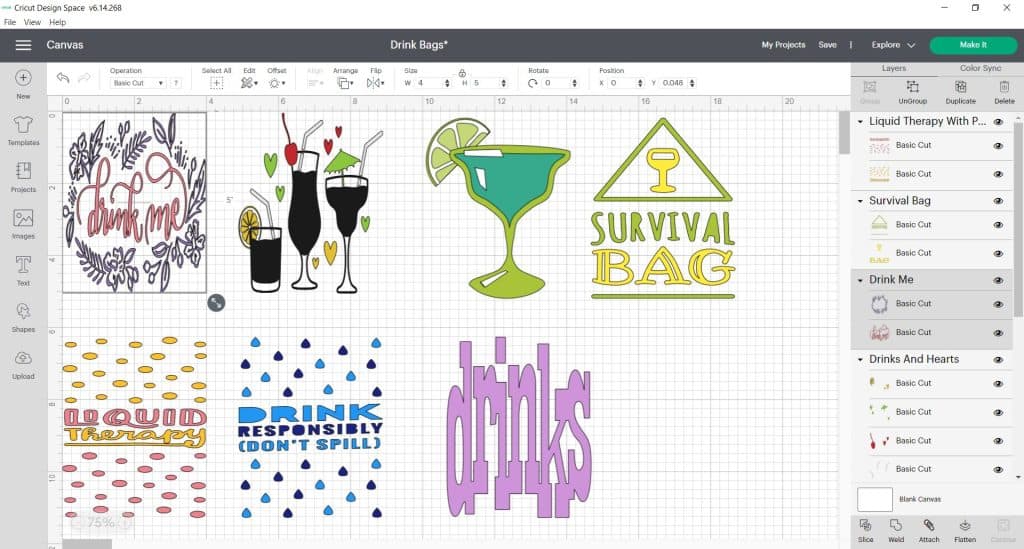
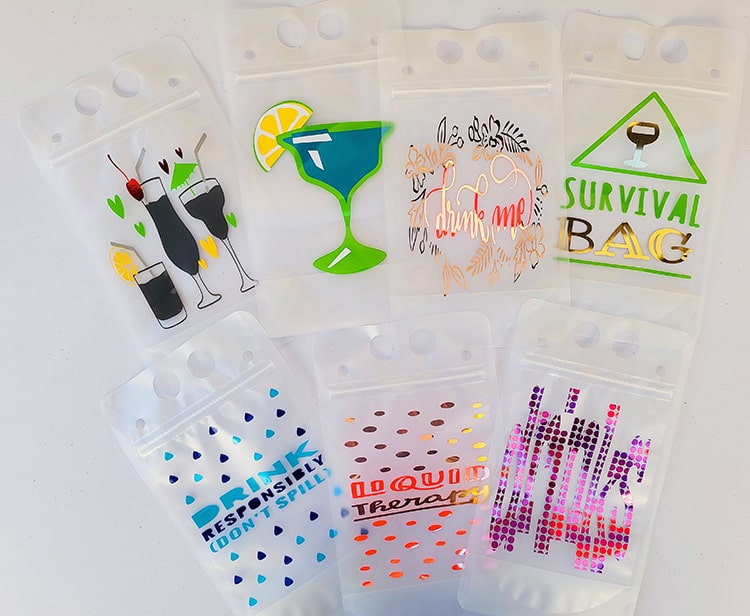
The hardest part of this project is going to be deciding what design to select because they are all great! For this project, we selected seven designs from Cricut Design Space.
Note: You will need Cricut Design Space Membership – see if a Cricut Access Membership is worth it here.
- Begin by selecting the project in Cricut Design Space.
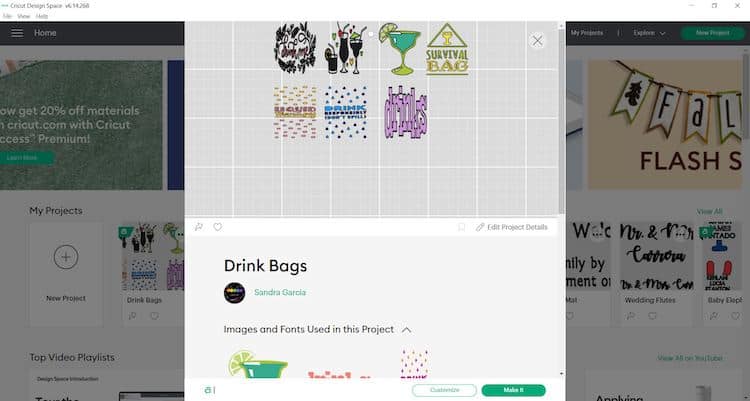
- Select “Open”
- Select “Open Cricut Design Space Application”
- Now select “Edit Copy”
Note: You may need to resize the elements depending on the size of the pouch you are using. This design is sized for a 4 inch by 5 inch pouch.
- Once you are happy with the size of the design, you can now start cutting the design out with your adhesive vinyl.
Step 2: Cut & Weed Design
Now that the design has been selected it is time to cut!
- Grab your StandardGrip mat.
- Place the adhesive vinyl, shiny side up on your green StandardGrip mat.
- Use your scraper to remove any bubbles and/or wrinkles.
- Turn on your Cricut machine if you have not done so already
- In Cricut Design Space, click on “Make It”
- Select Continue and connect your Cricut machine. You will now be able to pick your material and cut settings.
- Load the mat into your cutting machine and follow the instructions to cut the vinyl sheet.
- Next, use your weeding tool to help you lift the unneeded pieces of your design. Go slowly around the letters and fine details. Don’t forget to weed out the inside pieces.

Note: You should be able to do your weeding with your fingers but use a weeding tool for smaller detail if required. I also found that in some cases the Cricut tweezer helps best for the very small items.
Here is a helpful post on how to weed vinyl if you need more detailed instructions.
- Next repeat the above steps until you have cut and weeded all of your designs.
Step 3: Transfer Adhesive Vinyl to Pouches
Before we apply the adhesive vinyl to the pouches make sure the outside is dry and clean as you do not want any dust on the pouches to get stuck under the adhesive vinyl.
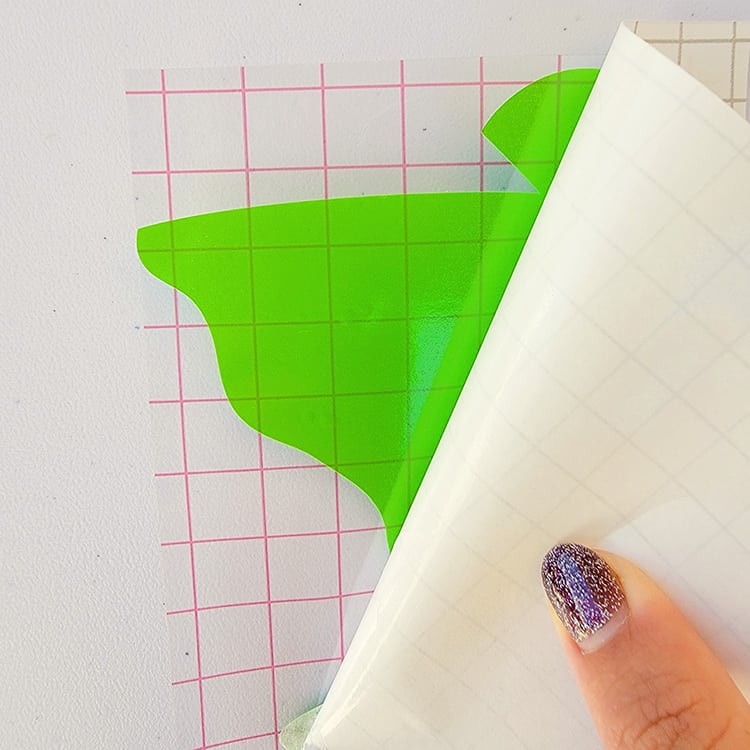
- It is much easier to use transfer tape to move your design over to the pouch.
- Cut your transfer vinyl so that it is the same size or slightly larger than your vinyl decal.
- Place the transfer tape on top of the vinyl and use a scraper to remove any bubbles or bumps.

- Use your scraper to rub over both the front and the back of the design. We want the image to stick to the sticky transfer tape, so that it will lift off the vinyl backing sheet.
- Slowly peel the transfer tape and design from the top left-hand corner. Move slowly and try to work in a semi-diagonal angle. If your stencil is not lifting with the tape, place it back down and give it another good rub with the scraper.
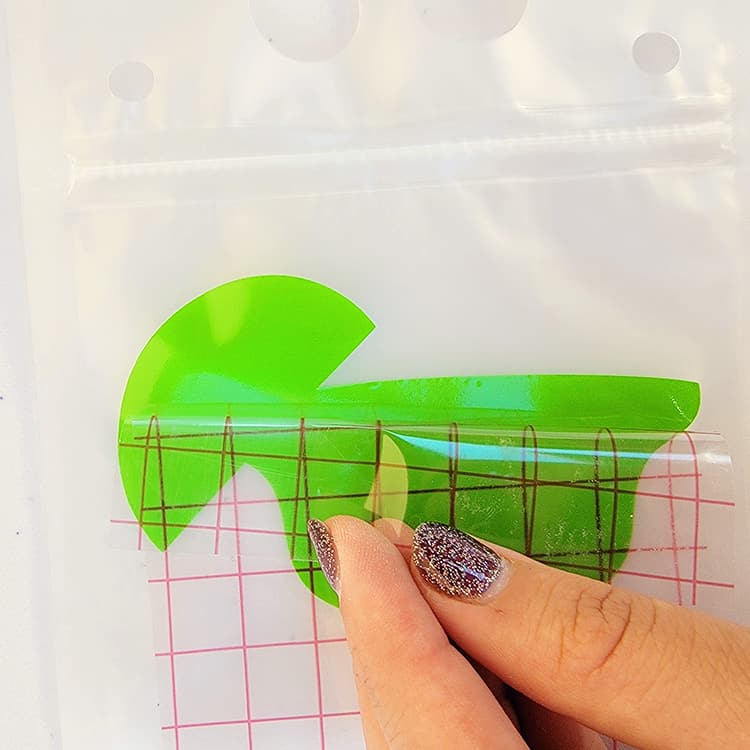
- Place the design on the pouch, making sure there are no bubbles or bumps. Try to make sure that the adhesive vinyl decal is in the center and that it is straight.
- Once again, use the scraper to rub over the design. This time we want it to stick to the pouch and to release from the transfer tape. I found that in some cases rubbing your finger over the design worked better than a scraper in the curved sections.
- Slowly peel back the transfer tape. Once again if your stencil lifts, simply place the tape back down and rub over the problem area again. Place your transfer tape back on the backing paper (you can reuse transfer tape so don't throw it away).
- Go ahead and complete the rest of the design by slowly layering your design.
- Repeat the steps to add your vinyl decals to the rest of the blank drink pouches.
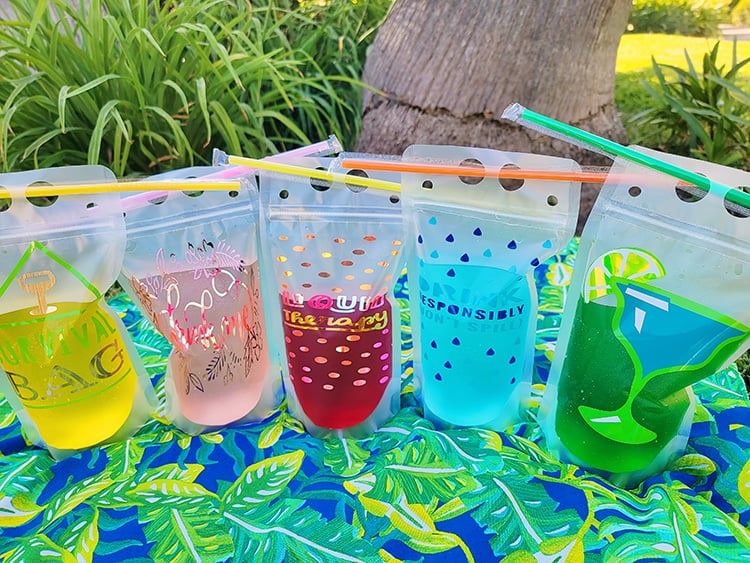
Just like that, you have a customized fun and cool drinks pouch that your guests are sure to love!
You can make these drink pouches for kids' parties as well by adding adhesive vinyl designs and decals that suit their party theme.
Let me know if you found this tutorial fun and easy to make. Share your designs with me as I would love to see what you create using your Cricut cutting machine and some adhesive vinyl!
Ready to make something else? Find all our Cricut tutorials here.