Looking for some great DIY Easter vinyl shirts for girls?
Whilst you can find pretty Easter t-shirts in stores, I always love whipping up a few vinyl Cricut Easter shirts for my daughters (I have three).
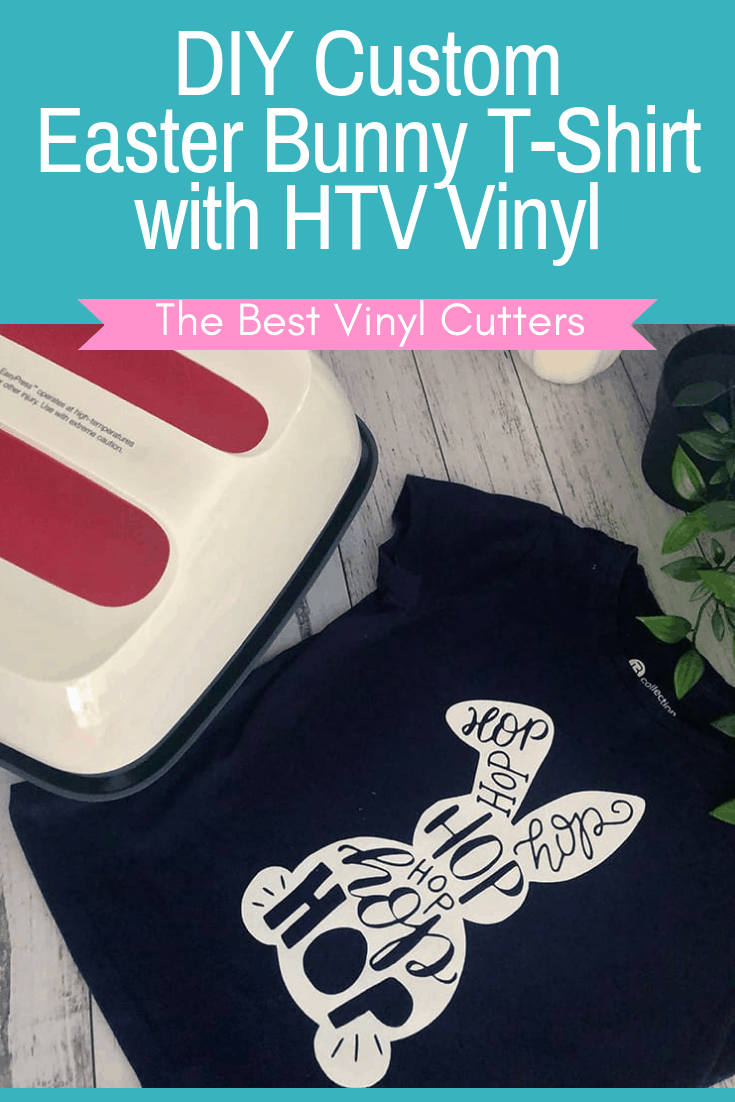
This is the first one that I whipped up and I thought it was pretty cute and easy to make. So why not share this Easter bunny t-shirt tutorial with you all. Of course, you can choose any SVG and just follow along with the tutorial if you wish.
You will need a vinyl cutting machine (either Cricut or Silhouette) in order to whip up this tutorial. If you don't have one, you might prefer checking out our other two Easter craft tutorials instead:
How to Make a Cricut Easter Vinyl Shirt
Find below the steps to follow in order to whip up this adorable Easter Tee Shirt.
Supply List:
Here is a list of everything you will need in order to whip up some of your own DIY Easter t-shirts.
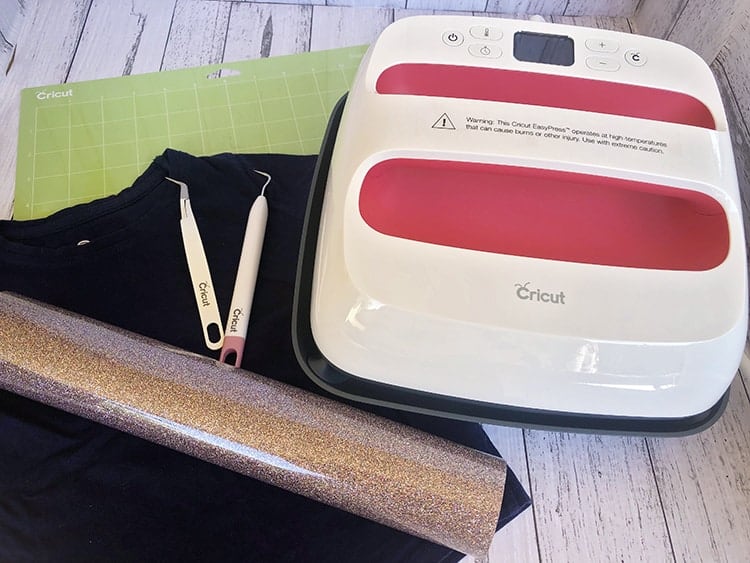
- 1 x Blank Toddler T-Shirt (here is a great list of places to source blank shirts for kids)
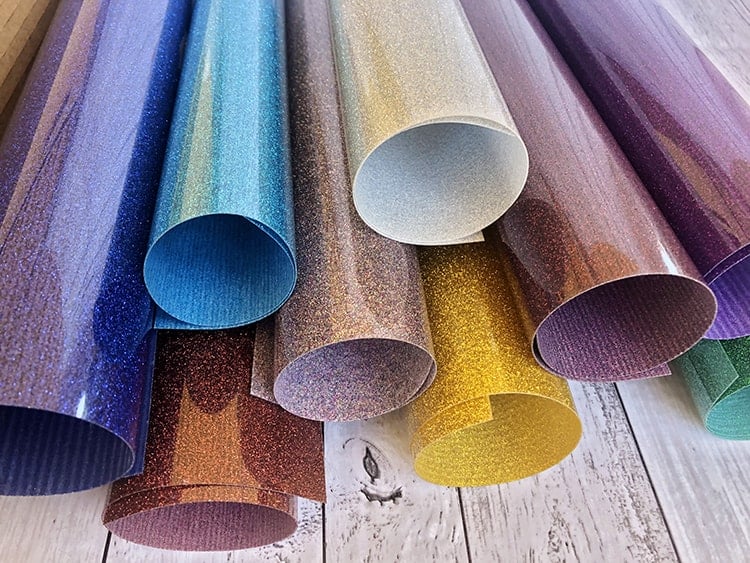
- 1 x EasyWeed Glitter HTV Vinyl(or similar HTV Vinyl)
- 1 x Weeding Tool
- 1 x EasyPress Heat Press (or your choice of heat press machine)
- 1 x Vinyl Cutting Machine (I use the Cricut Maker Cutting Machine)
- 1 x Easter Bunny SVG
Application Instructions for EasyWeed Glitter HTV:
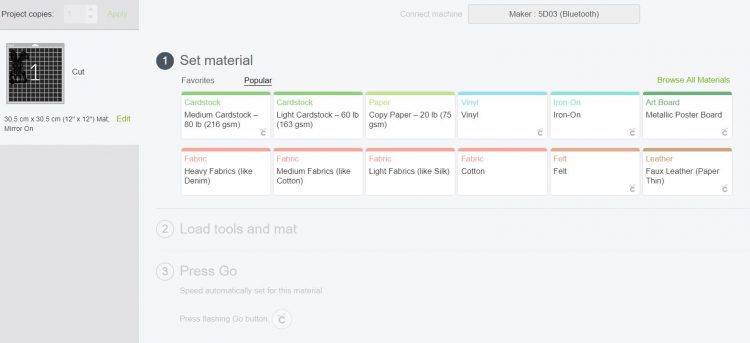
If you are using a Cricut Machine you will need to use your standard blade and select the Iron-On setting.
Application instructions for your heat press:
• Apply design at 320°F/160°C
• Use firm pressure for 15-20 seconds
• Peel carrier warm
Instructions for the DIY Easter Shirt
Find below the step-by-step instructions on how to whip up this adorable DIY Easter bunny shirt.
1. Prepping your Cut File
Step 1: Download your Easter Bunny SVG.
Tip: The SVG file comes in two layers, so it is perfect for when you wish to cut two different color vinyls. I wanted to simply cut out the words to have the t-shirt show through, so I chose to grab a screenshot of the bunny instead.
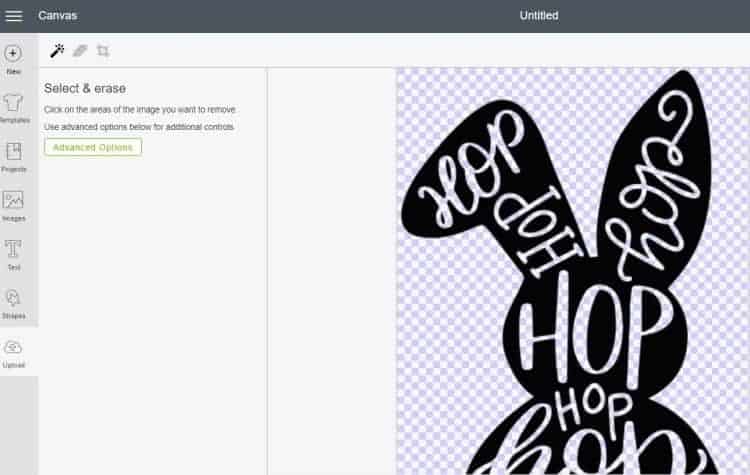
As I'm using a Cricut Maker, I will show how to do this on Cricut Design Space.
Step 2: Upload your screenshot to Cricut Design Space. Select ‘simple‘ for the design. Next, use the “select & erase” wand and erase the background as well as all the words and letters.
Step 3: Next measure the size of your shirt and resize your Easter bunny to suit the size. I made my bunny 20cm (or 8″) in height.
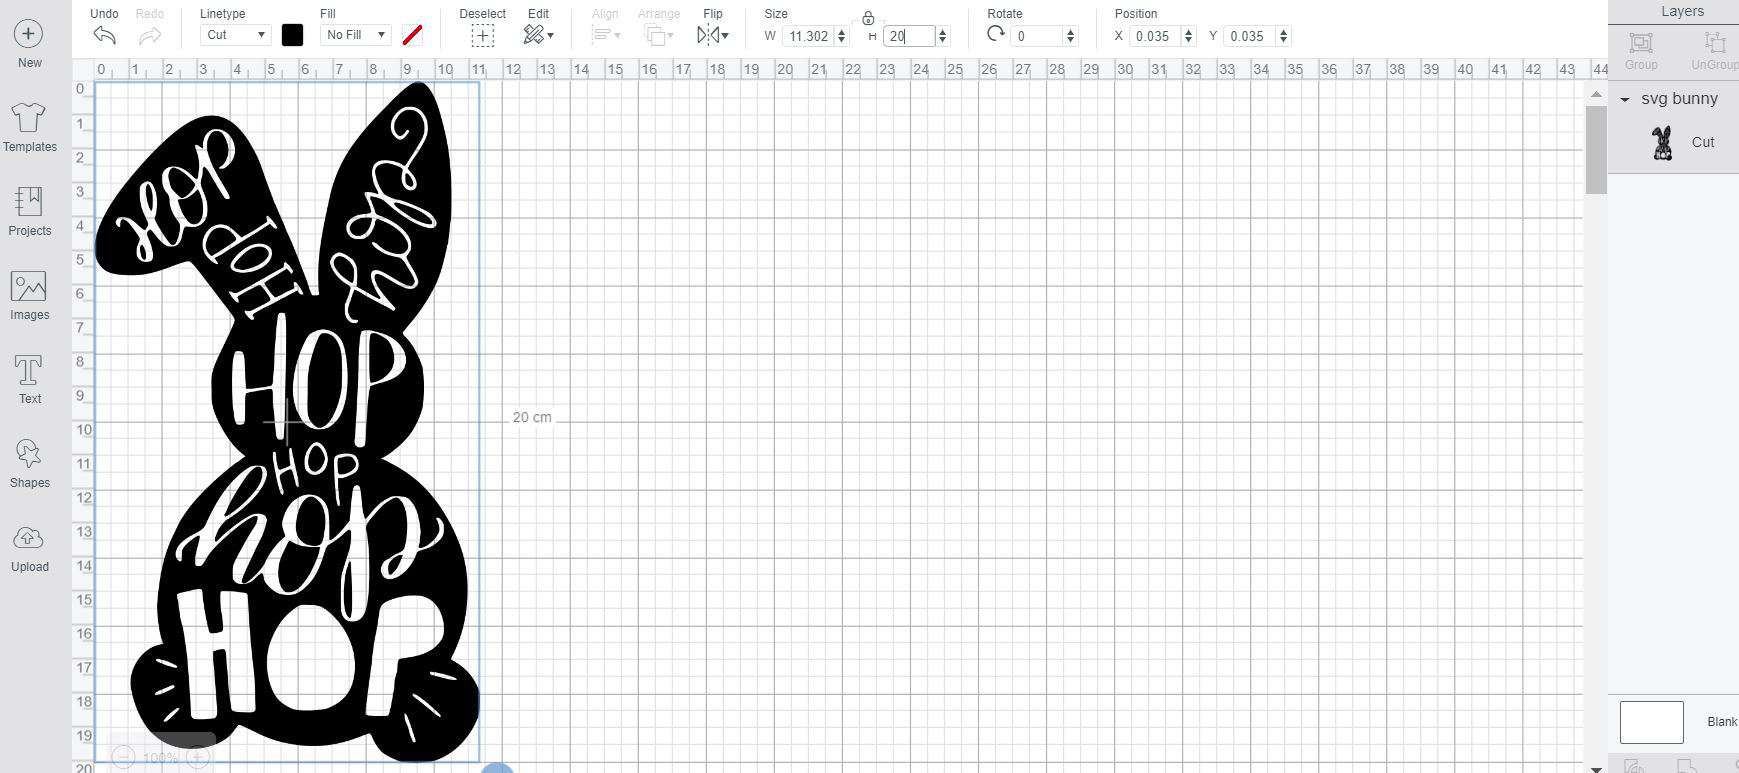
Step 4: Next, remember to mirror-flip your image and select “iron-on” for your material. You will find the mirror switch on the left-hand side of your screen underneath the image of the mat.
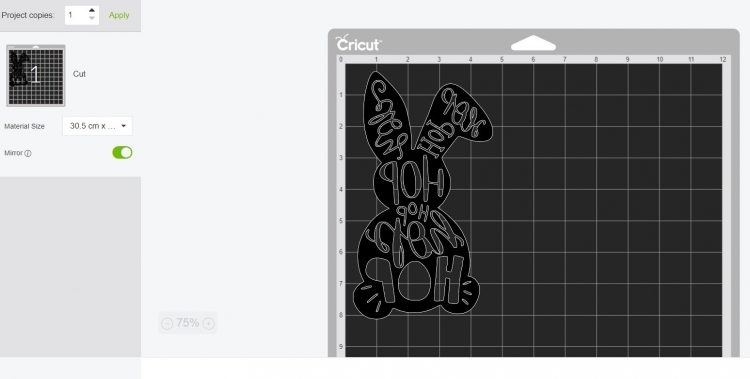
Step 5: Place your HTV vinyl with the shiny glittery side face down on your cutting mat (we want to cut on the back of the vinyl), load the mat and cut away.
2. Weeding your Iron-On Vinyl
Now that we have cut the design for our shirt, it is time to weed (remove the excess vinyl).
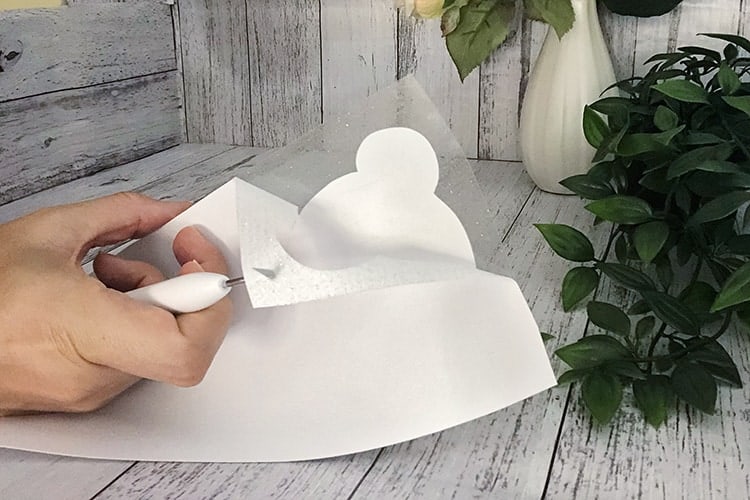
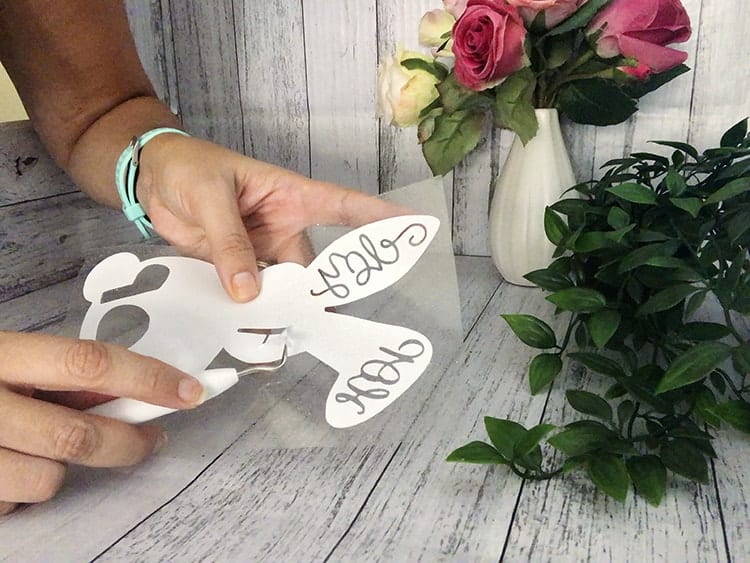
Step 6: Next use your weeding tool to grab the excess vinyl from your design. I like to poke it through the top layer (the vinyl) in the top left-hand corner and use my tool to pull the vinyl away from the clear sheet.
Once there is enough vinyl for me to grab, I simply pull or peel the rest away with my fingers.
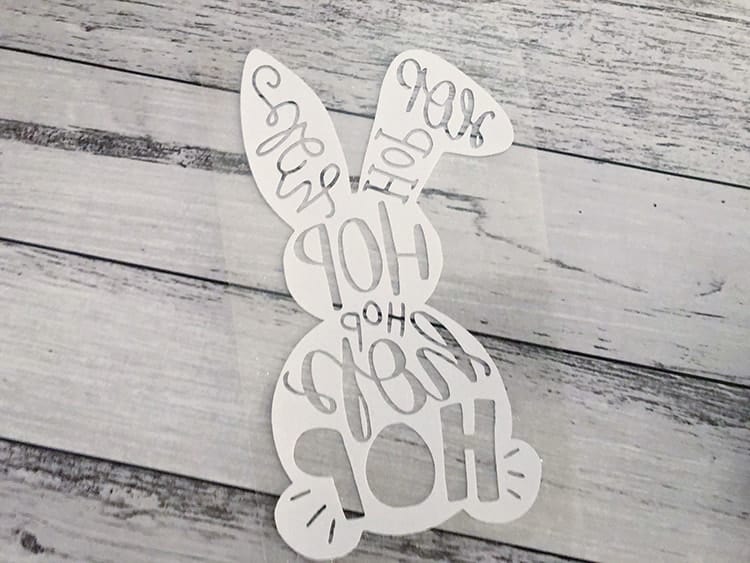
Step 7: Next we need to remove the excess vinyl to expose the words. Use your weeding tools to carefully weed away the words.
3. Applying your HTV Vinyl
Now our design is ready for the shirt. We need heat to apply heat transfer vinyl and you can either use your heat press, EasyPress, or an iron for the next steps.
Step 8: Heat up your heat press machine (I use the Cricut Easpress 2 – see our review here) to 320°F/160°C and set your timer to 20sec.
Step 9: Quickly give your shirt a pre-press for around 5sec. This will help to remove wrinkles as well as any extra moisture.
Step 10: Apply your Easter Bunny design to your shirt. To do so simply place your design in the middle of the shirt. Then place your EasyPress on top and press with medium pressure for 20 sec. and then flip the shirt around and do another press on the back for 20 sec.
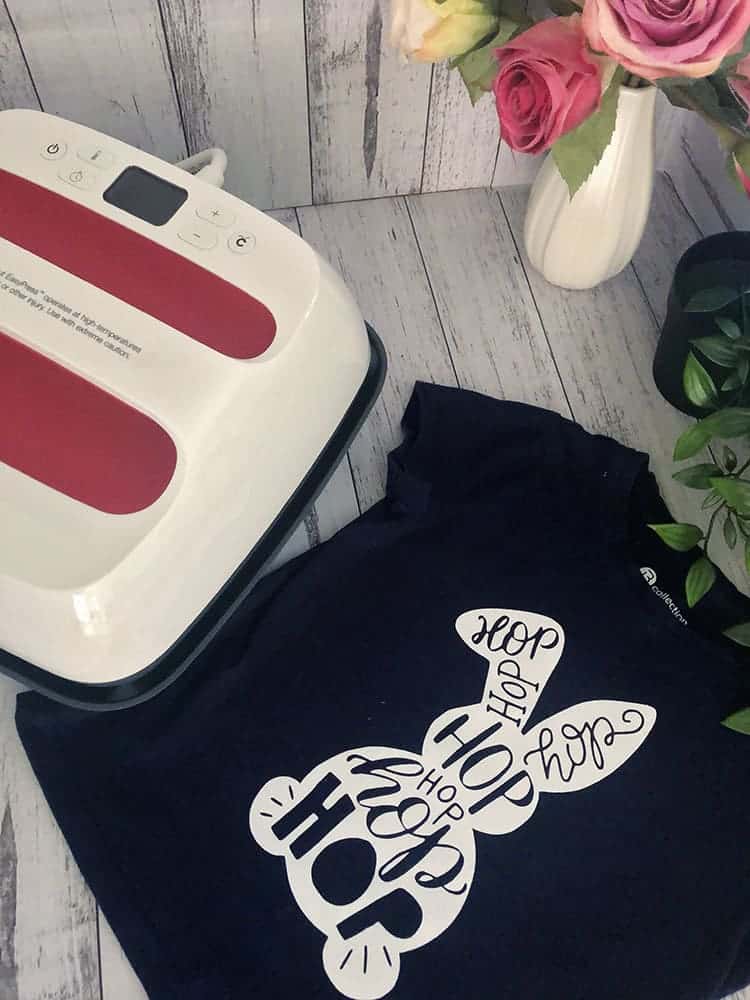
Step 11: Wait for the vinyl to be warm to the touch, then carefully peel back the corner of the backing. If your vinyl lifts up, simply do another press. Otherwise, remove the backing.
Note: If you are using a different brand of HTV, it is important to check and see whether your vinyl is a hot or cold peel (meaning should you wait till the backing is cold or should you peel it whilst it is still warm).
And there you have your own sweet little Easter Vinyl Shirt for your daughter. I think this is a great design as it can work so well for kids of any age and I think it could even work for younger boy shirts as well if you wanted to make a matching set.

I hope that our tutorial has inspired you to head off and create your very own vinyl Easter shirts. It is really easy to make Easter vinyl shirts and it works out pretty cheap when you can pick up your blank tee on sale.
Feeling inspired to make more Easter-themed crafts? Find our list of adorable Cricut Easter ideas here.
Want some other t-shirt inspiration? Check out our blog post for some other cool Cricut shirt ideas!
Happy Easter to you all.