If you read through our Cricut Maker Review you would have noticed how much we raved about this machine's ability to cut fabric. In actual fact, it is one of our favorite electronic fabric cutting machines.
You also might have jumped over from our post containing bucket loads of inspiration on Cricut Maker fabric projects.
So before you start cutting away, we highly recommend that you grab our tips on how to cut fabric with your Cricut Maker.
Tips on How to Cut Fabric with your Cricut Maker
Here are our top 10 tips on how to cut your fabric with success.
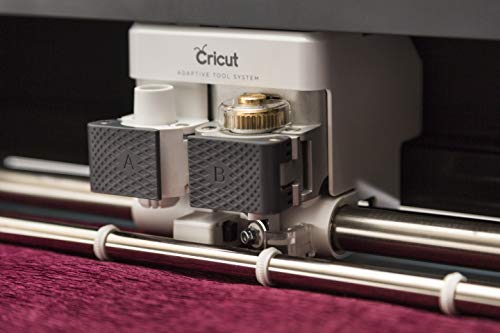
1. Use the Right Cutting Blade
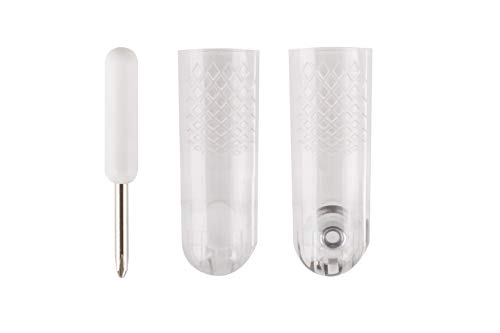
The Cricut Maker can work with 6 blades and the rotary blade is one of our favorites.
It is important to use the right blade to match the material you are cutting. You should use the rotary blade to cut fabric such as cotton, fleece, poly blends, denim, felt, canvas, and more.
Not sure what you can create with a Rotary Blade? Click here to see our post full of Cricut fabric project ideas and this one on Cricut felt ideas.
Your Cricut Maker comes with the Rotary Blade so you will only need to purchase a replacement once this one goes blunt.
2. Use the Right Cutting Mat
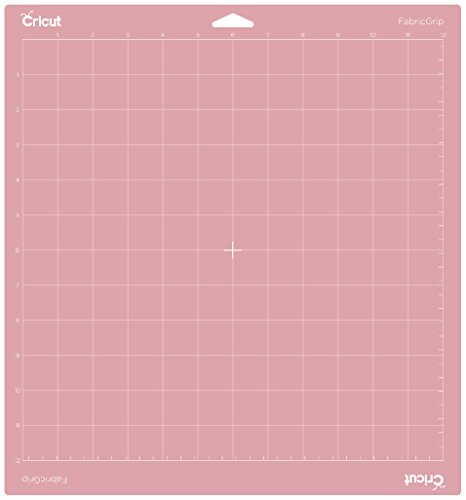
It is really important to use the pink FrabricCut Mat (it comes with your Cricut Maker) to cut your fabric.
This mat was specifically designed to withstand the intense pressure of the rotary blade making it possible for your Maker machine to cut fabric without the need for backing.
You can read up more on the different types of Cricut Mats here.
3. Working with the Grain

You will need to pay attention to the grain on fabric. Understanding how to work with the grain can help you achieve better cuts.
It isn't hard to find the grain. Firstly find the selvage edge of your fabric. Grain lines run parallel to the selvage edge.
Design Space will often help you with some guidelines so you know which way to place the fabric.
Have a look at the mat preview screen. The numbers will either be upright or on their side.
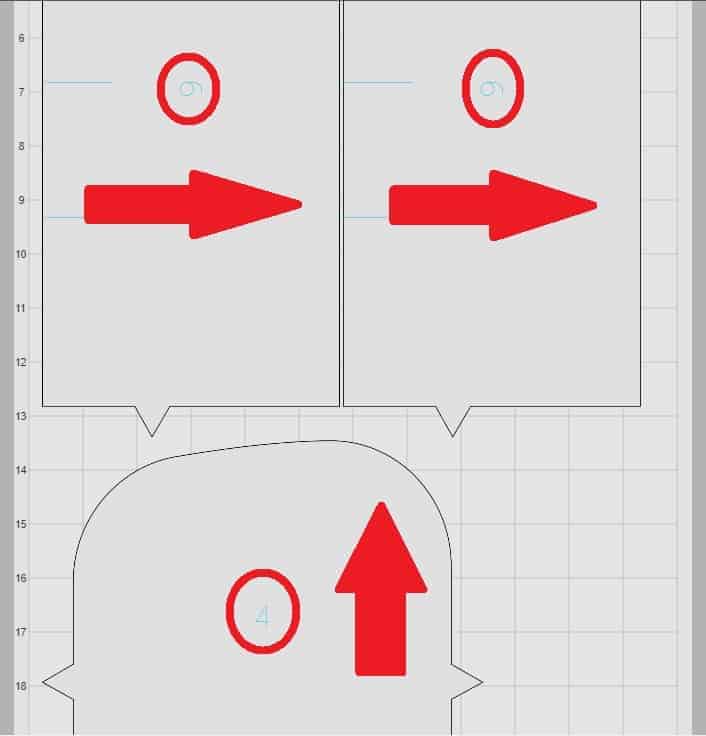
If the numbers are upright, place the grain of your fabric going up, and if the numbers are on their side place the grain of the fabric going right to left.
4. Pre-Wash and Iron your Fabric
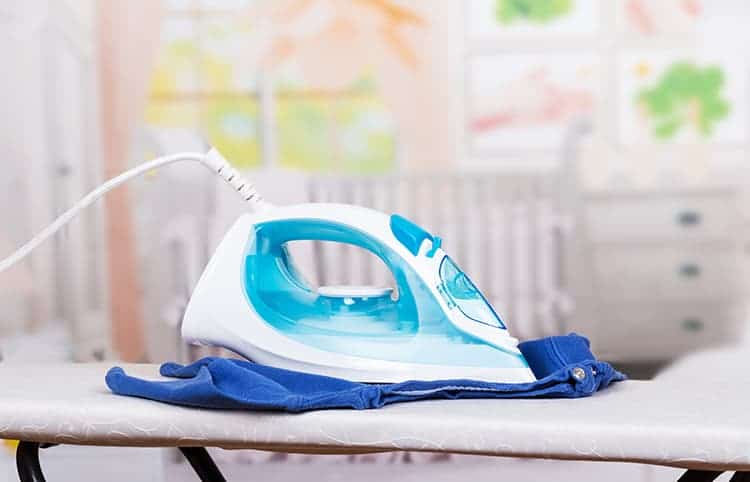
We also recommend pre-washing and ironing your fabric prior to cutting. Smooth and wrinkle-free fabric will always give you the best cuts, so it is important to give it a quick iron.
5. Check Project Instructions
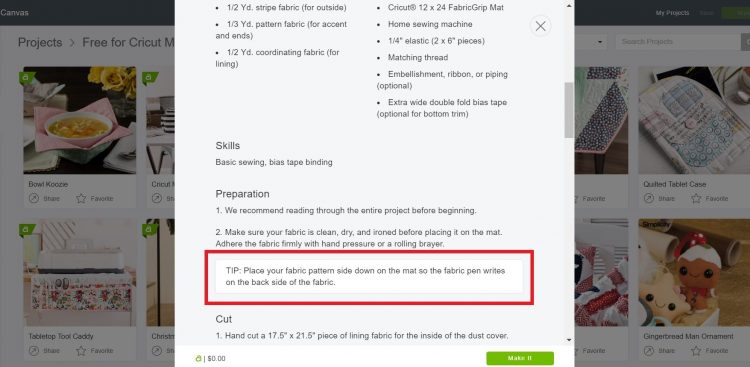
Always check your project instructions, because some projects require the fabric to be placed upside down.
You can get a quick idea of what types of projects you can make with your Cricut Maker here.
6. Pre-Check the Marking Pens
Cricut has some washable fabric marking pens and whilst they typically wash out all fabrics, it is a good idea to test it out on your specific fabric as all fabrics are different.
I love doing it on the back and simply using a wet paper towel to see if it will come off.
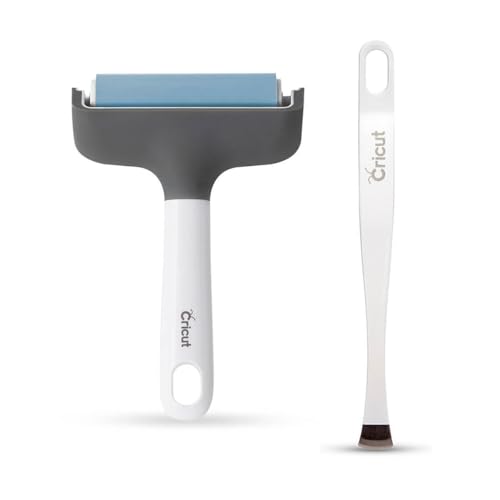
7. Adhering your Fabric to the Mat
Always ensure that you smooth out the fabric before cutting. A good tip is to use the Cricut brayer to smooth out any wrinkles, rather than trying to reapply it.
Stretchy fabric can be a bit of a pain to apply, it can be easy to accidentally stretch the fabric when you are trying to do it along the straight edge.
You might need to carefully pull up your fabric from the top and reposition it to get it smooth. (A brayer will simply stretch stretchy material more).
8. Pick the Correct Fabric From the Selections
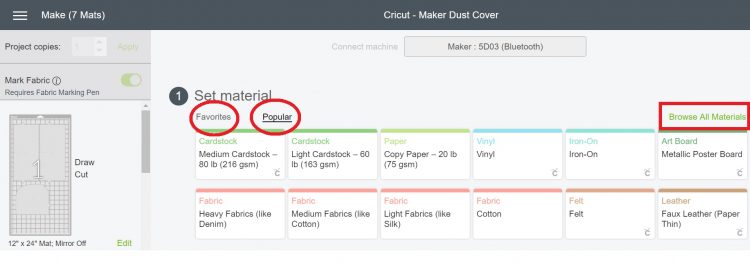
Another tip is to ensure that you pick the right selection from the options available.
In Design Space you will automatically have a choice between the most popular material selections, however, you can see a large list by clicking on ‘browse all materials' on the right.
Pick the one that matches your machine to ensure that the correct force will be applied to the fabric.
9. Always Do a Test Cut
To save you $$$, it might be a wise idea to do a quick test cut. Stick to cutting the shapes that you will be cutting in your pattern. So if you have to cut shapes with curves, maybe create a quick 1″ circle to test cut.
Check the cut to see if it came out clean and if you are happy before moving onto cutting your big panels.
10. Avoid Touching the Adhesive
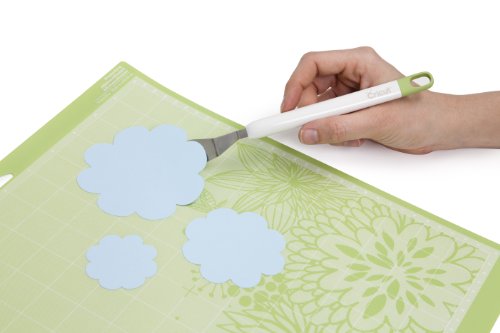
You want the adhesive on your mat to stay sticky for as long as possible. The adhesive stops your fabric from moving around or bunching up during the cut process.
Here are some tips to look after your mat:
- Don't worry about removing the threads that remain on the mat, you can leave them there rather than trying to pick them off.
- Don't use the scraper to remove your fabric pieces as the scraper will scrape off some of the adhesive as well.
- Avoid touching the adhesive as much as possible. Remove your fabric by removing the excess fabric first.
- Remove the cut pieces of fabric with the broad-tip tweezer or use the spatula to help lift it up. If your fabric bunches up, simply iron it to flatten it out.
And there you have our Cricut Maker cutting fabric guide.
If you have any top tips to add to our list, we would love to hear them. Click here to see our massive collection of resources on Cricut Crafts and Machines.
Till later,
Sam xxx