Do you love using Infusible Ink and want to start creating custom-design mugs using the Cricut Mug Press?
Well, today we have the perfect post for a total Cricut Mug Press beginner.
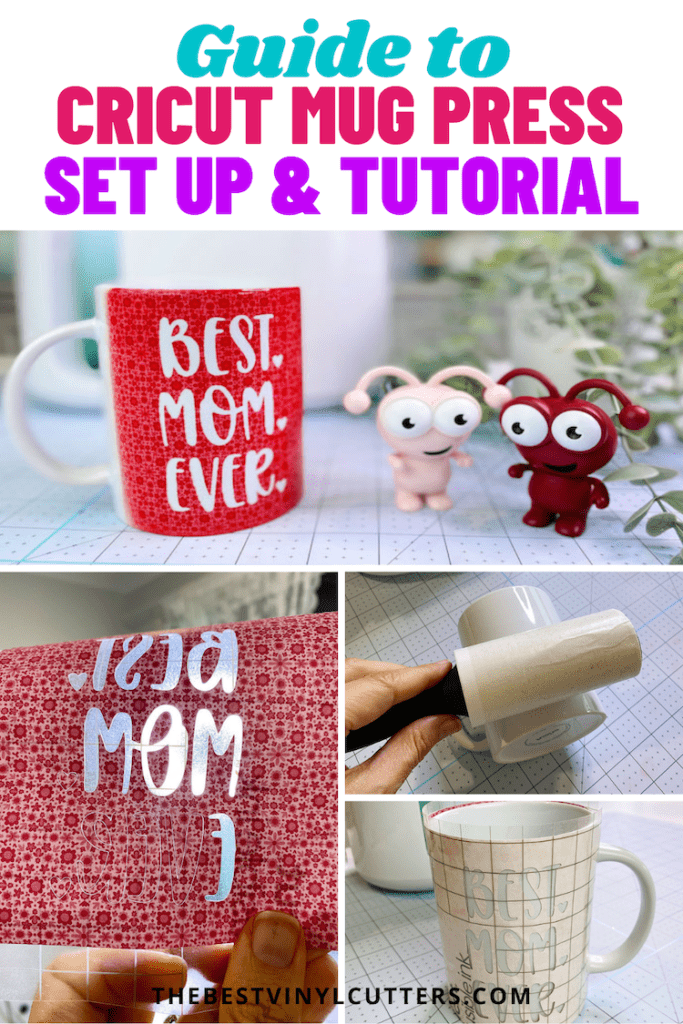
You will find Cricut Mug Press setup instructions, together with a beautiful Cricut Mug Press tutorial so you can easily create your first mug.
Making custom-designed mugs using the Cricut Mug Press and Infusible Ink is so much fun and pretty easy once you get the hang of working with Infusible Ink.
If you have not used Infusible Ink before, the first thing to know is that it is a great product to work with, but it works differently from vinyl.
By following our step-by-step tutorial below you will get a load of helpful tips and tricks before you start to help you achieve the best result.
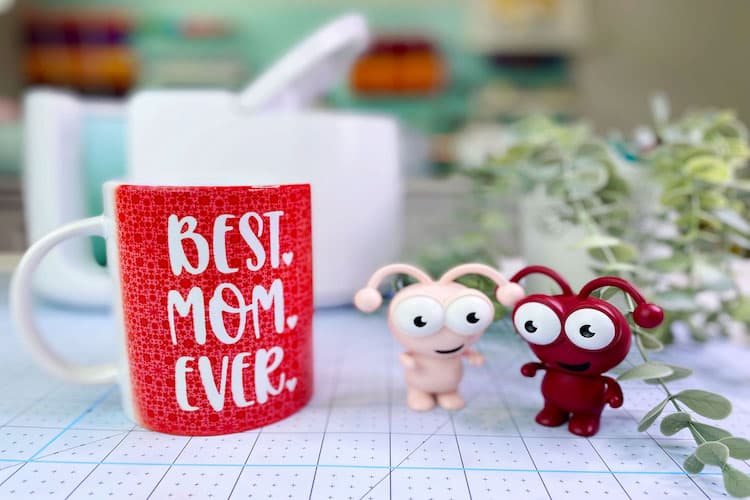
In this project, I created a cool Infusible Ink mug for a Mother's Day gift, but you can customize the steps to create your own unique design.
Here is the full step-by-step tutorial on how I created the Cricut Infusible Ink Mug.
>>> Read our beginner guide if you want to know what is infusible ink?
Cricut Mug Press Set-Up Instructions
Before you start doing anything, you will need to ensure that you have set up your Cricut Mug Press.
Make sure you have the following to activate the Mug Press without difficulty.
- Cricut Mug Press (or a beautiful Cricut Mug Press Bundle package)
- USB cable (this comes in the box)
- Compatible Windows/Mac computer with USB Type-A port
- Design Space software
TIP: You need to make sure you have downloaded Cricut Design Space on your computer AND registered for a Design Space account. You can do this during the set up steps, however it will be much easier if you do it before you start!
Ok. Now that we have all that you need to get your Mug Press Set Up, follow the steps below and you will be set up in a few easy steps.
Cricut Mug Press Set Up Steps
- Connect the power cord to the back of the mug press and plug it in.
- Press the power button to turn on the Mug Press. The light on top will start flashing which indicates it's in “Connect Mode.”
NOTE: The Cricut Mug Press will not warm up, until you have completed the set up. During the set up a firmware update will be done.
- Click here to open the Set Up page.
- Select “Heat Press” option.
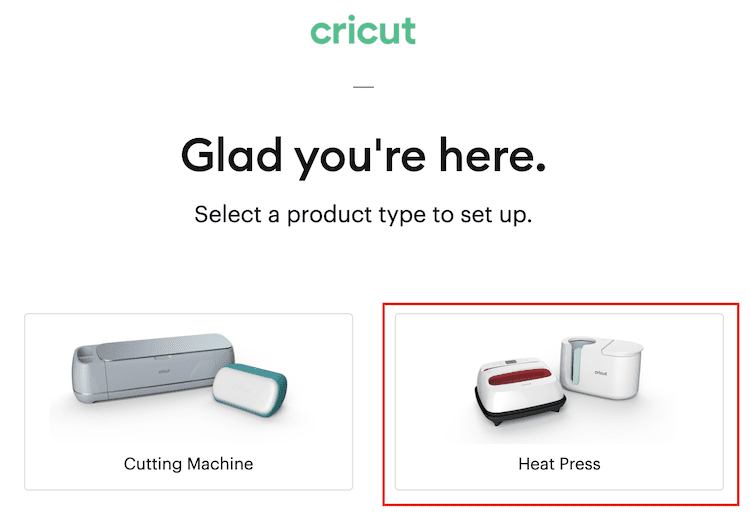
- Next select “Cricut Mug Press”.
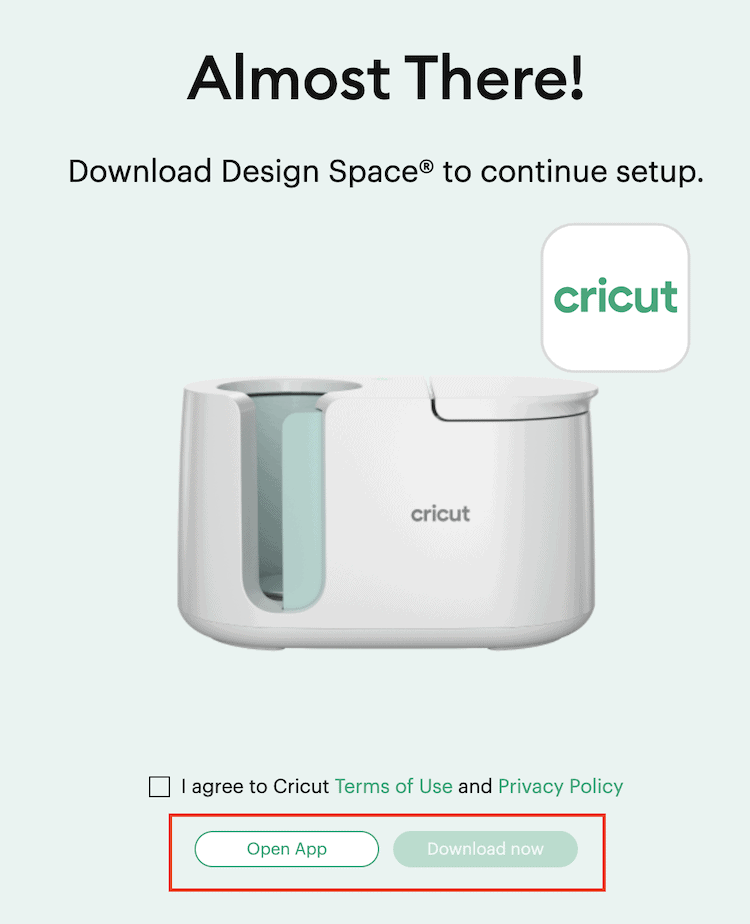
- You will now have the option to either “Open App” or “Download now”. If you already have Design Space you simply have to click on “Open App”. If you have not used Design Space before you will need to click on “Download now” and follow the instructions to register an account to use Design Space.
Tip: You can also activate your new Mug Press directly in Design Space by clicking on New Machine Setup in the Design Space menu.
- Follow the on-screen prompt to connect your press.
- The firmware will be checked and updated.
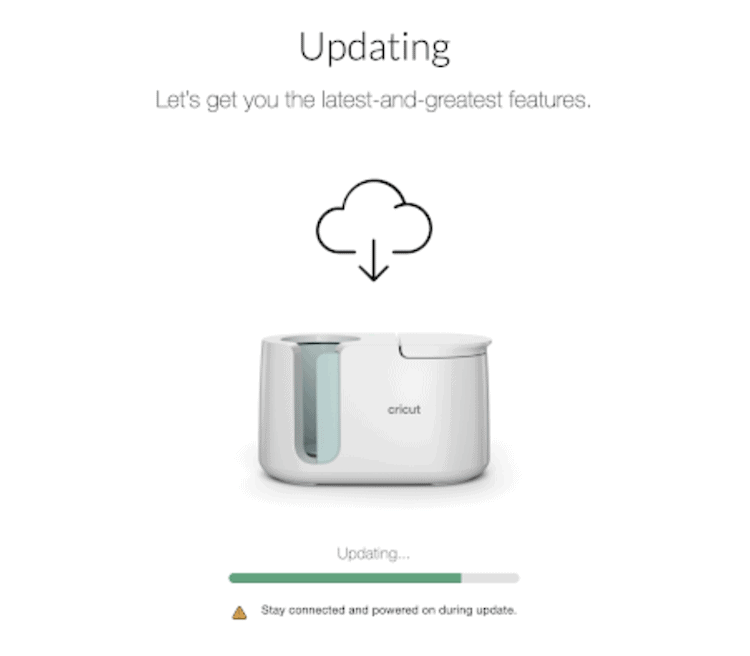
- And finally the activation will be complete!
Awesome, wow you are all set to start using your Cricut Mug Press by warming it up. When you now power on the Mug Press, the orange light should be solid.
Once the light turns green and the press beeps – it has come to temperature.
You can disconnect the USB cord between the press and the computer as it is only required for the set up process.
Cricut Mug Press Instructions: Let's Create Your First Mug!
Find below the steps to follow in order to create this beautiful Infusible Ink Mug.

Supply List
- Cricut Blank Mug
- Cricut Infusible Ink Transfer Sheets (I used the pink sheet from the Wildflower Patterns box in this tutorial – you can also buy these Cricut Unfusible Ink bundles to save money too)
- Butcher Paper (comes with the Infusible Ink transfer sheet box)
- Cricut StandardGrip Mat (green colored mat)
- Cricut Heat Tape (tape that can handle high heat)
- Lint Roller (to remove all the excess threads and dirt off your blank)
- Scissors (can be purchased in the Cricut Basic Tool Set)
- Cricut Rotary Cutter (nice to have but not required)
- Self-Healing Cutting Mat (nice to have but not required)
- Ruler (nice to have but not required)
- Cricut Tweezers (can be purchased in the Cricut Basic Tool Set)
- Cricut Brayer
- Cricut Mug Press
- Cricut Maker, Cricut Explore Machine, or Cricut Joy (if using the Joy make sure to purchase Infusible Ink Sheets for the Cricut Joy or cut them to size to fit the mat)
Step 1: Search For your Project Design in Cricut Design Space.
In this tutorial, we will be using a project already in Cricut Design Space. Once you are comfortable creating mugs with Infusible Ink you can use your own designs or images by uploading them into Design Space.
- Search for a design by clicking Projects on the Design Panel. We searched for “Best Mom Ever”. If you wish to use the same project, simply click here to open the project in Cricut Design Space.
- Once you have chosen the project design you would like to use, select the mug size you will be using. Click on “Make It” to insert the project onto your canvas. If you wish to change the design select “Customize”.
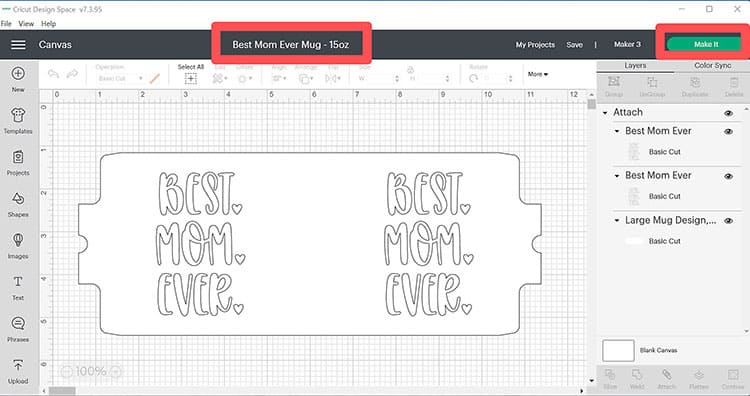
- If you are happy to proceed and have no changes to make, click on Make It to send the design to the mat screen for cutting.
Step 2: Choose Your Material Settings on the Cut Screen
Next, let's select our materials and cut settings on the cut screen.
- On the cut screen, click the Mirror toggle button to mirror your image, then click Continue.

- Wait for Cricut Design Space to connect to your machine. Then select Infusible Ink Sheets
Step 3: Prepare Your Material to be Cut
Let's prepare the Infusible Ink Sheet. Infusible Ink has to be placed FACED UP (which is different from Iron-On Vinyl which has to be placed shiny side down).
- Use the StandardGrip mat (green). Make sure that your hands are clean and dry before touching the Infusible ink transfer sheet (because the oil or moisture on your fingers can transfer to the sheet and cause smudges). Place the sheet facing up on the mat.
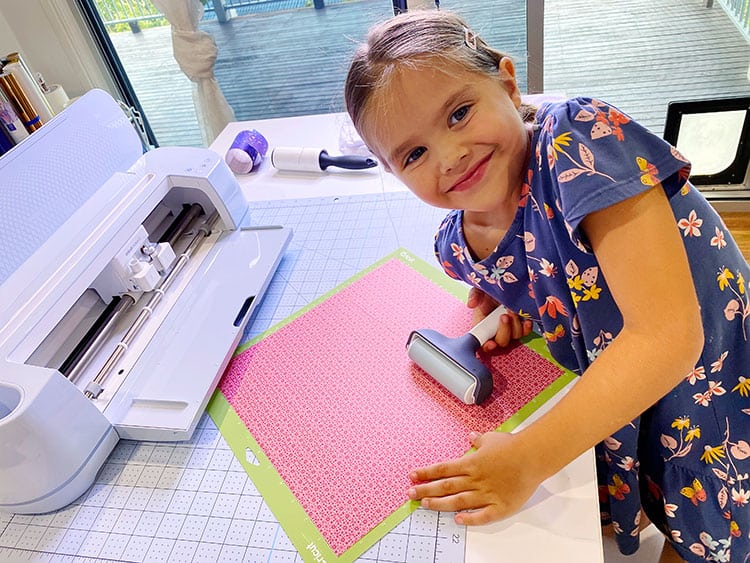
- Use a brayer to smooth the sheet down the mat. This is to prevent you from touching the Infusible Ink Transfer Sheet and to make sure it does not move when the machine cuts the design.
- Load the mat in your machine to start cutting. Wait for it to finish.
- Once done, unload the mat.
Step 4: Weed Your Design
Now it is time to prepare your design by removing all of the excess and unwanted pieces of Infusible Ink.
- To remove the Infusible Ink Transfer Sheet, flip over the green mat and pull the mat away from the sheet. This way you can avoid touching the front of the sheet.
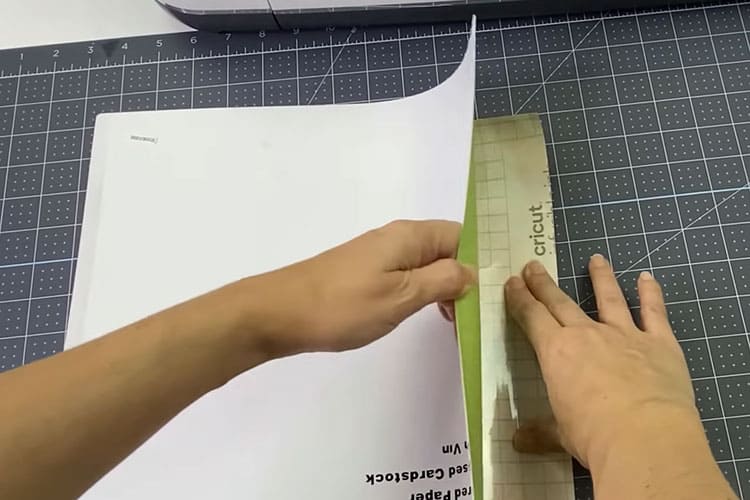
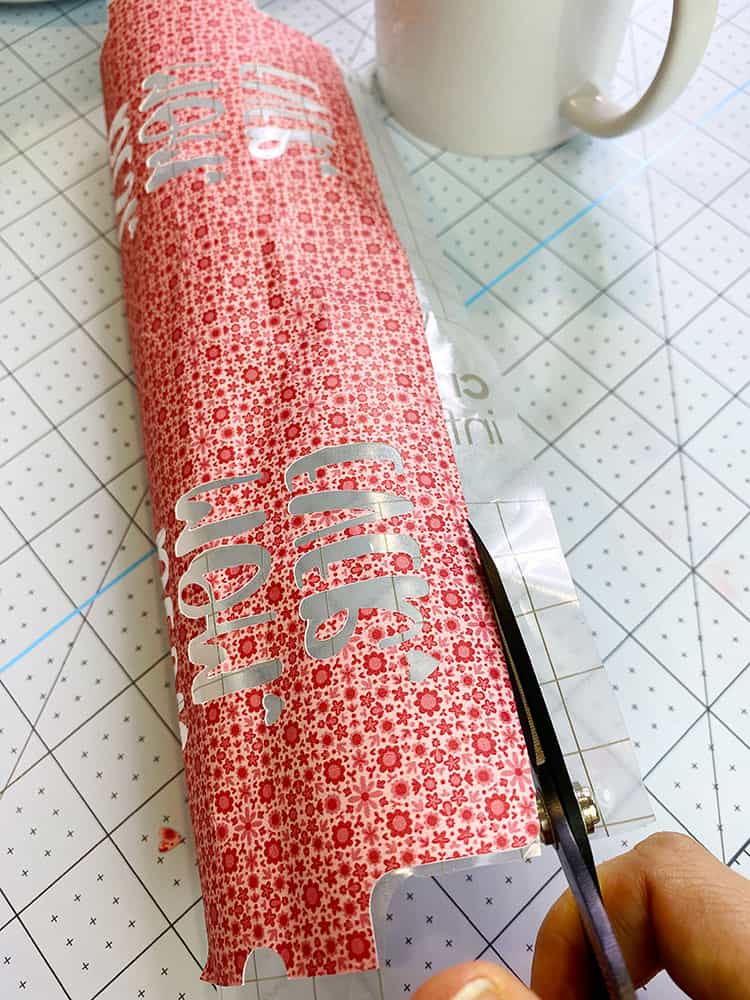
- Trim down the excess sheet to ensure that your design stays straight when placed on the blank mug. You can also use the cut-off piece for other projects.
- Use your scissors or rotary cutter, self-healing cutting mat, and ruler (if you have it but you don’t need to buy it).
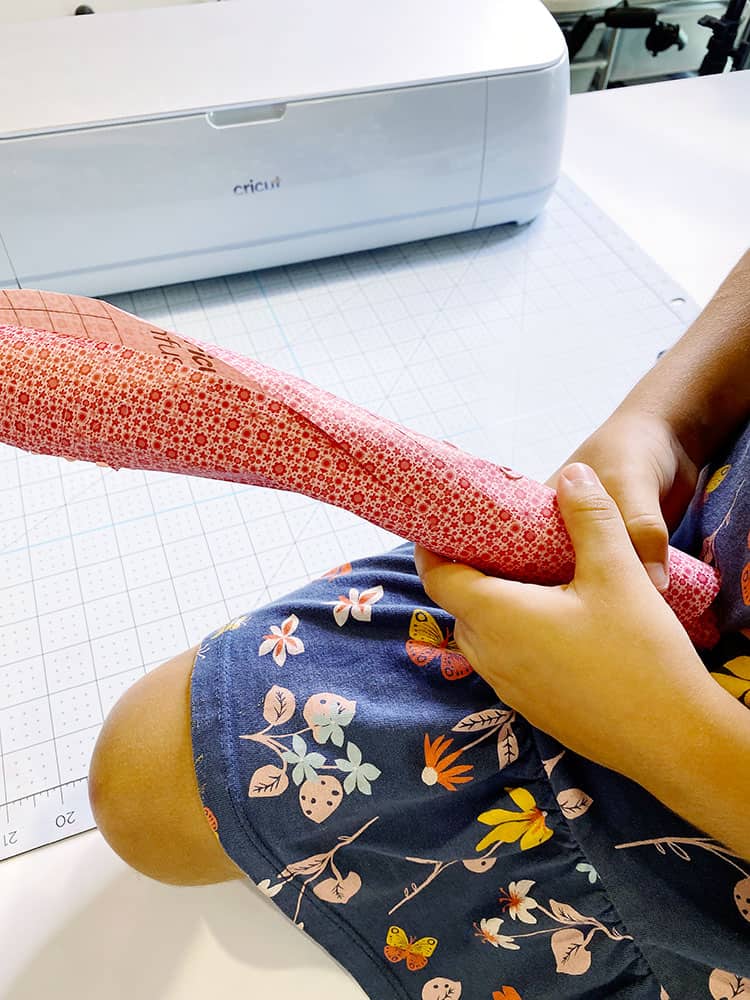
- Next, it is important to ‘crack' the sheet, roll it up, and squeeze it until you can hear it crack, and snap. This will help to make the weeding process much easier.
- Go around the edges and use your fingers to peel away all the excess that you don’t need.
- Weed out the additional bits and pieces and the words “Best Mom Ever” inside the design. You can bend and squeeze the sheet again so you can see those little bits and pieces that need to be removed.
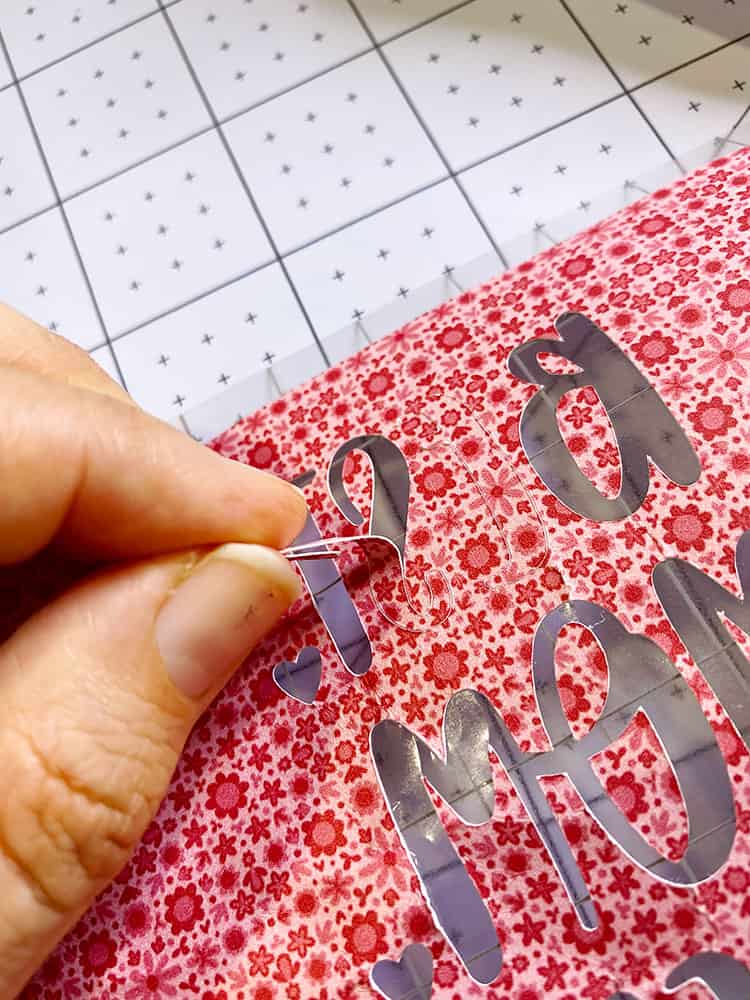
TIP: If you hold the sheet to the light you will be able to see the cut lines a little easier to help you weed the design.

- It is now ready to put on your mug!
Step 5: Preparing your Mug Before Pressing your Design
It is finally time to apply this gorgeous design to your blank mug!
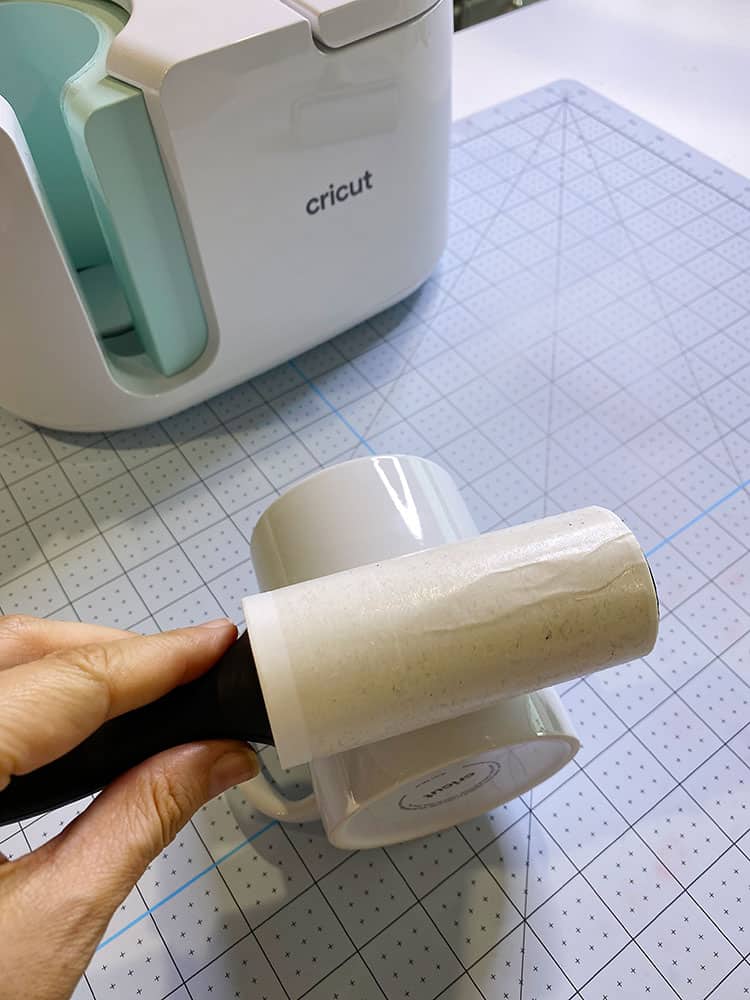
- Use a lint cloth to remove any fluff and dirt off the mug.
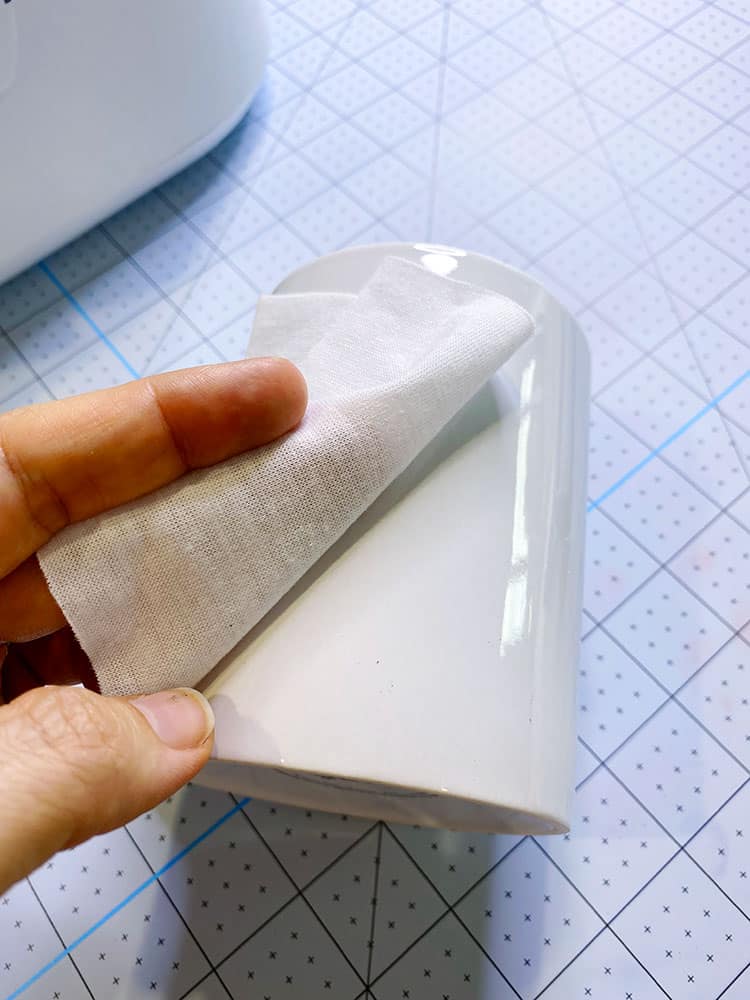
- Next, use a lint roller to remove excess fibers from the mug.
Step 6: Time to Apply your Design to your Mug!
Finally, we are ready to apply the design. Watch the magic, your design is going to come out super vibrant!
- Turn on your Cricut Mug Press so that it can reach the required temperature.
NOTE: When power on the Mug Press, the orange light should be solid. Once the light turns green and the press beeps – it has come to temperature.
- Place the Infusible Ink design on your mug with the ink side facing the mug. Now you can see why I asked you to trim down the edge of the sheet, because if we make sure the design is flush on the table, we know it will be straight and go to the bottom of the mug.
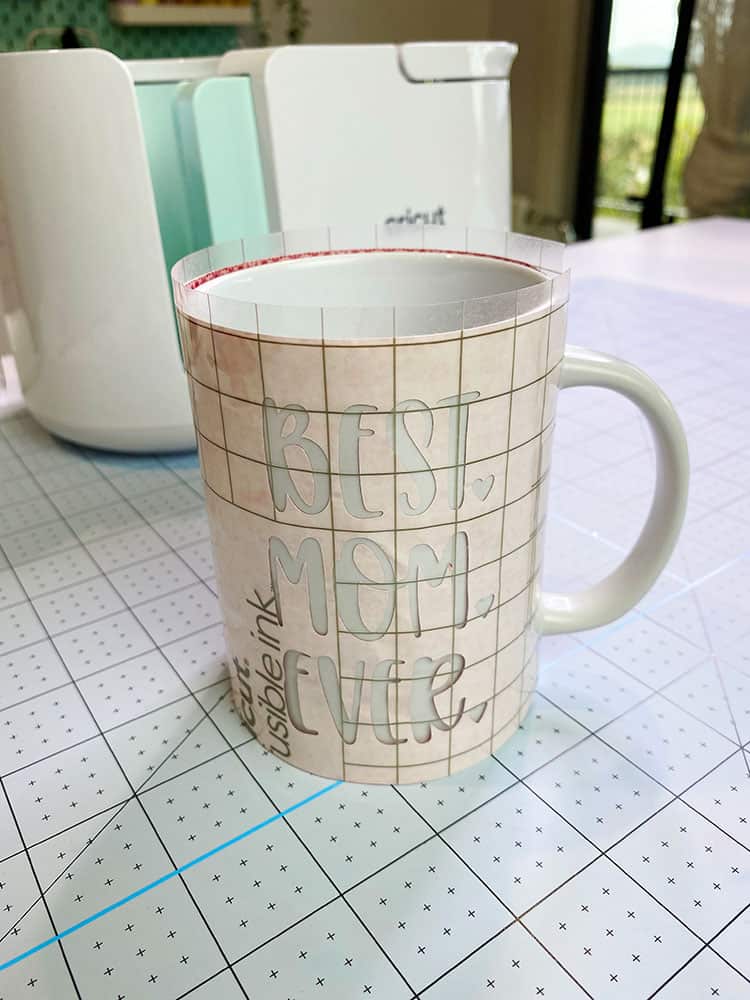
- Next, using the heat tape, secure the Infusible Ink sheet to the mug to make sure that it does not move and cause the design to “ghost” when pressing in the Cricut Mug Press. You will see that the Infusible Ink is not sticky, unlike iron-on vinyl.
Tip: Do not use normal sticky tape because it will melt under heat. Use heat tape instead.
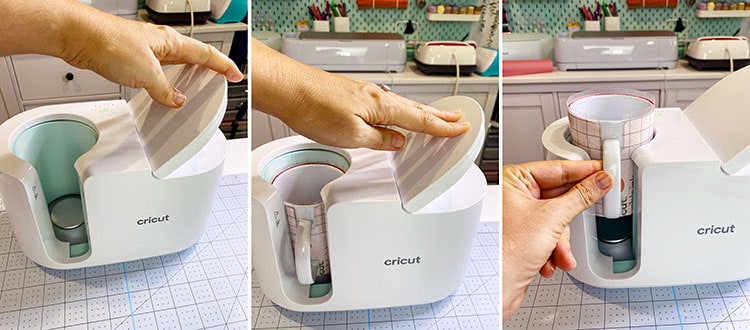
- Open the Mug Press by lifting the lever on the top of the press.
- Place your mug into the Mug Press. The handle should be sticking out. Try to make sure that there is an even amount of infusible ink on each side of the handle and the press.
- Close the press by pressing the lever down to secure the mug in place. Make sure the heat plate covers the design.
- Leave the Mug Press until it beeps as this is when the necessary time has been reached for pressing the design to your mug.
Tip: You can also see when the necessary time has been reached when all the lights on the top of the Mug Press have come on.
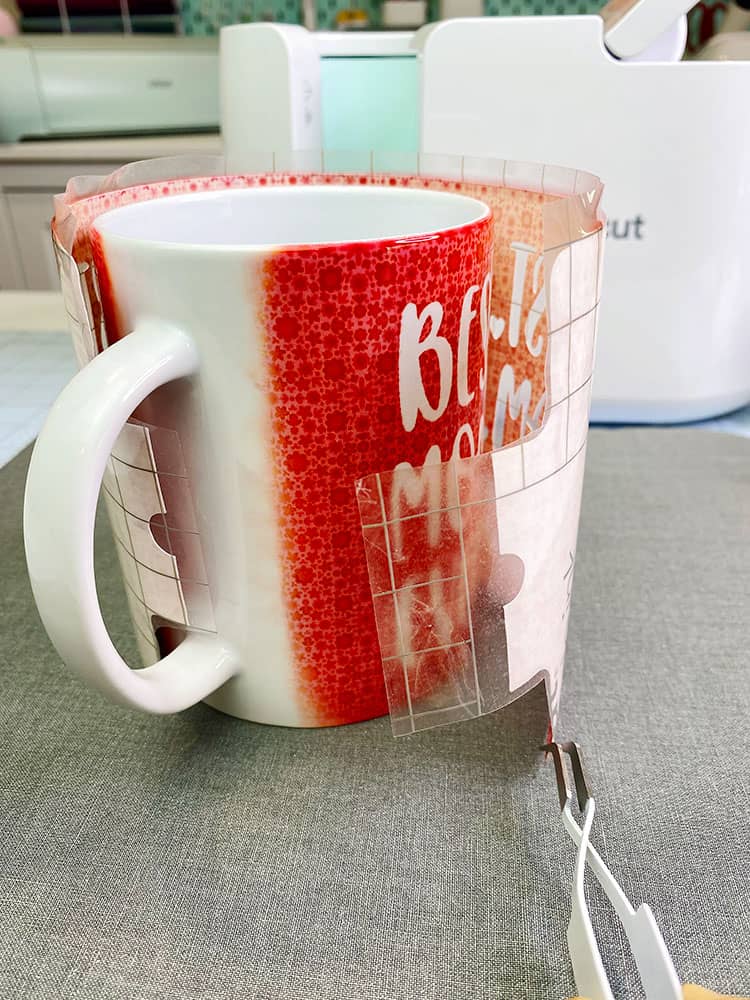
- When the Mug Press has finished, open the Mug Press and remove the mug from the press. Be careful not to touch the mug as it will be very hot.
- Leave the mug to cool down completely before removing the Infusible Ink sheet.
- When the mug is cool, you can remove the transfer tape and then remove the transfer sheet using your tweezers.
And you’re done! Now you have an awesome customized mug design that will make any mom very happy!
Here is the beautiful finished product.
The ink has infused into the mug surface and it looks so bright, colorful, and professional! You can place this mug in the dishwasher and also submerge it in water unlike when using adhesive vinyl on a mug.
Hope you will also enjoy making this project as I enjoyed creating this cool mug!
>>> Read our Ultimate Beginners Guide to Cricut Infusible Ink to learn more!
If you want to know which Infusible Ink Cricut mug blanks to use, have a look at our post all about Cricut Blanks for Infusible Ink.
Want to be a little budget savvy or buy mug blanks in larger quantities? Look at our post about other Infusible Ink blanks that you can use.
Want to try creating a Cricut Mug with Infusible Ink Pens? Or make this Father's Day Cricut Mug with Infusible Ink!
Want some more Infusible Ink inspiration? Check out our blog post for some more Cricut Infusible Ink Project ideas!