Whether your style is modern, traditional, or rustic, there's a homemade Cricut Christmas ornament for you. That’s the beauty of buying a blank ornament, you can turn it into exactly what you want it to be.
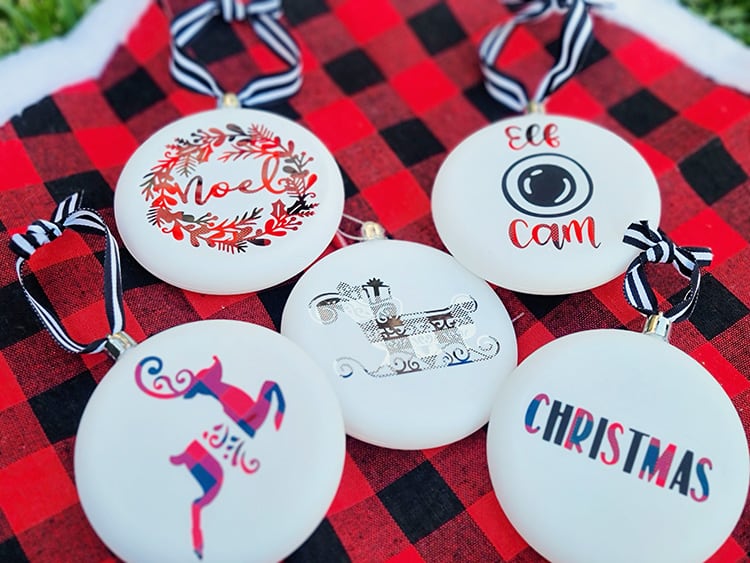
Today we will be learning how to make custom flat disc ornaments using patterned heat transfer vinyl. These ornaments are perfect for beginners, they are quick and easy to whip up.
This three-step tutorial will allow you to create your very own theme ornaments for your Christmas tree … or even to sell or gift. For today, the designs will be patterned text and designs.
DIY Flat Disc Cricut Christmas Ornaments
Follow these steps to create these gorgeous Cricut Christmas Ornaments! It's is quick and easy and perfect for any Cricut crafter! birth elephant!
Supply List
- Cricut StandardGrip Cutting Mat
- EasyPress Heat Mat
- Cricut EasyPress Mini
- Heat Transfer Vinyl
- Flat Disc Blank Ornaments
- Scissors
- Scrapper
- Tweezer
- Ribbon
Step 1: Download and Upload your SVG to Cricut Design Space
First, let’s prepare the design. You are more than welcome to use the little decals that I created for my Christmas baubles, or simply find some designs or SVG’s that you would like to use instead.
- Begin by selecting this project in Cricut Design Space
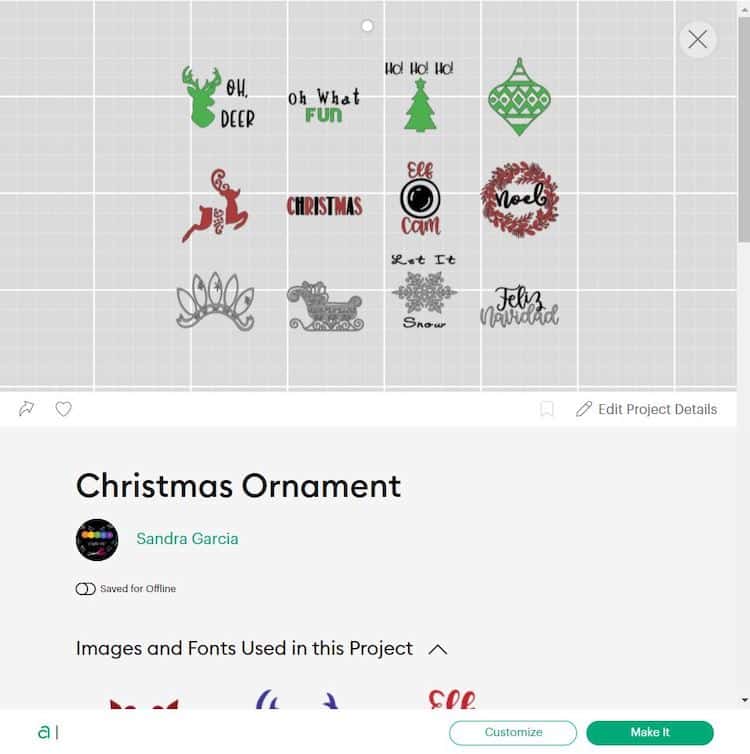
- Select “Open” and then select “Open Cricut Design Space Application.”
- From there select “Customize”.
- Now you will need to edit the dimension to best fit your ornament size. For this project, we customized the design to a 3in x 3in blank Christmas Ornament.
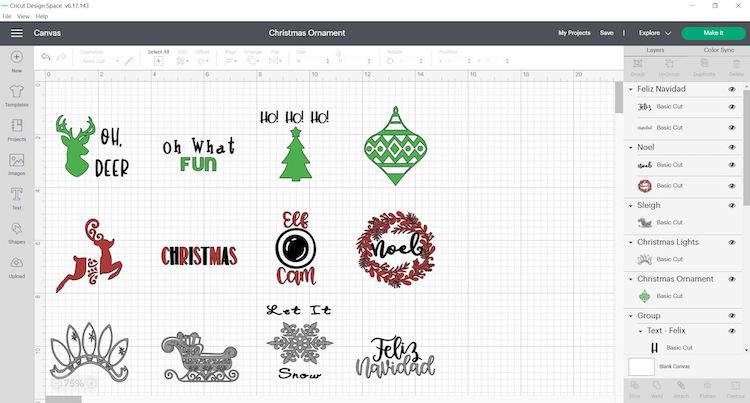
- You may also change the image and text colors to your liking, for this project we focus on three different patterned colors and black.
- Once satisfied with the design you can move on to cutting the design.
Step 2: Cut and Weed Design
Now that the size has been adjusted it is ready to cut. So get your Cricut cutter ready (you can use the Joy, Explore, or Maker for this project).
- Switch on your Cricut Machine.
- Grab your StandardGrip mat. Place the HTV, shiny side down or design down on your green StandardGrip mat. Use your scraper to remove any bubbles and or wrinkles from the HTV.
- In Cricut Design Space, click on “Make It”.
- Make sure to select “Mirror” on each mat.
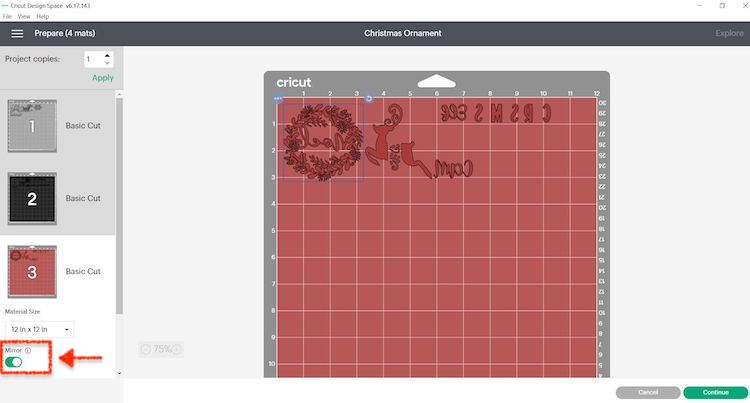
- Select continue and connect your Cricut machine. You will now be able to pick your material and cut settings. If you are using an Explore Air 2, select “Iron-on +” on your material dial.
- Load the mat into your cutting machine and follow the instructions to cut the transfer sheets.
Tip: By color coordinating the design prior to cutting, Cricut Design Space will instruct you on which color mat to load next.
- Next, use your tweezer tool to help you lift the unneeded pieces of the HTV from your cut design. Go slowly around the letters and fine details. Don’t forget to weed out the inside pieces.
Note: You should be able to do your weeding with your fingers but use a weeding tool for smaller detail if required. I also found that in some cases the Cricut tweezer helped best for the very small items.
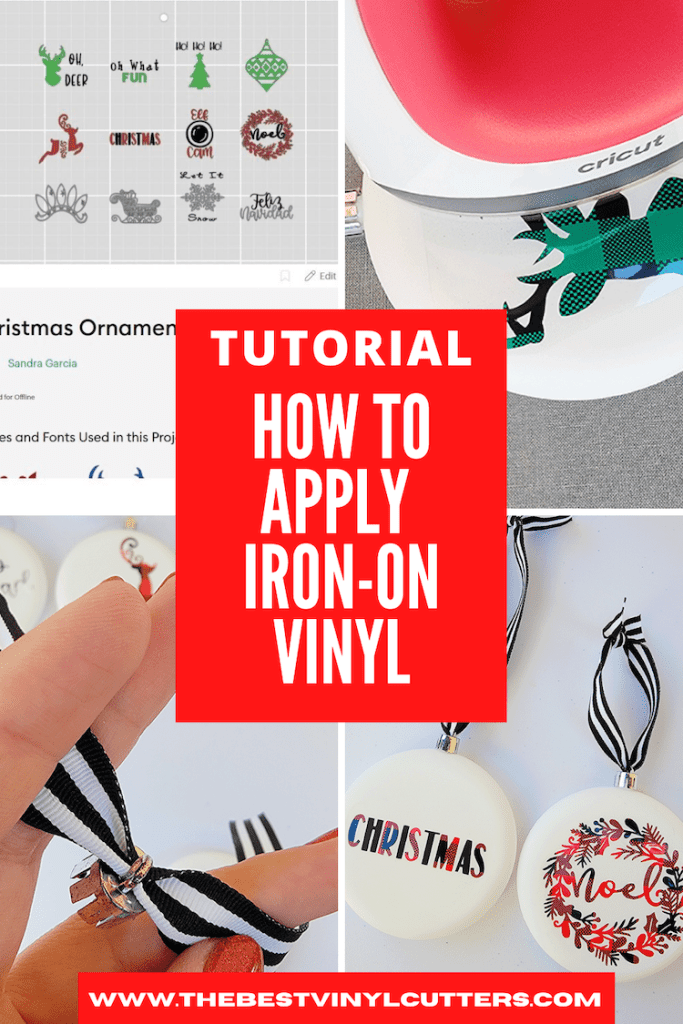
Step 3: Press the HTV on the Blank Ornaments
Now that we have got all of our bits and pieces of HTV weeded, it is ready to pop it all together on our ornaments.
- Start by warming up your EasyPress. I am using the EasyPress Mini and selecting the first bar which is the lowest heat setting.
- Place the HTV design on the ornament. I recommend that you lay down all your pieces to make sure the spacing is correct and that it all fits on your ornament before you press.
- Carefully remove all the layers except for the top one. We will start building our ornament(s), adhering one layer at a time.
- Place your EasyPress Mini on top of the design. Apply light pressure for about 10 seconds, do not press too hard or you will begin to melt the plastic ornament.

- Wait 1 – 2 minute and then peel the clear layer away from the vinyl.
- Repeat the steps with all your remaining layers and remaining ornament designs.
Note: Some pieces may be easier to iron on than others, simply take your time and make sure to not apply hard pressure.
- Lastly, it is time to complete our ornaments with some ribbons. Carefully remove the cap on the ornaments and remove the silver string. Pop your ribbon through the silver cap – use some tweezer to help move it through if you need.

- And then simply replace it back onto your bauble.
Finally, you have your very own personalized Christmas ornaments!
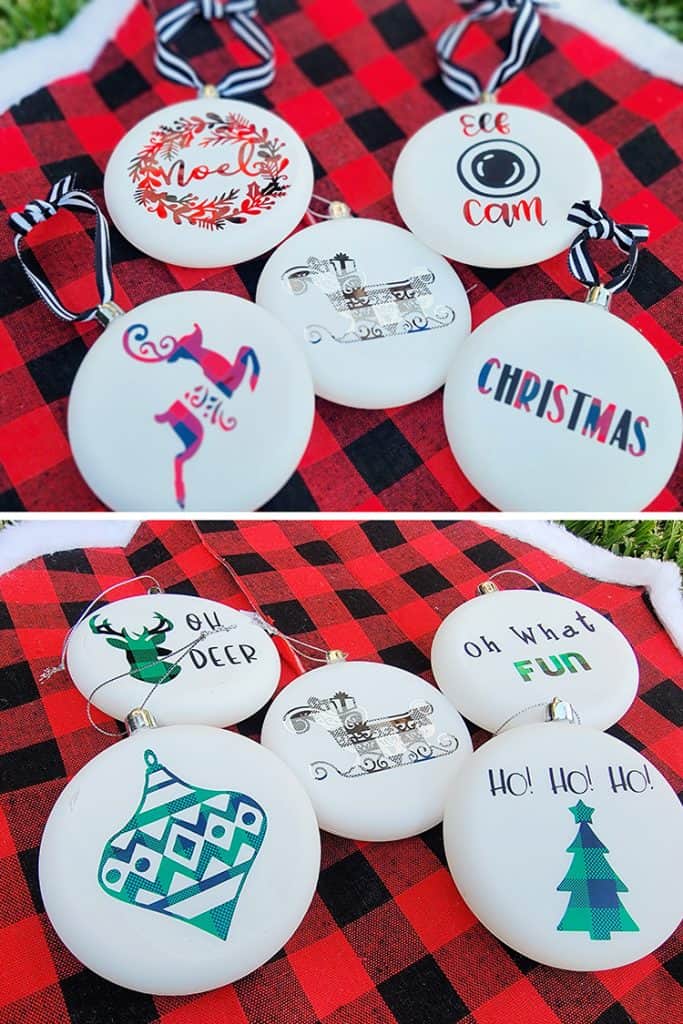
If you are making a whole bunch for the tree or for gifts for family and friends, you can either keep the designs the same or mix and match to make Cricut Christmas Bauble gift sets!
Use different colors or patterns of HTV to match your DIY Christmas Cricut Ornaments to your color scheme this year!
After more Christmas Inspo? Here is Some More Post to Help you Get Festively Crafty:
- 15 Cricut Christmas Ornaments to Make This Year!
- Must-See Collection of Cricut Christmas Gifts that Everyone will Love!
- 15 Stunning Christmas Vinyl Ideas That You Can Whip Up Quickly This Year!
- 20 Cricut Christmas Ideas To Add Some Extra Holiday Spirit to Your Home
- 20 Most Profitable Cricut Christmas Ideas to Sell
Thank you for the tutorial. I have never done ornaments because they look so complicated, but you broke it down to make it easier. Can’t wait to try some.
Hi Donna, I am so glad that this helped! Please let me know how you get on with your ornaments!