Are you struggling to use your new Cricut Knife Blade?
Today I wanted to share our top 12 tips on things that you should know before you start working with the Cricut Maker Knife Blade.
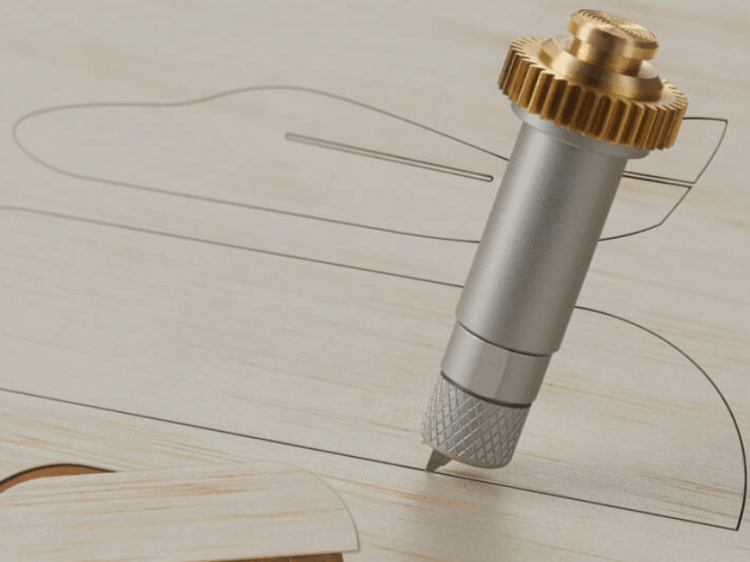
More About the Cricut Knife Blade
The Cricut Maker knife blade release date was May 1st, 2018. It is the newest of the Cricut Blades on offer and Cricut created this blade to work exclusively with the Cricut Maker Machines.
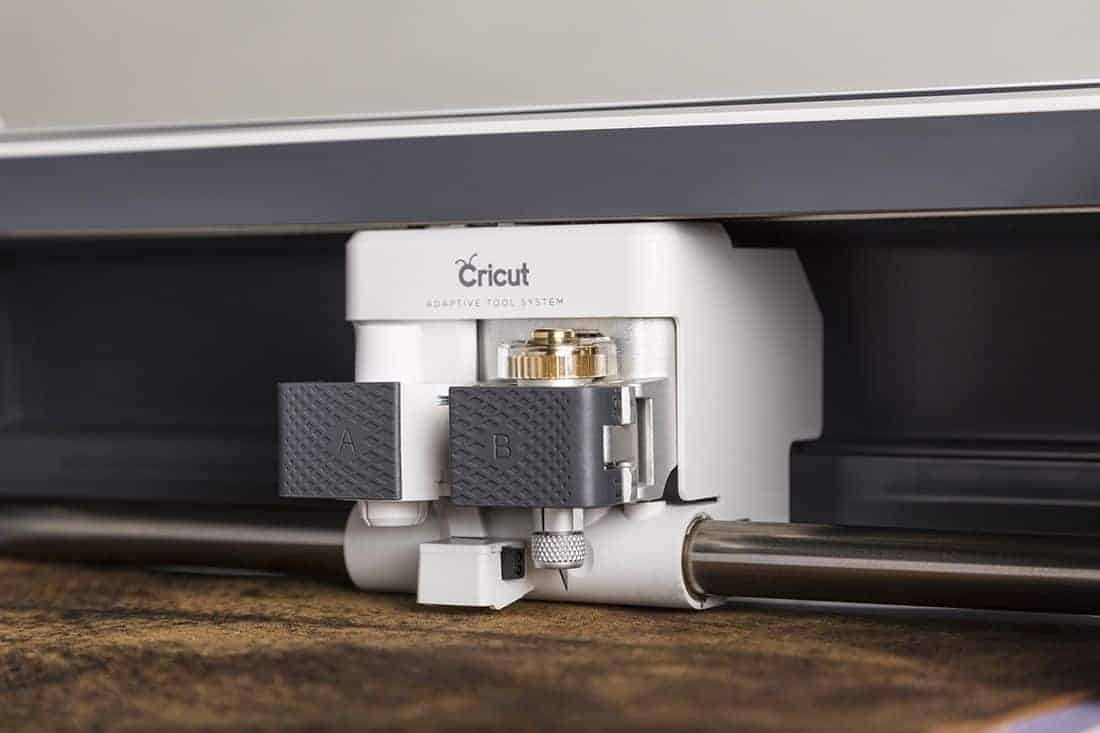
The Cricut Maker has the ability to work with 6 different types of blades, and the Cricut Knife Blade is an exciting blade to have in your stash.
What Can It Cut?
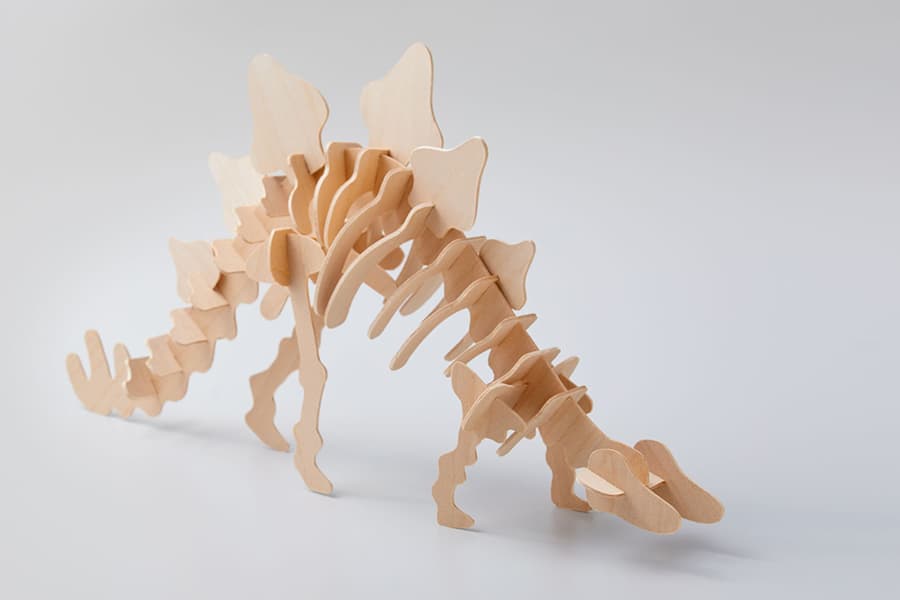
This blade has been created to handle materials that are up to 2.4 mm in thickness. It can slice through extra-thick material such as balsa wood, leather, basswood, chipboard, mat board, craft foam, and more. See the full list on the Cricut Website here.
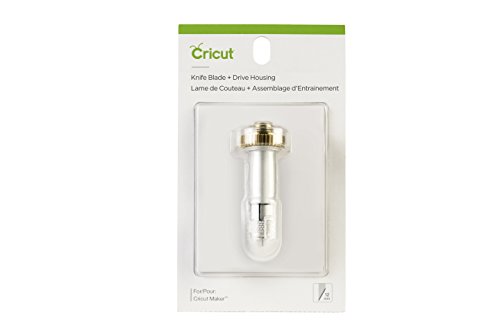
Is the Blade Included in the Box?
It is important to know that your Maker DOES NOT come with the knife blade and that you will need to purchase a Knife Blade and Housing Set if you wish to have the ability to cut these thick materials.
Do check out your products first, because some Cricut Maker bundles include some extra accessories and tools.
You can grab the Knife Blade and Housing Pack here.
Which Mat Does it Work With?

You will also need to purchase the purple Cricut StrongGrip Mat. This mat has been designed to work with thick, stiff materials requiring high cut pressure. (Use the standard mat for the craft foam)
You can grab the Cricut StrongGrip Mat here.
Tip: You will also need to purchase masking tape or painters tape to help secure down your materials as well.
Why are we so excited about this Blade?
The knife blade is such a clever little blade. This blade operates differently to the other blades as it will automatically adjust the pressure according to the material it is working on. Pretty nifty hey!
12 Things to Know About the Cricut Maker Knife Blade
1. Work from a Desktop or Laptop
You will need to use Design Space from either a Desktop Computer or a laptop. Currently, the knife blade projects are not compatible with the design space app on iOS or Android devices.
2. Don't Go for Intricate Designs
The knife blade was not designed to handle small or intricate details. So keep your design simple and your blade will handle the cut better.
Tip: The smallest pieces of your design need to be greater than 3/4″. Any line in your project needs to be larger than the diameter of a pencil.
3. Expect It To Take A While
Because the knife blade makes cuts in passes it might take a while for the Maker to complete the cut. So set plenty of time aside for this.
You can find more info on Design Space. After Design Space makes its first pass it will tell you how many passes are left and it will estimate how long the remaining passes will take.
4. Don't Open Any Other Web Tabs
Always use Design Space in a dedicated window. I know we all love to have millions of tabs open, but I would really recommend that you close them all down and let your computer focus on this one thing.
5. Turn Off Sleep Mode on the Computer
Another fabulous tip is to make sure you turn off sleep mode on your computer.
We just told you that it might take a fair amount of time to complete the cut for your project and the last thing you want is for your computer to go to sleep.
6. Calibrate the Knife Blade
Before you do anything, you need to calibrate your knife blade. Calibration is really important as it teaches the blade to make the accurate and precise cuts that we all need.
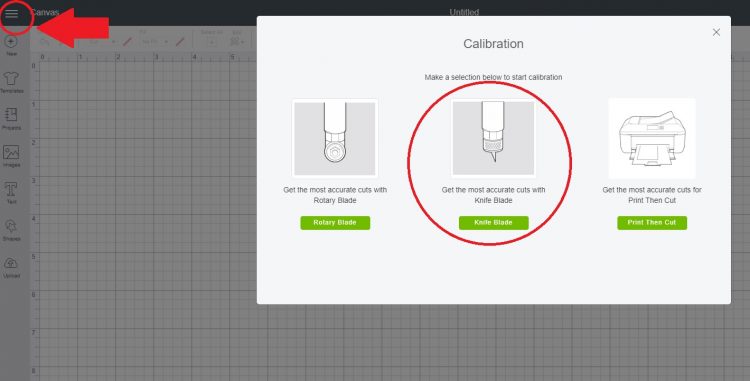
To calibrate your knife, head over to Design Space. Click on the menu on the top left, select calibrate and then choose the knife blade. Design Space will walk you through the rest of the instructions.
7. Use Materials up to 11″ Wide
You can only use materials up to 11″ wide. So before anything else, make sure to check your measurements and trim down your material if necessary.
Line up your material with the top left corner of the grid on the mat.
8. Leave Some Space
Make sure to leave around 0.25″ border around your design. Because your material is so thick, we really don't want the blade to work onto the edge – hitting the air with that force is not good and could break the blade.
So make sure your designs are nicely placed in the center with some empty space around it.
9. Use Masking Tape
You'll need to use masking tape or painter's tape to secure your material to your strong grip mat.
Tape down all four sides within an inch of the edge. You might like to tape down the corners as well.
The Maker is cutting with ten x more force so the mat's adhesion isn't necessarily going to be sticky
enough to hold the thick or dense types of materials down securely. So this is a handy tip to have!
10. Extra Clearance for the Thicker Material
Move your white star wheels on the roller all the way over to the right. This will create extra clearance for the thicker material and will also prevent indentation marks on your material.
Tip: Do this in OFF mode. It will require a little force to push the carriage to the side – this is okay.
11. Check First and Re-Cut If Necessary
Before ejecting your mat from the Maker once the cut is complete, make sure to carefully check out the cuts on the material.
If you leave the mat in the machine and notice that the cuts are deep enough, you can apply for another pass and get the machine to make the cuts deeper.
12. Project Resume
Sometimes you might find that the machine will stop cutting. Often this happens because of a minor defect in your material or maybe your blade got jammed.
If your machine stops and you notice the Cricut CE button flashing, carefully brush off the debris from your material and press the button to ask the machine to resume cutting your project.
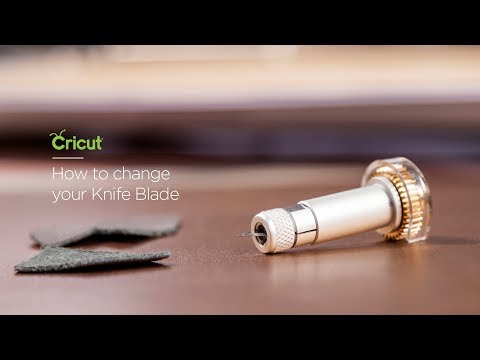
Replacing the Knife Blade
The knife blade will wear down pretty quickly and you really do need a super sharp blade in order to slice through these thick materials.
You can easily buy some replacement blades here.
You can watch the video below that will walk you through the steps on how to change the Cricut Knife Blade.
We really do love Cricut Maker Knife Blade. It is the only blade that can work with the really thick material.
Yes, it will require some patience – it can be hard to wait so long to see your cuts. But just imagine how long it would take to do it by hand!
I hope you found our post full of handy tips and tricks really helpful.
Have fun creating those projects with the Cricut Knife Blade.
Till next time,
Sam xxx
Hi Sam really disappointed that I cannot use the knife blade with iOS. I work solely from iOS and do not have a pc or a laptop. Is this under development for iOS ?
Hi Trish, it is frustrating that the software is not consistent across platforms. Unfortunately I don’t know of any upcoming plans to include the knife blade in iOS – sorry!