The last thing we want is to go to all the effort and cost of cutting and pressing an iron-on transfer that starts peeling soon after only a few washes.
So what can we do, to ensure that the iron-on stays adhered for as long as possible?
In this post, we will share plenty of helpful tips to help prevent your heat transfer from peeling off (fixing the issue before it happens).
You can also read our post here that contains 7 ideas on why your heat transfer might be peeling (learning from your mistakes – what went wrong).
Tips on How to Make Iron-On Transfers Last Longer
Find below our tips on how to make your HTV transfer last longer.
With tips that you can implement before your application, during the pressing process, as well as how to look after your design during washing and ironing.
Before Iron-On Application
For the best results, we always recommend that you pre-wash your fabrics. Don't use any fabric softener though and make sure that your fabric is dried properly.
Another great tip is to give your fabric a quick pre-press. When you preheat your base material, you do 2 great things.
- You remove all the wrinkles from your material, which means that you will have a smoother surface for your transfer to adhere to.
- You remove all moisture from your fabric. A nice dry surface will mean that your transfer will stick to the material more properly.
And lastly, one of the best things you could do is to ensure that you are purchasing the best iron-on vinyl for your choice of fabric.
During Iron-On Application
We all know that the magic to a successful heat transfer lies in the combination of having the right temperature settings, the correct timing as well as the right pressure.
So here are some tips to help you press your iron-on correctly:
- Ensure that you are working on a sturdy surface – stay away from flimsy iron-boards.
- Follow the instructions on temperature and time – you can find these on the instructions that come with all HTV or Iron-On vinyl.
- Avoid placing your heat press over seams, buttons, zippers, and anything bumpy.
- Once you have pressed the design on the front, make sure to flip over your shirt and repeat press on the back.
- Make sure to follow instructions on whether to cold or hot peel (when to peel off the plastic layer).
- Carefully peel the corner and observe whether the iron-on has adhered properly. If the iron-on is lifting up, place the liner back on and simply reapply and reheat for a few more seconds.
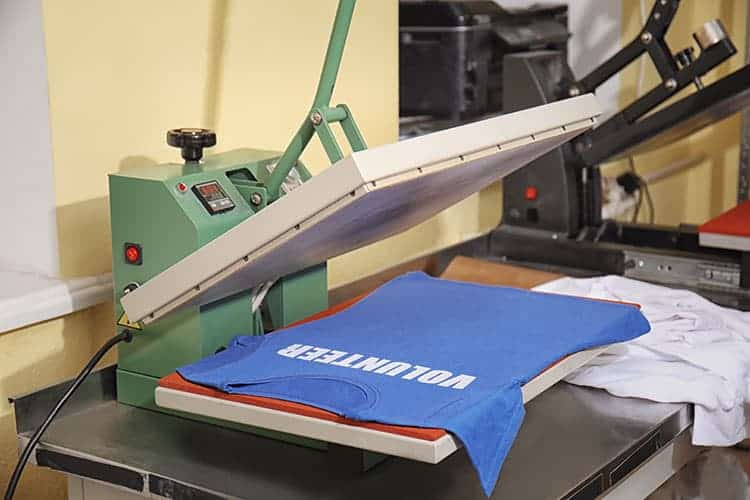
You will also have much better success if you choose to use a good quality heat press together with a quality blank shirt. Here is a great post that looks at why we recommend a heat press vs an iron.
After Iron-On Application

It is important to look after your new t-shirt once you completed your design. I would even go as far as to say that it is important to include a ‘care card' for the shirt if you are choosing to sell or gift it.
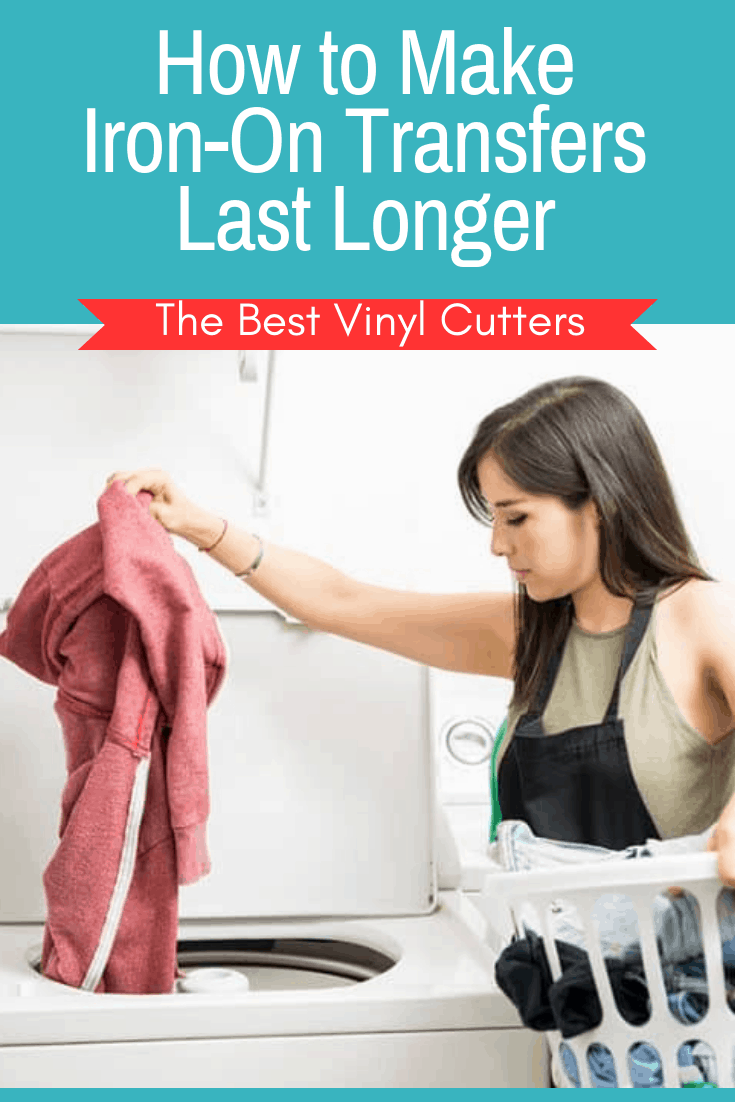
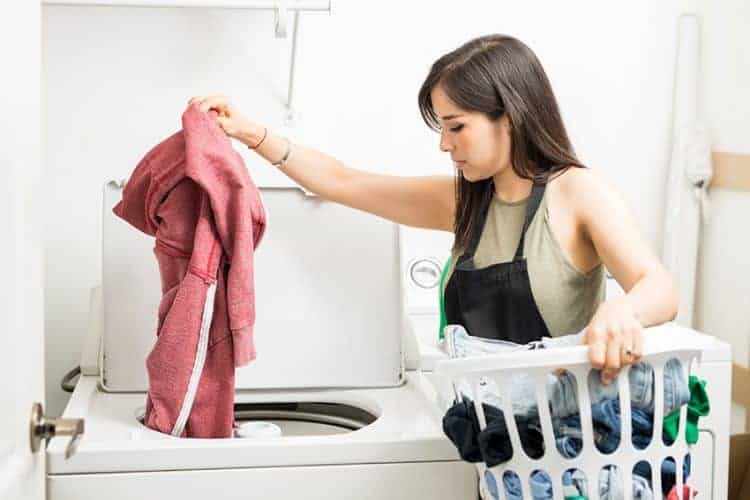
- Wait at least 24 hours before washing the shirt.
- Make sure to wash your shirt inside-out in cool water.
- Stay away from harsh chemicals such as bleach.
- Do not dry clean.
- You can choose to either tumble dry the shirt on low cool heat or preferably lay it out flat to dry.
Keep in mind that high heat from an iron or tumble dryer will, in fact, melt the vinyl and cause it to start peeling.
We hope that all of these tips will be beneficial for you as you attempt the next transfer press project.
Have any other tips to add to our list? Please share them in the comments below.