If you are are you looking for a really easy project to get you started with Cricut Infusible Ink, then today we will show you how to make your very own Infusible Ink Cricut Makeup Bags.
It’s so cute that you will be wanting to make a million more!
For this project, we are also providing five Cricut Access designs for you to begin your project.
What we love about Infusible Ink is the variety of patterns available. Instead of layering different colors of vinyl, you can get an intricate pattern that is fused into the fabric.
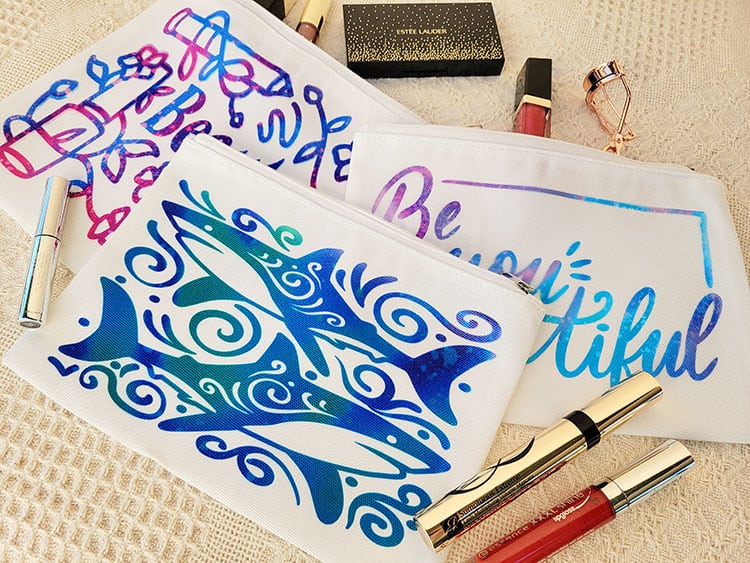
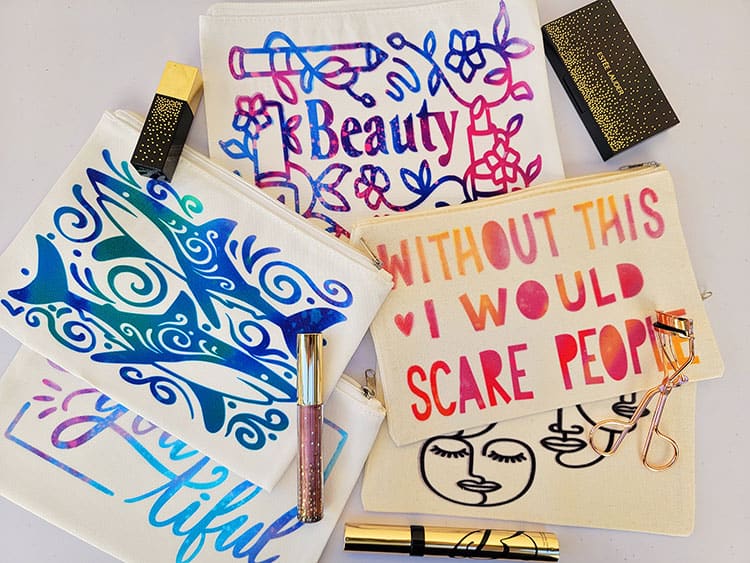
For this project, we will be showing you four patterned Infusible Ink designs and one solid color design.
We will also look at the difference when using a generic blank cosmetic bag and a Cricut cosmetic bag blank.
This project not only shares some Cricut Makeup Bag ideas with you but once you have followed our detailed tutorial, you will be able to quickly whip up your very own Cricut cosmetic bag.
>>> Want to Learn More? Read our Ultimate Beginners Guide to Cricut Infusible Ink!
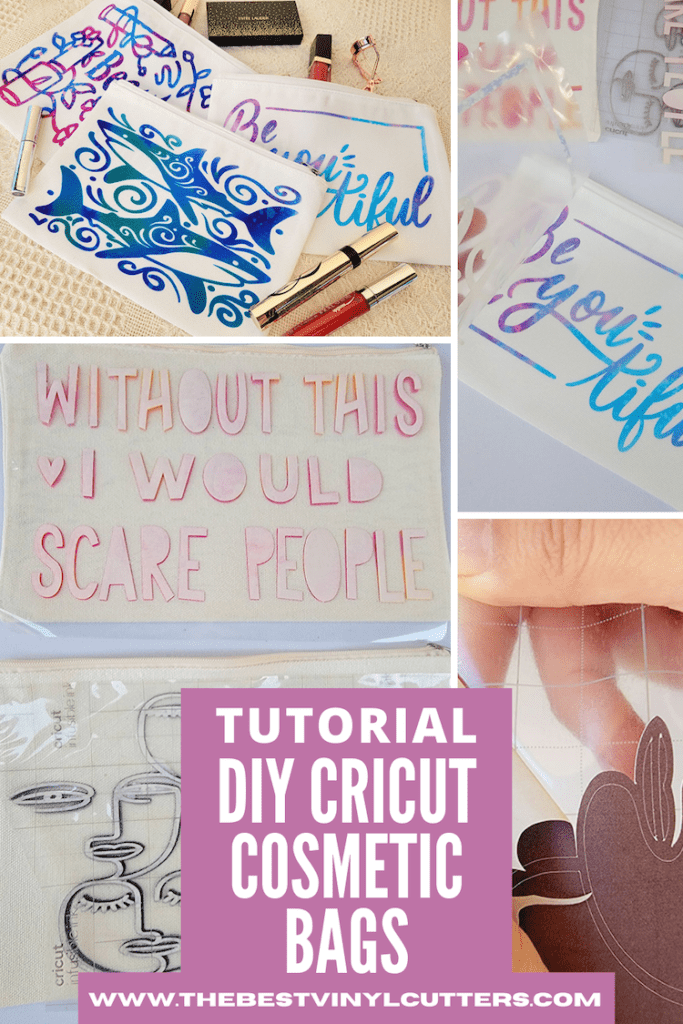
How to Make your Own Infusible Ink Cricut Makeup Bag
Below we will walk you through the various steps to create these Cricut cosmetic bag ideas so that you can get inspired to create even more Infusible Ink makeup bags.
Supplies Needed:
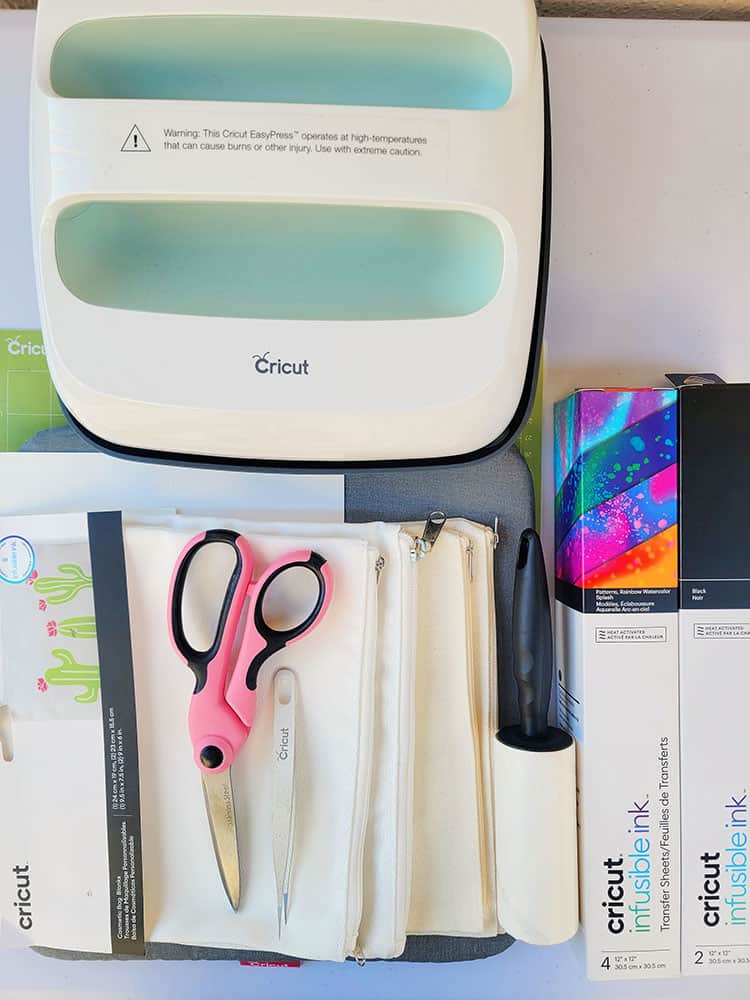
- Cricut Cutting Machine (I used a Cricut Explore Air 2)
- Cricut StandardGrip Cutting Mat
- Cricut EasyPress 2
- Cricut EasyPress Heat Mat
- Cricut Cosmetic Bag Blanks (These compatible and cheaper cosmetic bags work brilliantly too)
- Cricut Infusible Ink Transfer Sheets
- Butcher paper (Included in Cricut Infusible Ink Box)
- Cardstock (80 lb.) 12” x 12”, White or Printer Paper (colored cardstock not recommended)
- Lint roller
- Scissors (you can also use the scissors in the Cricut Basic Tool Set)
- Cricut Tweezers (can be bought in Cricut Basic Tool Set)
Step 1: Download Design
Find below the step-by-step instructions on how to prepare your cosmetic bag design.
Note: The designs are obtained through the Cricut Assess profile
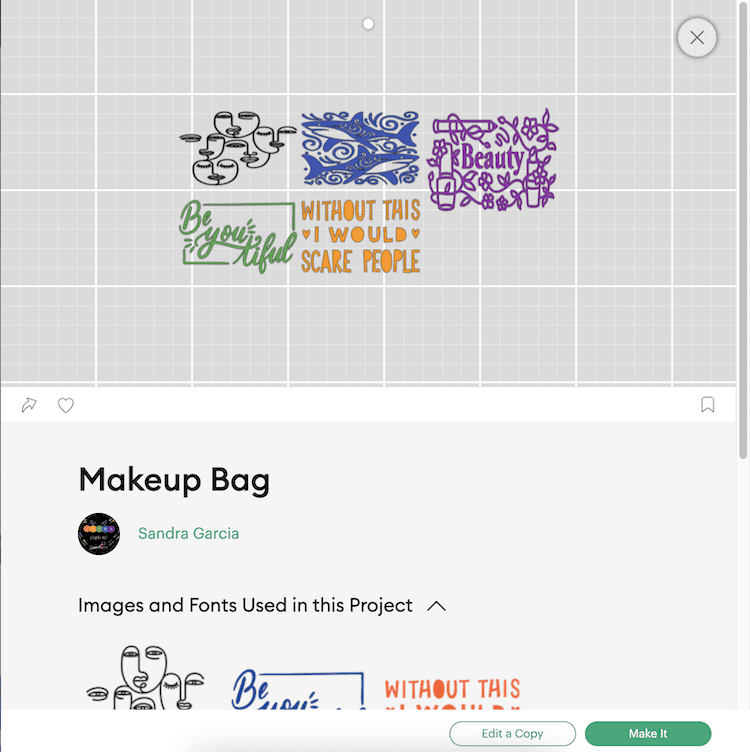
- Next select “Open in App” and “I agree to Cricut Terms of Use and Privacy Policy”’.
- From there you can select “Edit a Copy” or “Make It”.
Note: You may select “Edit a Copy” if you want to change the color and size. For this project, we have kept the sizes to 8” x 5” and 9” x 7”.
- Once you are satisfied with the design you may move on to the next stage of the process which is cutting the design.
Step 2: Cut Your Infusible Ink Sheets
Now it is time to cut your design. This project will have you load the project into five different mats.
Note: Before handling Cricut Infusible Ink materials, be sure that your hands are dry and free of any oils or lotions to avoid the Infusible Ink from smudging.
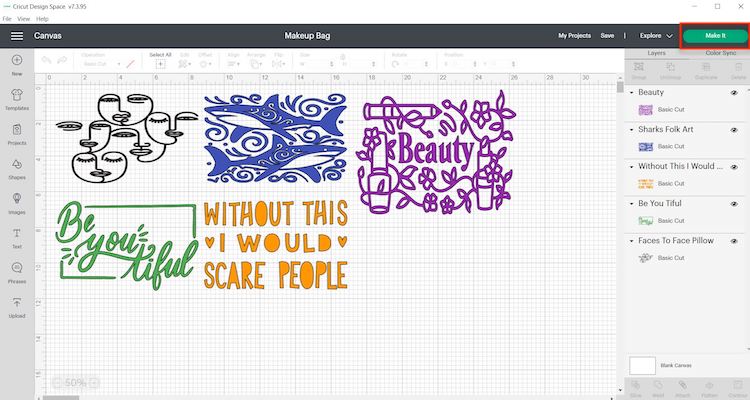
- When you are happy with the size and color of your design click on “Make It”.
- Make sure to select “Mirror” in Design Space.
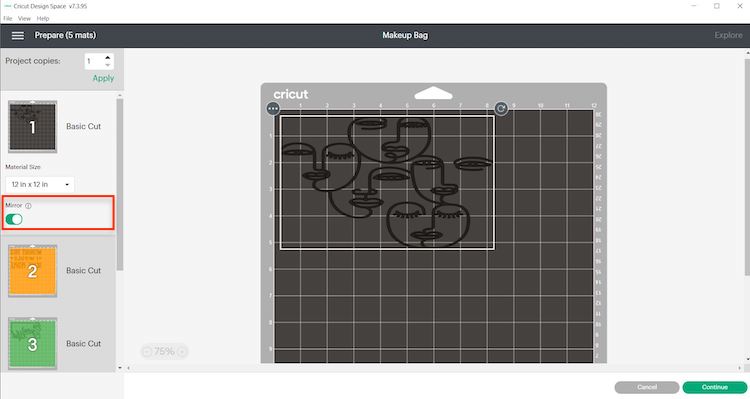
- Select continue and connect your Cricut machine (make sure to switch your Cricut machine on).
- You will now be able to pick your material and cut settings.
- If you are using a Cricut Explore Air 2, select “Custom” on your material dial.
- Now select “Infusible Ink Transfer Sheet” from the list of materials in Cricut Design Space.
- Place the Cricut Infusible Ink Transfer Sheet liner side down onto your StandardGrip cutting mat.
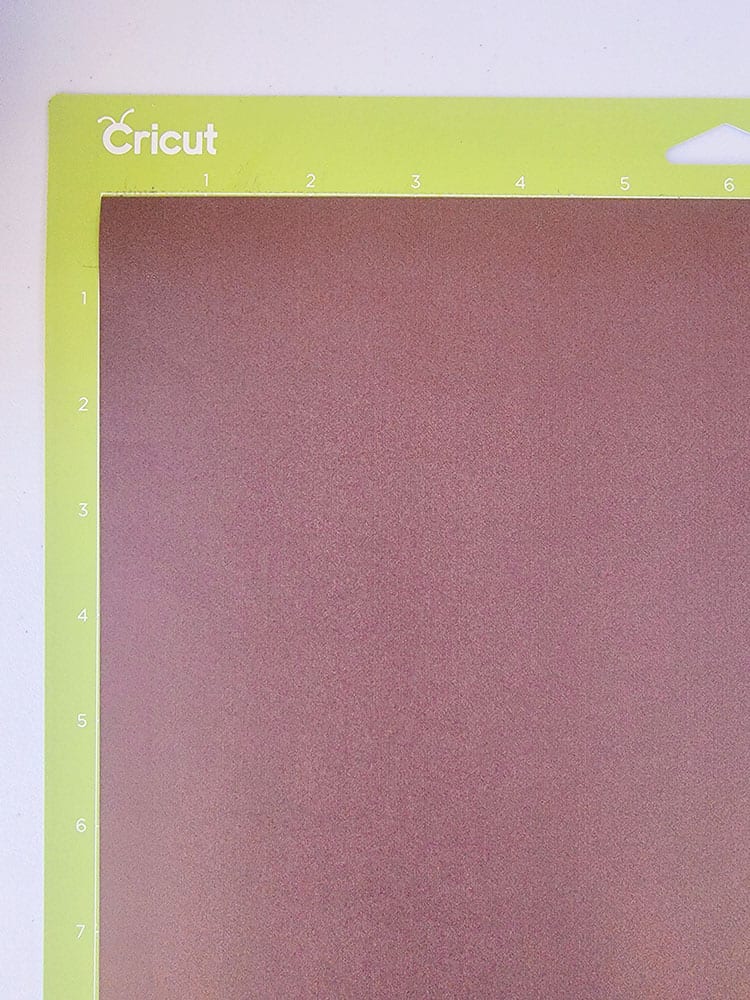
- Load the cutting mat and blade into the machine, then press Go.
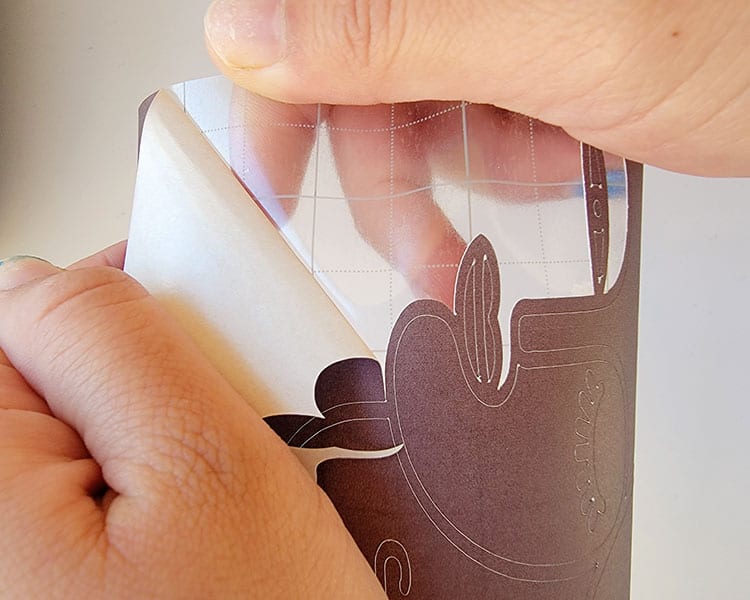
Step 3: Weed your Design
- Remove cut design from the mat and trim away unused area of sheet.
- Gently roll cut design so cut lines separate and are more visible. “Cracking” the cut this way makes it easier to remove excess paper from in and around your design.
- Use your fingers or tweezers to carefully remove any negative pieces from in and around your design, leaving the design on the liner.
- Trim the clear liner so that it does not extend beyond the Cricut EasyPress heat plate. It is important that your heat plate is larger than the design to prevent ghosting from happening.
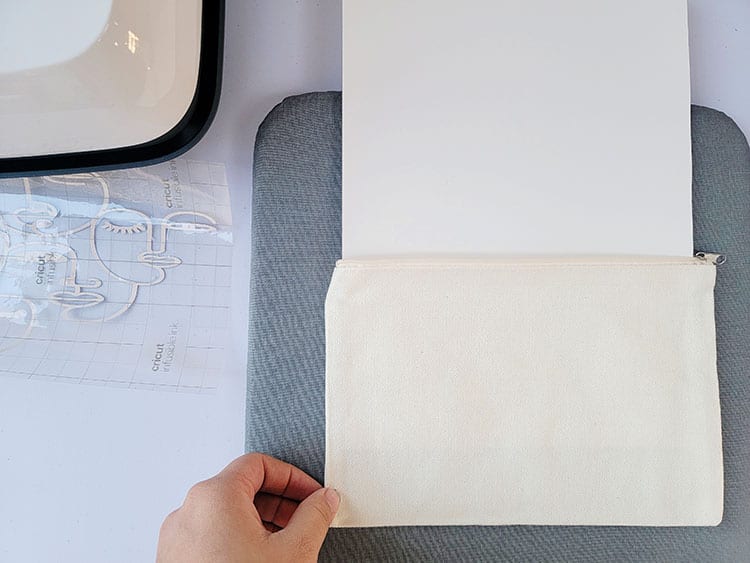
Step 4: Prepare the Cosmetic Bag Blank
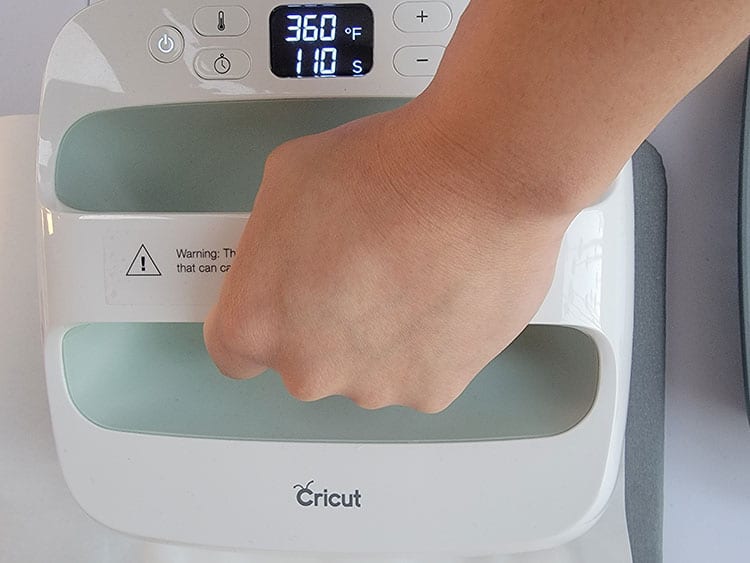
Now is a good time to get your Cricut EasyPress ready and warmed up. For the precise temperature, time, and pressure settings for your project, always refer to the Cricut Heat Transfer Guide (or if you have our Cricut Cheat Sheets, simply find the settings in there).
- For this project, set the Cricut EasyPress 2 to 360°F.
- Place a piece of the cardstock (or printer paper) inside the cosmetic bag. The cardstock will protect your mat and project and stop the Infusible Ink from transferring to the other side of the cosmetic bag.
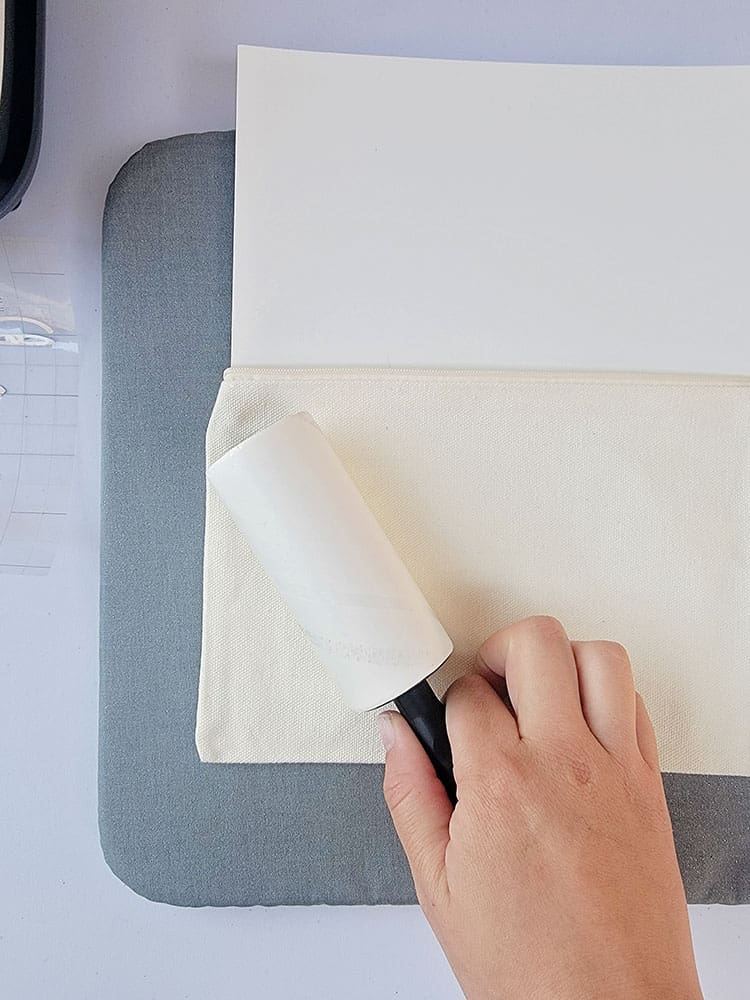
- Do not skip this step: Use a fresh adhesive to lint-roll the entire surface. Even minuscule debris or fibers may create imperfections in the final transfer.
- Cover your blank cosmetic bag with butcher paper. Important: Butcher paper must be larger than the Cricut EasyPress heat plate.
Note: Butcher paper comes in each package of Infusible Ink Transfer Sheets.
- Do not skip this step. Preheat the application area to remove moisture and wrinkles that result in unwanted effects.
Note: For this project, press at 360°F for 120 seconds. Use even, light pressure.
- Remove butcher paper and let the cosmetic bag cool completely.
Step 5: Apply The Infusible Ink Design
- Place your cut design face down on the makeup bag with the clear liner facing up.
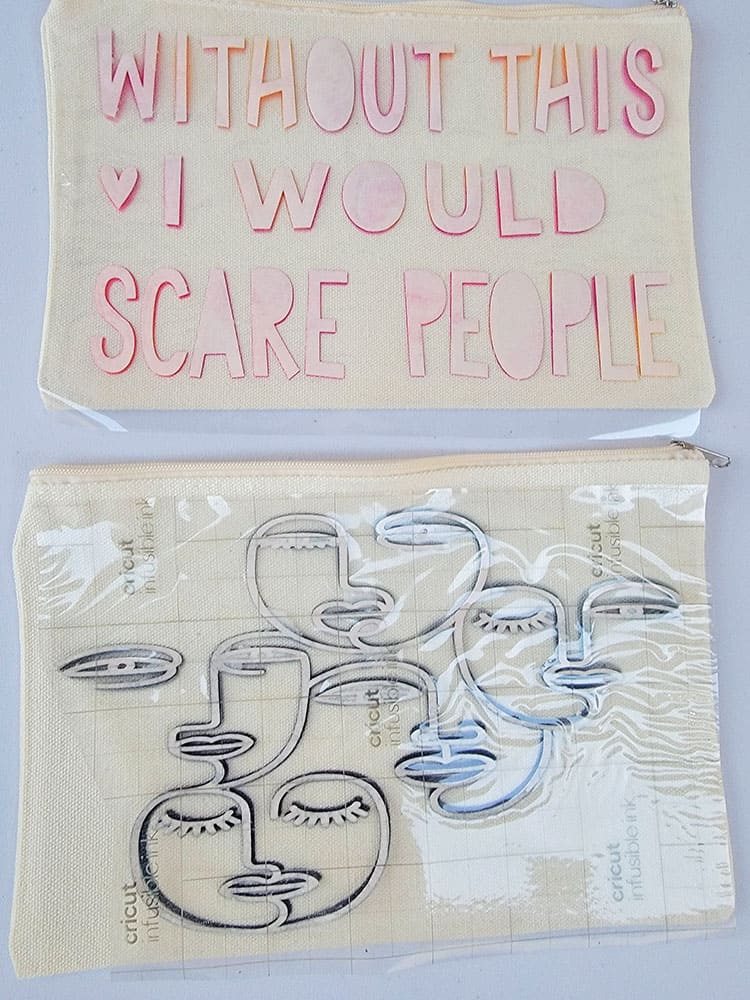
- Cover the design with butcher paper that is larger than Cricut EasyPress heat plate.
- Using the Cricut EasyPress 2, press at 385°F (195°C) for 40 seconds using light pressure.
- When the time is up, slowly lift the press. Try not to move design, including the butcher paper.
- Let the project cool completely. Then slowly remove the butcher paper and liner together with the cut Infusible Ink transfer sheet design.

Important: If design separates from liner and remains on blank, remove with tweezers. Do not remove it using your fingers. This could cause unwanted effects, like ghosting or marbling.
- Now you simply need to repeat the same process with the other bags.
Non-Cricut Brand Canvas Cosmetic Bags
Cricut products are so much more pricey in comparison to off-brand products, so we thought we would test out some cheaper options that we found on Amazon.
The Cricut cosmetic bag blanks cost around $10 for a set of 3 bags, whilst our alternative option from Amazon costs around $11 for a set of 10. So if you are planning on selling these bags you can see how much more profit you would make by grabbing the ones from Amazon instead.
Here are the two bags we created with the compatible cosmetic bag blanks. As you can see the Infusible Ink is vibrant and they are just gorgeous.
>>> Click here to grab these cheaper cosmetic bags.
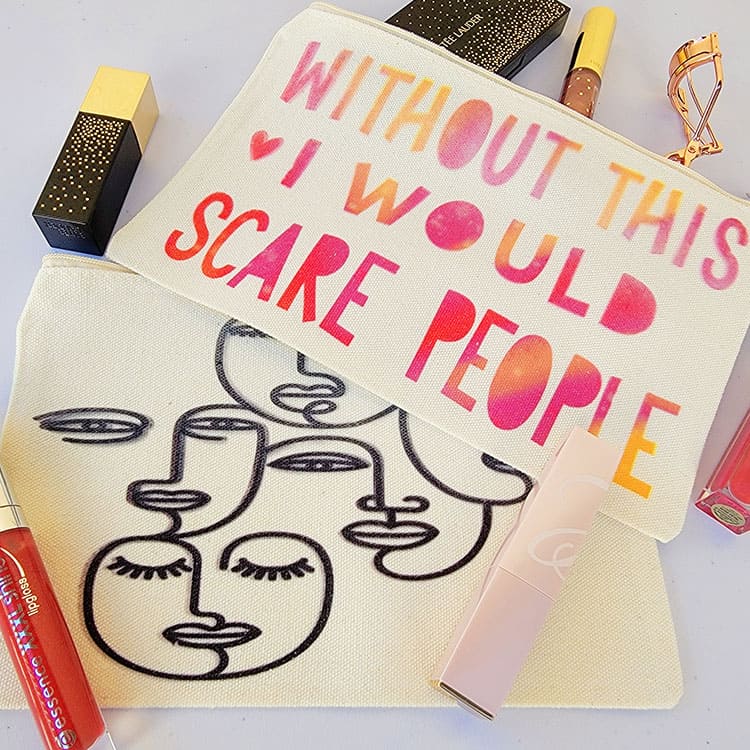
And just like that, you now have your very own Cricut cosmetic bags made with Infusible Ink.
Don't need a personalized makeup bag? Why not use the cosmetic bag blanks to create customized pencil cases using Cricut Infusible Ink.
Or even cases to store your many charging cables for your tablets and phones!
These cosmetic bags also sell really well on Etsy. So why not make some money from them?