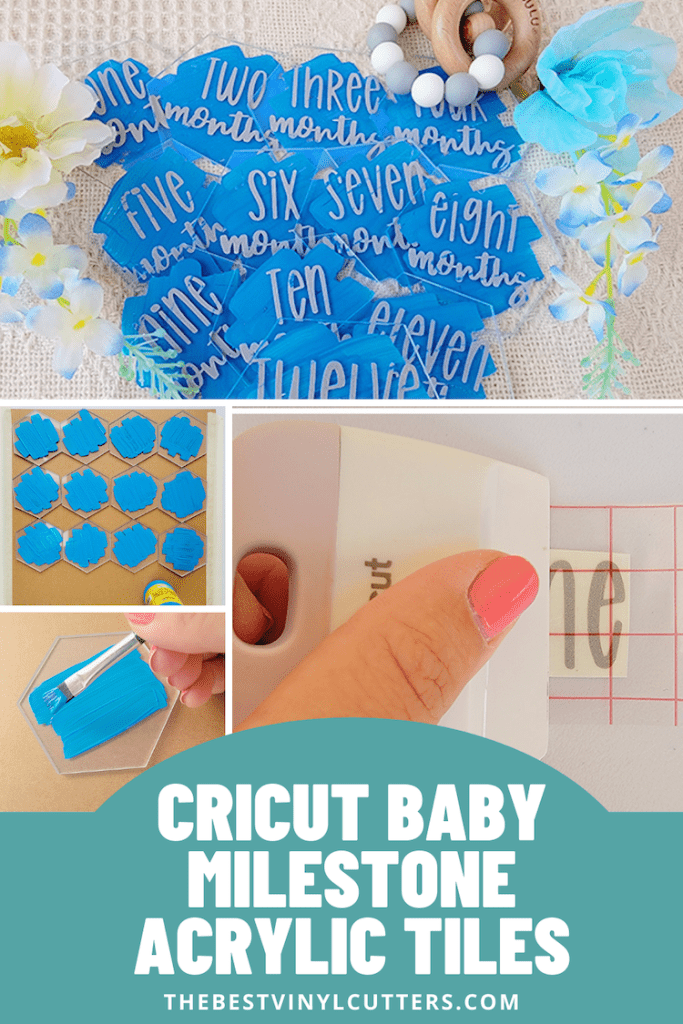
Thinking of making an amazing babyshower gift for a loved one?
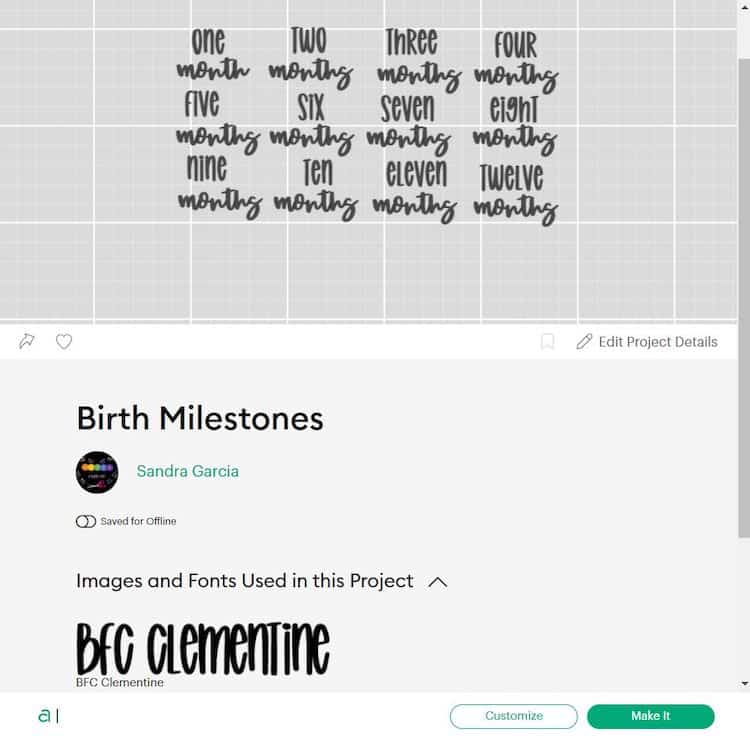
How about creating a set of Cricut baby milestone acrylic hexagons you can use when taking baby’s monthly growing pictures.
Grab your materials and follow along with these easy steps!
Let’s get started!
Cricut Baby Milestones Acrylic Hexagon Tutorial
Follow our detailed tutorial to learn how to make these super cute Cricut acrylic baby milestone discs.
Use our designs or your own to match the baby nursery theme! You could easily also do this tutorial on larger-sized blanks and include a cute caption. Find some adorable monthly baby picture captions here.
Supply List
- Cricut Cutting Machine
- Cricut StandardGrip Cutting Mat
- Adhesive Vinyl
- Transfer Tape
- Cricut Scraper (can be bought in Cricut Basic Tool Set)
- Cricut Weeding Tool (can also be bought in Cricut Basic Tool Set)
- Acrylic Paint
- Paint Brush
- Newspaper/Cardboard (optional)
- Tape (Optional)
- Clear Acrylic Hexagon Place Cards
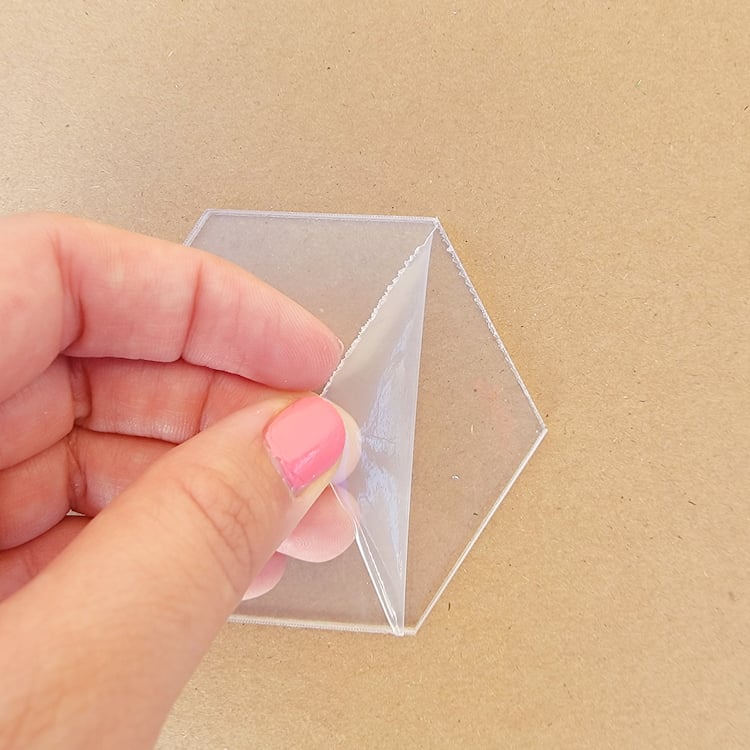
Step 1: Painting the Clear Acrylic Hexagon
Before adding the vinyl Cricut design you must first paint the hexagons. You will need two different shades of acrylic paint and two paint brushes.
- Place some newspaper on your table and tape the newspaper down.
- Remove the plastic lining from one side of the hexagon and clean the clear acrylic making sure there is no dust.
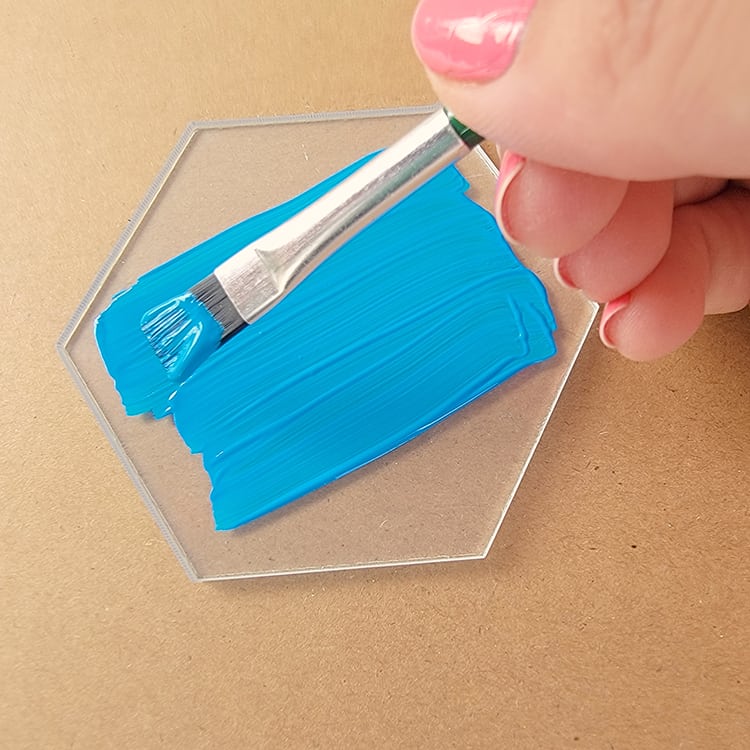
- Grab your paintbrush, dab a small amount of paint on your brush and make a few brush strokes on the hexagon.
- Repeat step three with the remaining 11 hexagons.
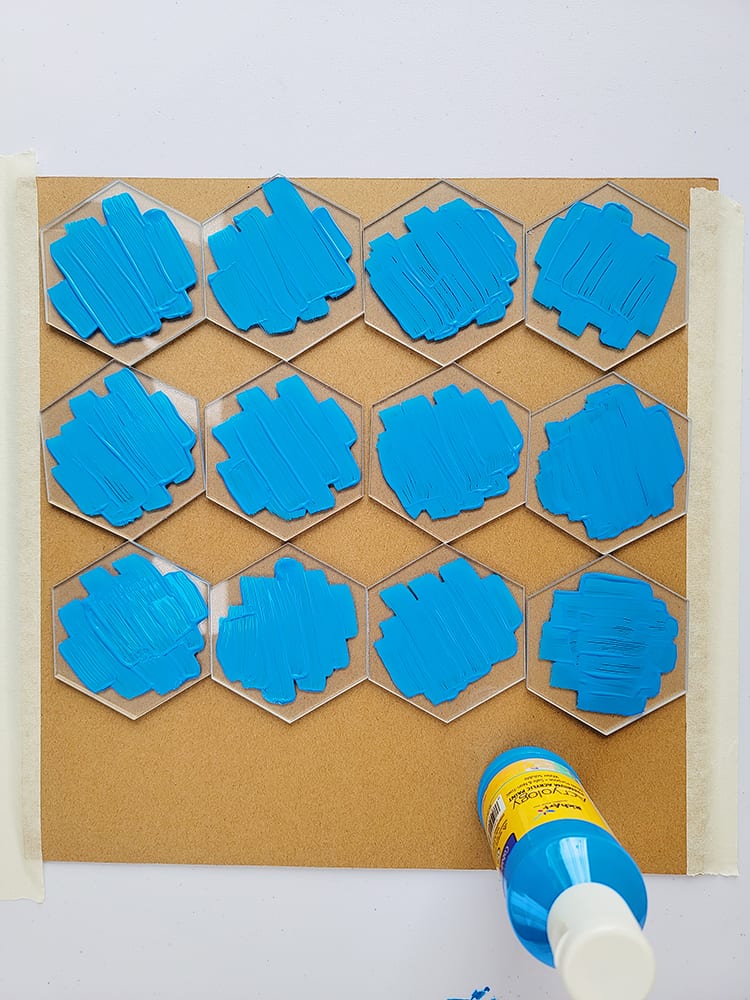
- Let the place cards dry for 30 minutes or until the paint is dry.
Step 2: Download and Upload your SVG to Cricut Design SpaceInsert intro sentences.
Whilst the paint is drying we can start cutting the design out with the adhesive vinyl.
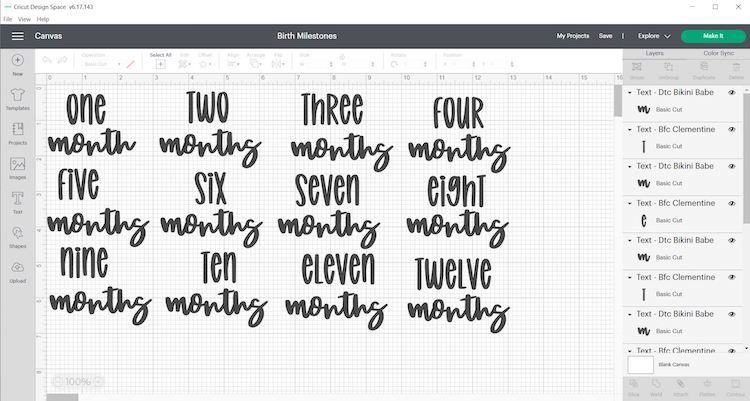
- Begin by opening our design in Cricut Design Space by clicking here (or you might prefer to design your own from scratch)
- Select “Open” and then select “Open Cricut Design Space Application”.
- Next select “Customize”.
- Now you will need to edit the dimensions to best fit your hexagon blanks that you are using. For this project, we customized the design to fit a 3” hexagon.
- Once satisfied with the design you may move forward with cutting the design.
Step 3: Cut and Weed Design
Now that the size has been adjusted it is ready to cut.
- Switch on your Cricut Machine.
- Grab your StandardGrip mat. Place the vinyl, shiny side up/design up on your green StandardGrip mat.
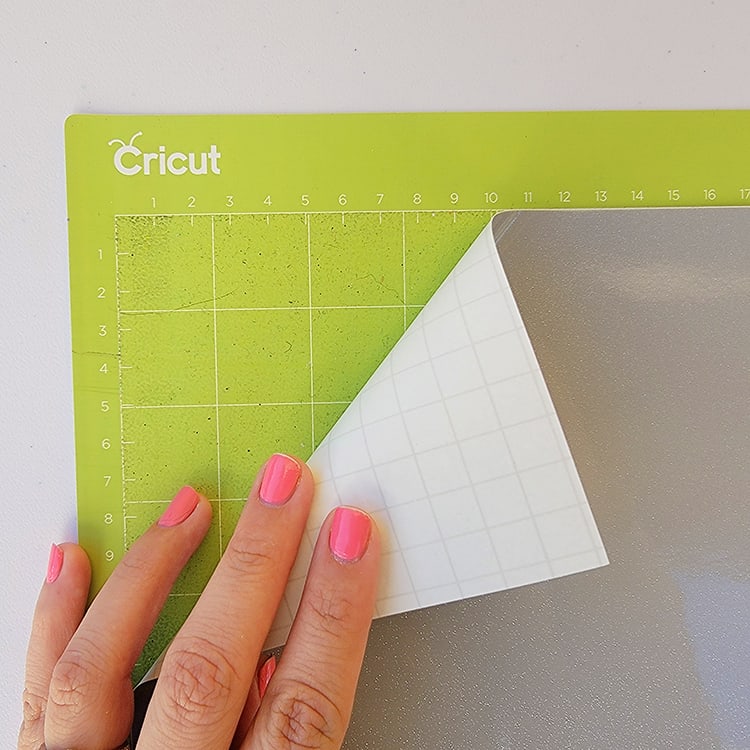
- Use your scraper to remove any bubbles and/or wrinkles.
- In Cricut Design Space, click on “Make It”.
- Select continue and connect your Cricut machine. You will now be able to pick your material and cut settings. If you have an Explore Air 2 – Select “Vinyl” on your material dial.
- Load the mat into your cutting machine and follow the instructions to cut the vinyl.
- Next, use your weeder tool to help you lift the unneeded pieces of your design.
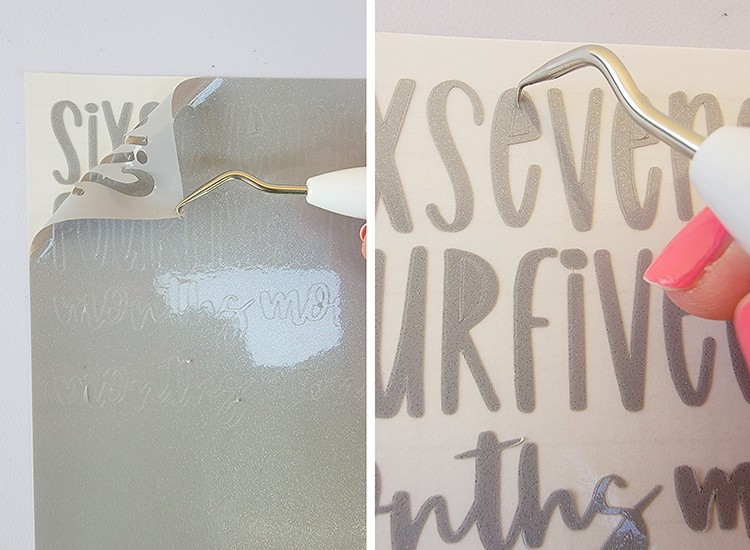
- Go slowly around the letters and fine details. Don’t forget to weed out the inside pieces.
Step 4: Transfer Vinyl on the Blank Acrylic Hexagon
Before we apply the adhesive vinyl to the unpainted side of the hexagon make sure to remove the plastic layer on this side and clean the blank to remove any dust.
- It is much easier to use transfer tape to move your design over to the acrylic hexagon.
- Cut your transfer vinyl so that it is the same size or slightly larger than your vinyl decal.
- Place the transfer tape on top of the vinyl and use a scraper to remove any bubbles or bumps.
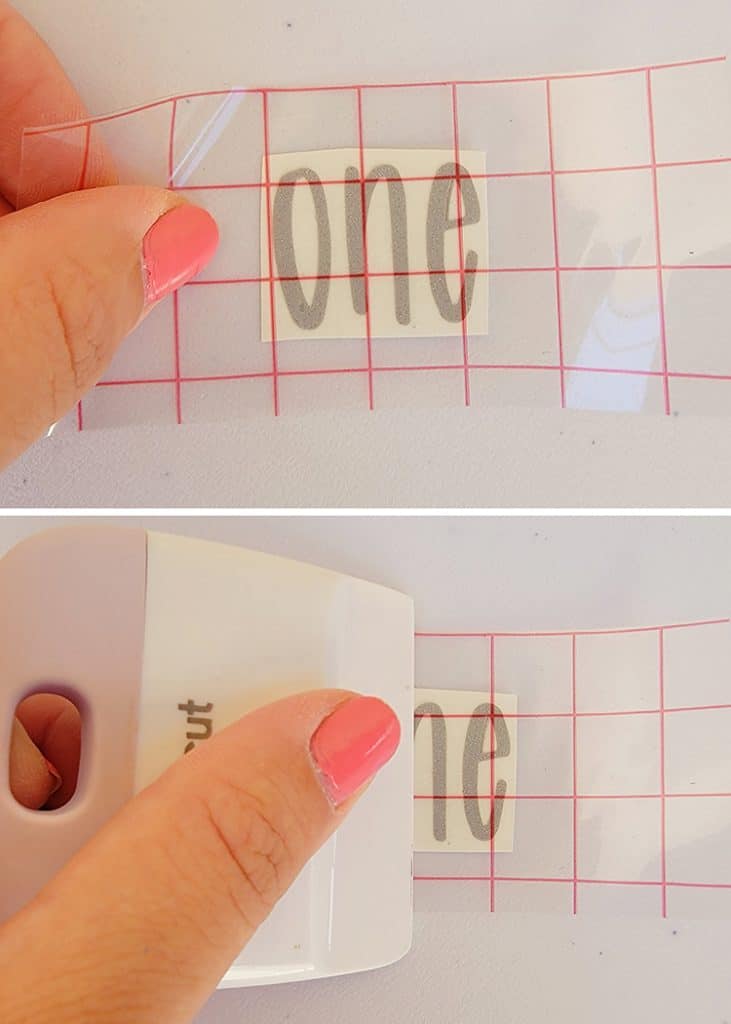
- Use your scraper to rub over both the front and the back of the design. We want the decal to stick to the sticky transfer tape, so that it will lift off the vinyl backing sheet.
- Slowly peel the transfer tape and decal from the top left-hand corner. Move slowly and try to work in a semi diagonal angle. If your decal is not lifting with the tape, place it back down and give it another good rub with the scraper.
- Place the design on the acrylic hexagon, making sure there are no bubbles or bumps. You can place the image however and wherever you want.
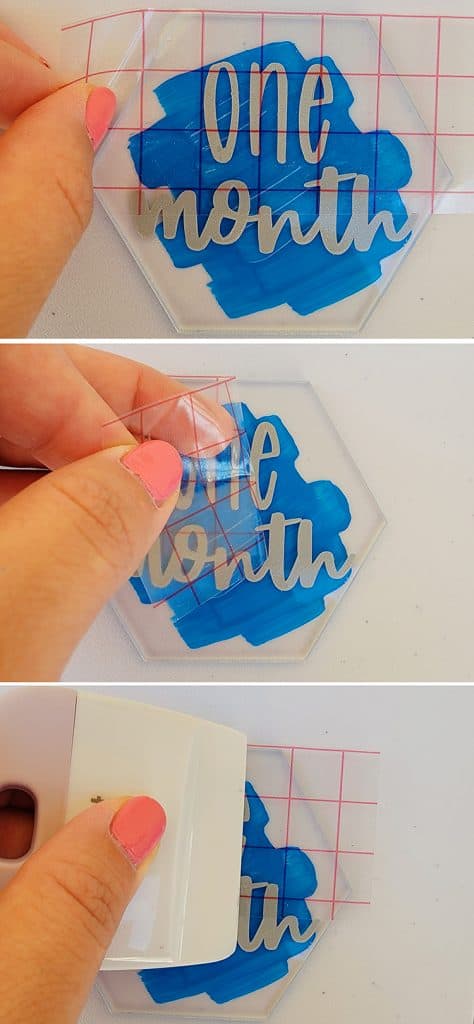
- Once again, use the scraper to rub over the design. This time we want it to stick to the hexagon and to release from the transfer tape. I found that in some cases rubbing your finger over the design worked better than a scraper.
- Slowly peel back the transfer tape. Once again if your adhesive vinyl decal lifts, simply place the tape back down and rub over the problem area again.
- Place your transfer tape back on the backing paper (you can reuse transfer tape so don't throw it away).
- Go ahead and complete the rest of the acrylic tiles with your designs this way.
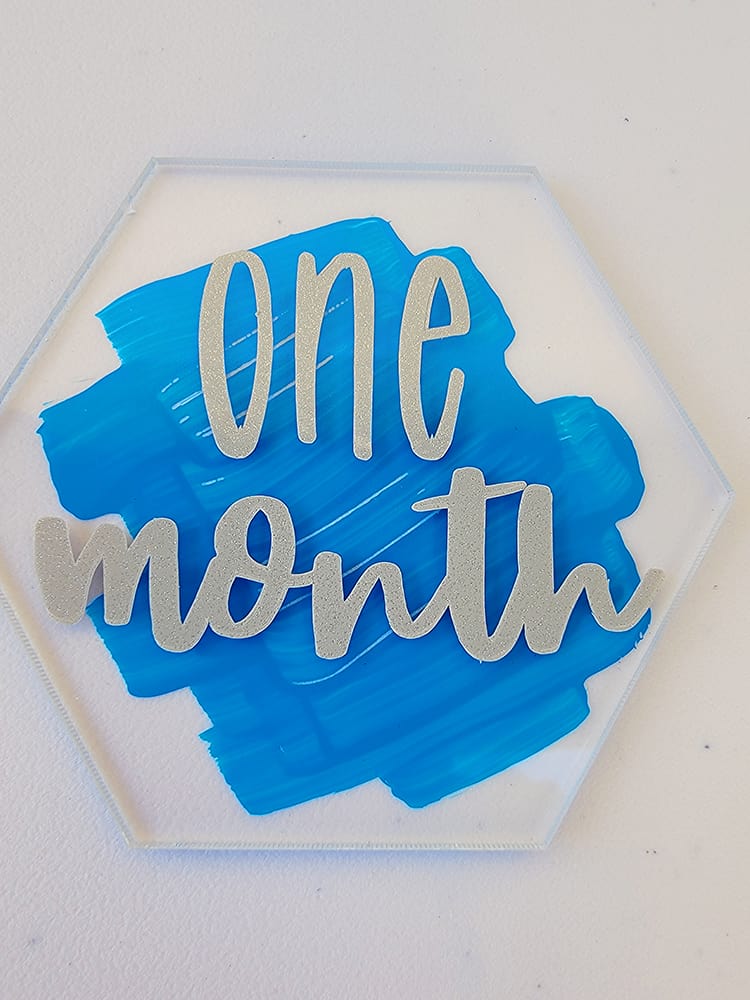
Finally, you have your year set of baby milestone placement cards on acrylic blanks.
You can customize them based on a theme and even color themes.
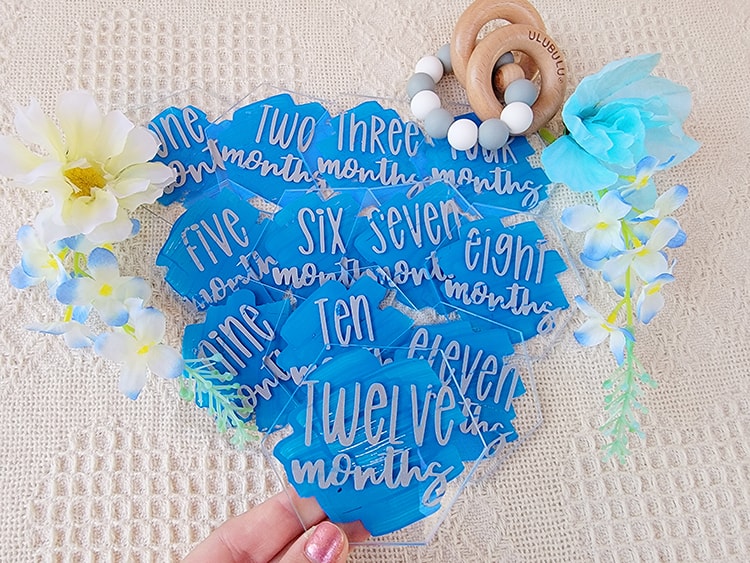
We loved making these super cute baby milestone tiles and hope you do too!
Do you want to make more adorable baby shower gifts? Why not hop on over to our adorable DIY Cricut Baby Announcement Elephant tutorial or make your own Rainbow Cricut Baby Onesie.