Are you always on the go and have a tumbler in hand?
If you love a tumbler and wish your tumbler could be more you then you will be so glad to hear that making your own sublimation tumbler is easy!
Using sublimation prints and a tumbler press you can create tumblers that are more you and one-of-a-kind!
Creating your own tumblers is such a great way to put your personal touch and spin on your tumbler.
In this tutorial, we'll show you how to use your tumbler heat press and sublimation prints to create beautiful, personalized tumblers that you can enjoy for years to come.
We walk you through the whole process so you can make your own DIY sublimation tumbler.
Ready to get creative and make a sublimation tumbler? Let's get started!
>>> Sublimation beginner and need to know what type of material can you sublimate on? Read our handy guide to help you get started!
Create a Quick & Easy Sublimation Tumbler with a Tumbler Press
Below you will find the steps on how to make a sublimation tumbler using a tumbler press! All you will need is the supplies we have listed below.
Supplies Needed:
- Epson Eco Tank Sublimation Printer (or a sheet printed out from somewhere)
- Vevor Tumbler Heat Press
- Stainless Sublimation Tumbler Blank
- Tumbler Design
- Heat Resistant Tape
- Scissors
- Heat Gloves (Mine came with my press)
- Butcher Paper (or similar)
- Lint Roller or Cloth
Step 1: Prepare Chosen Sublimation Print Design
Detailed below are the step-by-step instructions that you can follow to make your sublimation tumbler.
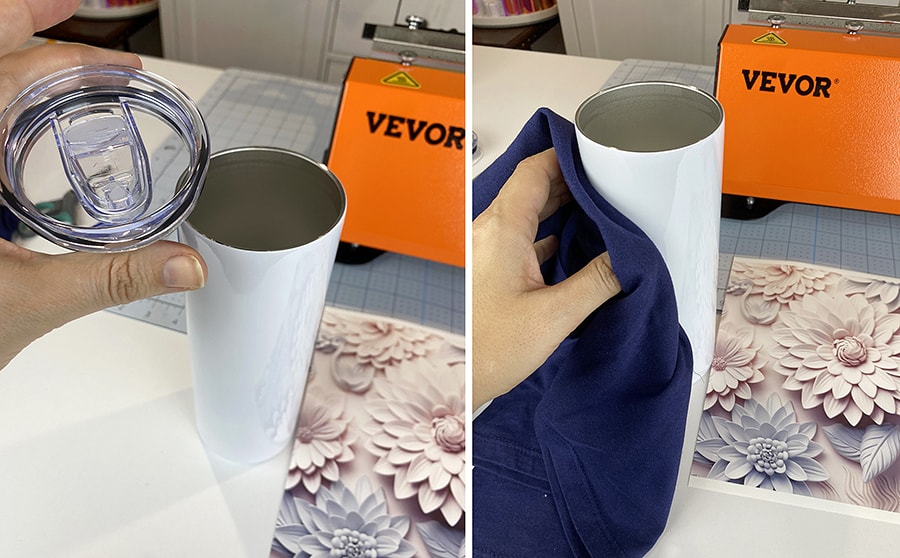
- Once you have the design that you have either created or purchased you can print the design on your sheet with a sublimation printer.
TIP: If you do not have a sublimation printer you can purchase a pre-printed sheet!
- If you need to make sure to size your design. If you are making a 20oz straight skinny tumbler, 9.3 inches wide and 8.2 inches tall works well.
Below is a quick guide to popular tumbler sizes and sublimation print sizes
| Tumbler Size | Design Size Needed |
| 20 Oz Skinny Straight Tumbler | 9.3″ x 8.2″ |
| 20 Oz Skinny Straight Tapered | 9.3″ x 8.2″ |
| 30 Oz Skinny Straight Tumbler | 10″ x 9.4″ |
| 30 Oz Skinny Straight Tapered | 10″ x 9.4″ |
TIP: If you're using a different-sized tumbler, measure the height of the tumbler from top to bottom and then around the item for the width to resize your image to then fit your tumbler size.
- Once the design is printed, you may want to trim off any excess paper on the sides of the printed image. DO NOT TRIM THE TOP AND BOTTOM!
Step 2: Prepare Tumbler for Pressing
Once you have cut your sublimation print, and sized your pre-printed sublimation sheet it is time to move to preparing your tumbler.
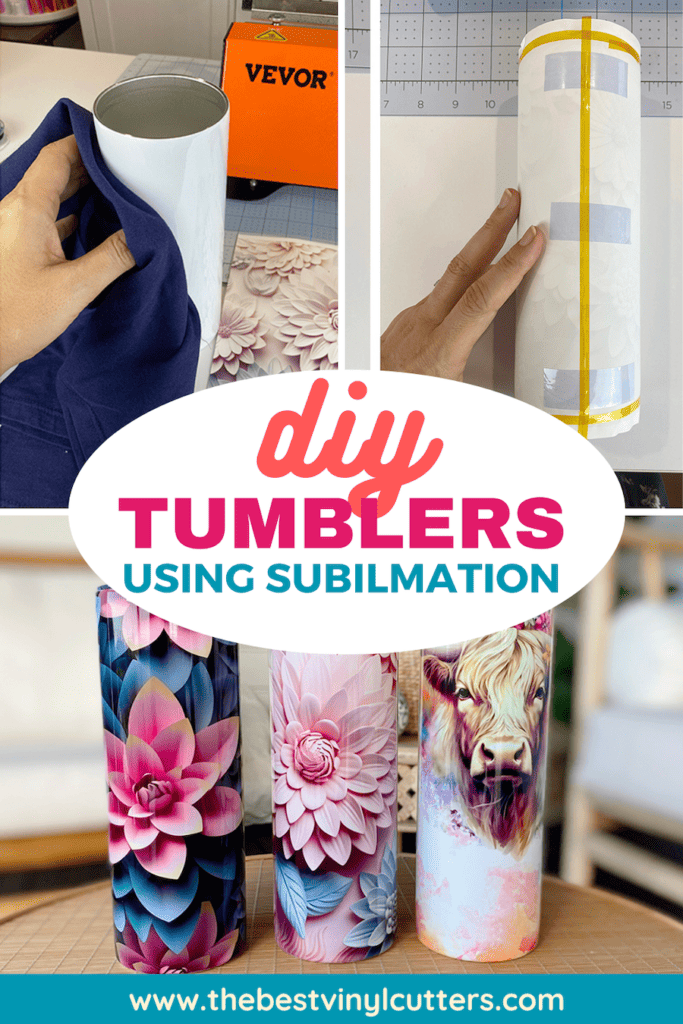
- Remove the lid from your tumbler.
- Clean your tumbler using your lint cloth or roller.
- Now you are ready to put the sublimation sheet paper on the tumbler.
- Place your sheet on your table print side up.
- Next, put your tumbler onto the sublimation paper.
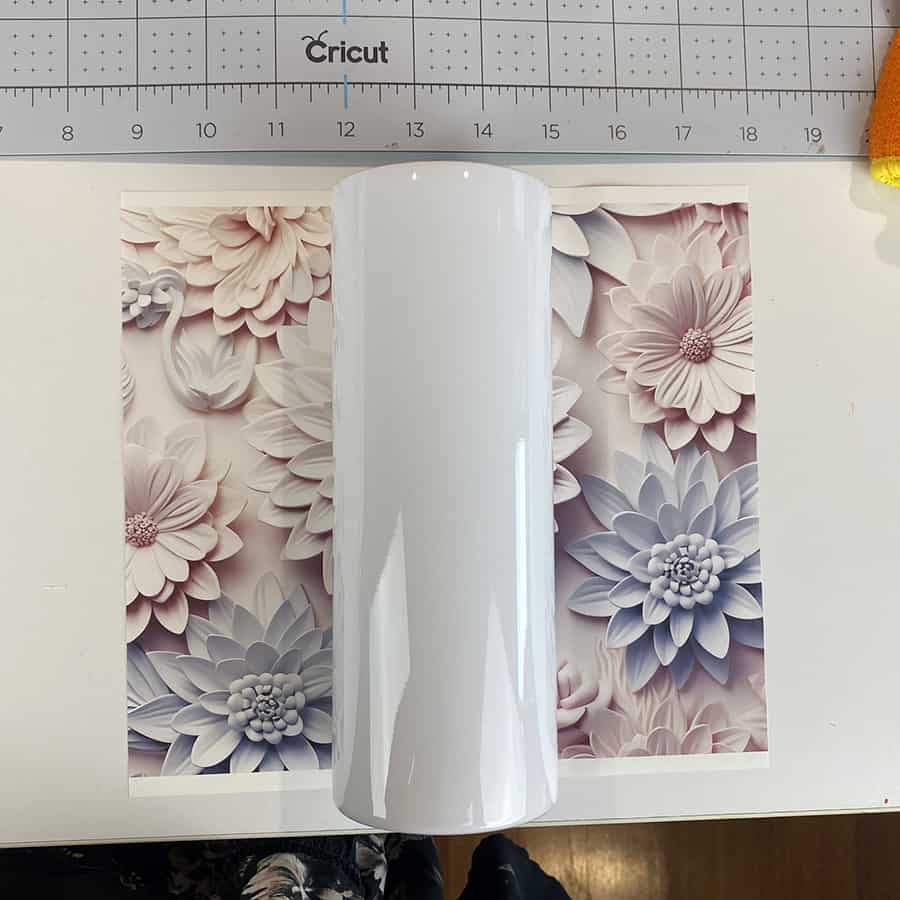
- You will see a little bit of an allowance at the top and on the bottom which is perfect for the full bleed of the design.
- Try and ensure using your eye to get the tumbler as straight as you can while looking at it.
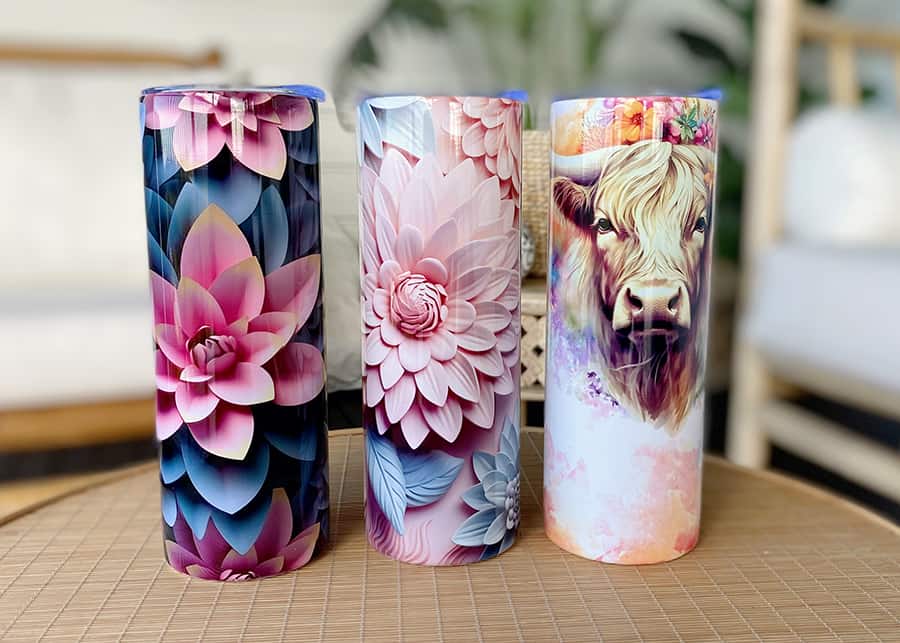
- Now wrap the sheet around the tumbler using heat-resistant tape to secure the sheet to the tumbler.
TIP: If one side's a little bit longer, simply adjust the sheet so the seams or sides are straight. You want the seams to be straight so the design looks seamless.
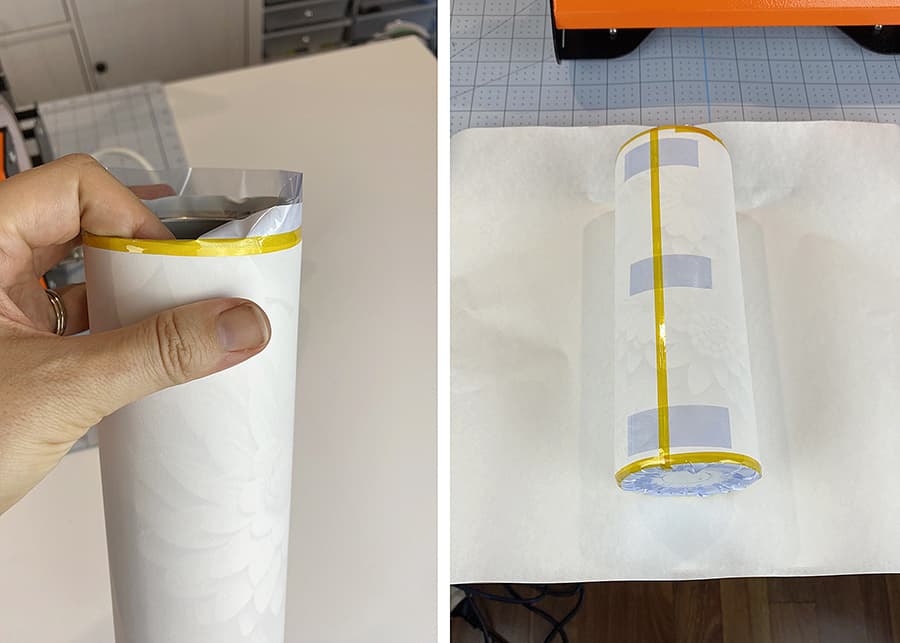
- When you have secured the side of the sheet, flatten the sublimation sheet by folding the top and bottom edged over.
- Secure using heat-resistant tape.
- Now wrap with butcher paper to protect your heat press from any of the design being transferred to the heat plates.
Step 3: Pressing Your Design Onto Your Tumbler
Now that you have prepared your tumbler it is time to get that design onto your tumbler!
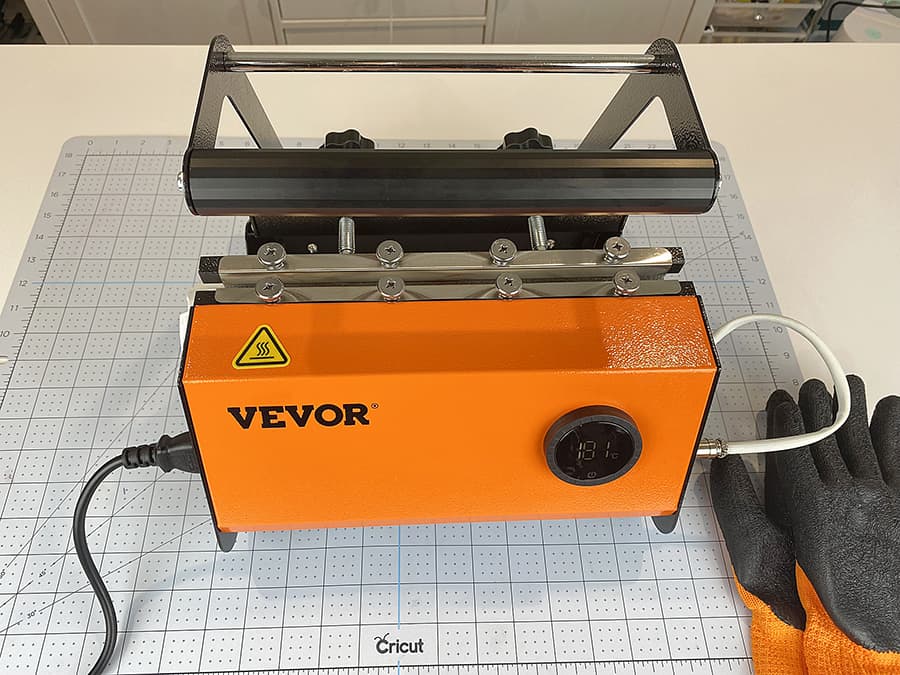
- Turn on your tumbler heat press, setting the temperature and time. (Refer to the sublimation paper brands recommendations or the instructions that you will find with your pre-printed sheet).
- When the heat press is ready, place your tumbler into the press and close.
- When the press time is complete, open the press.
- With your heat gloves on, carefully remove the tumbler from the heat press.
- Leave your tumbler to cool before removing the sublimation sheet.
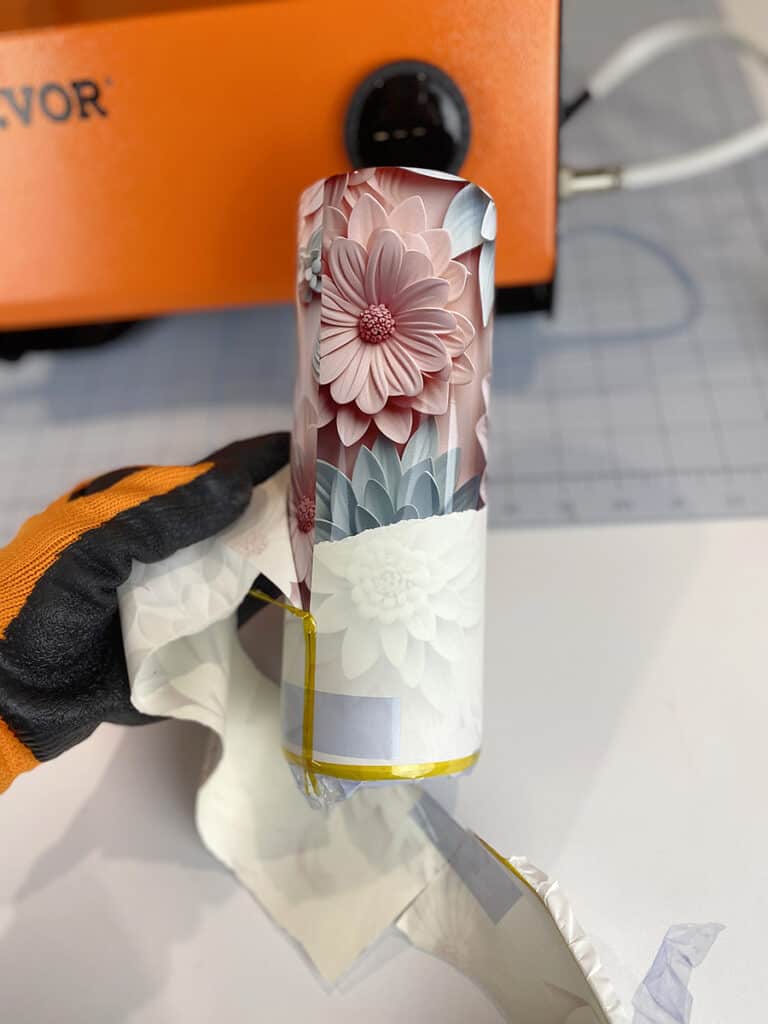
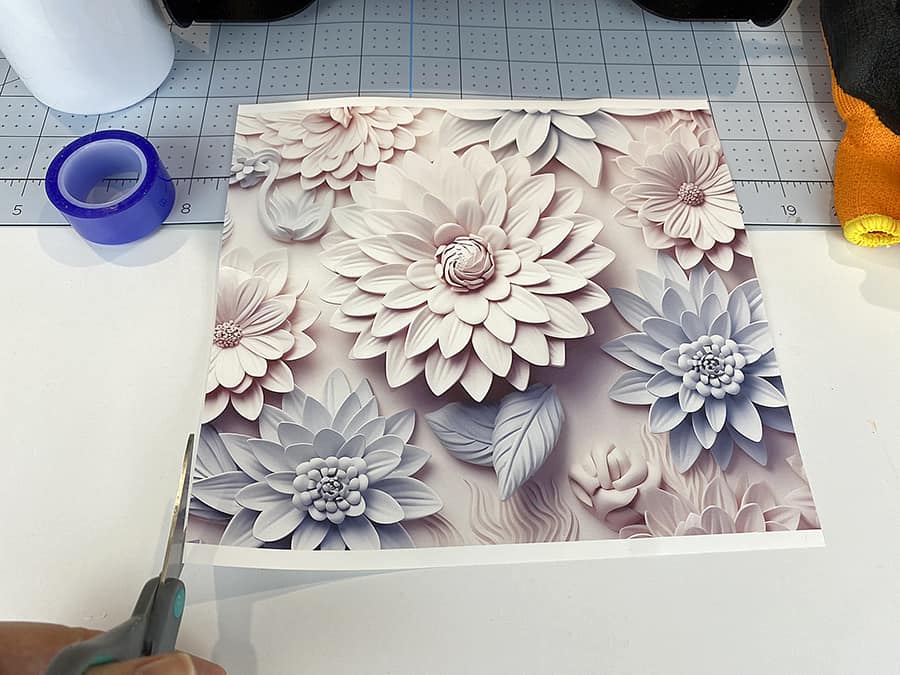
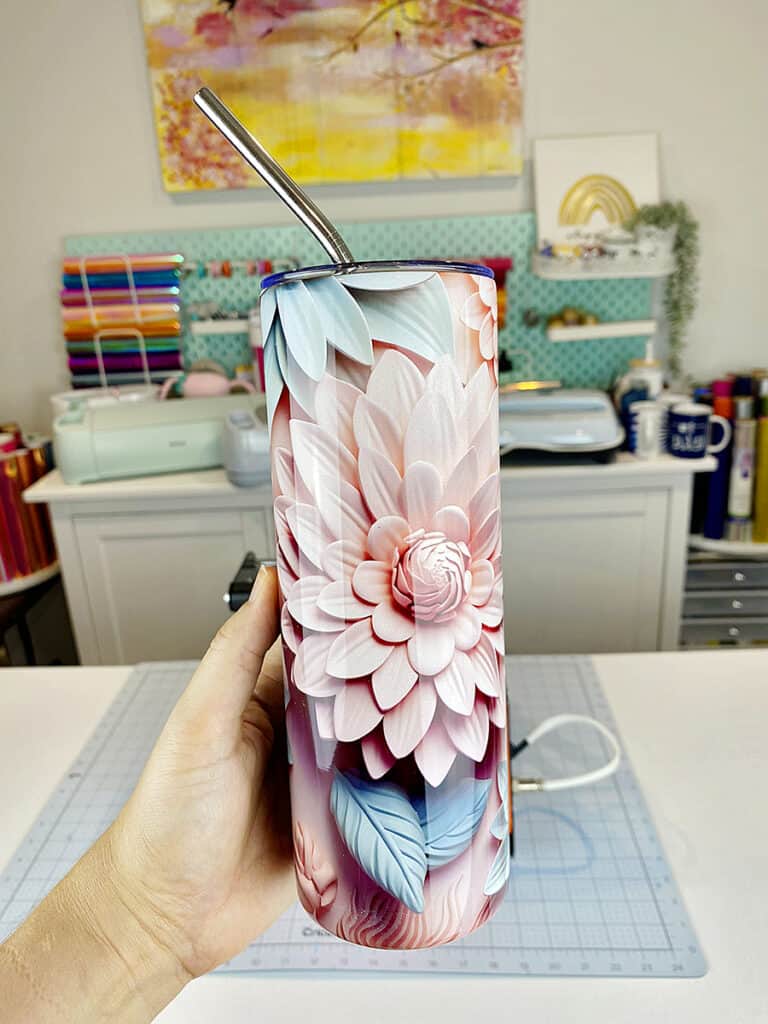
And just like that, you have a stunning 3-D sublimation tumbler! Perfect for using when you are on the go or even for the unique and special gift!
Who would not love receiving a gorgeous looking tumbler like this?
If you are not sure what mug or tumbler press to buy, make sure to check our best mug press machine reviews to help you decide which is best for you!