Making gift tags with the Cricut is super easy and there are several different ways you can make gift tags, depending on what supplies you have on hand.
Today I’ll show you how to make three different birthday tags and three different thank you tags.
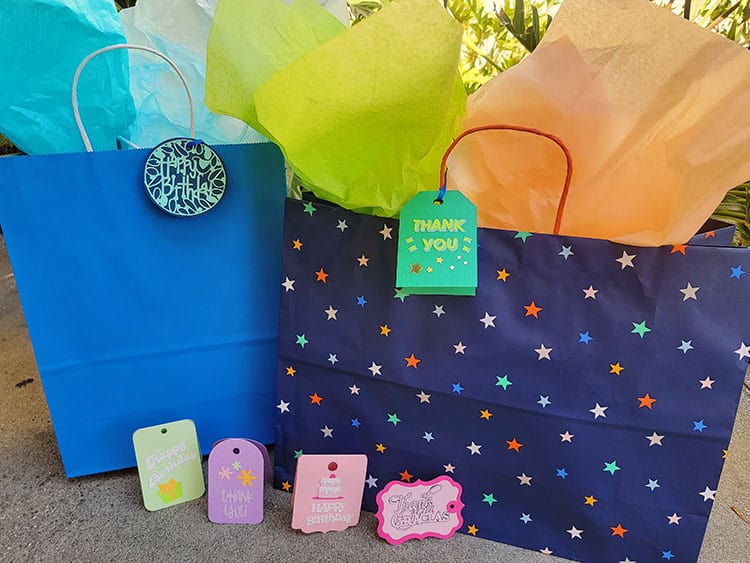
For this project, we will go back to the basics using only cardstock, pens, and glue!
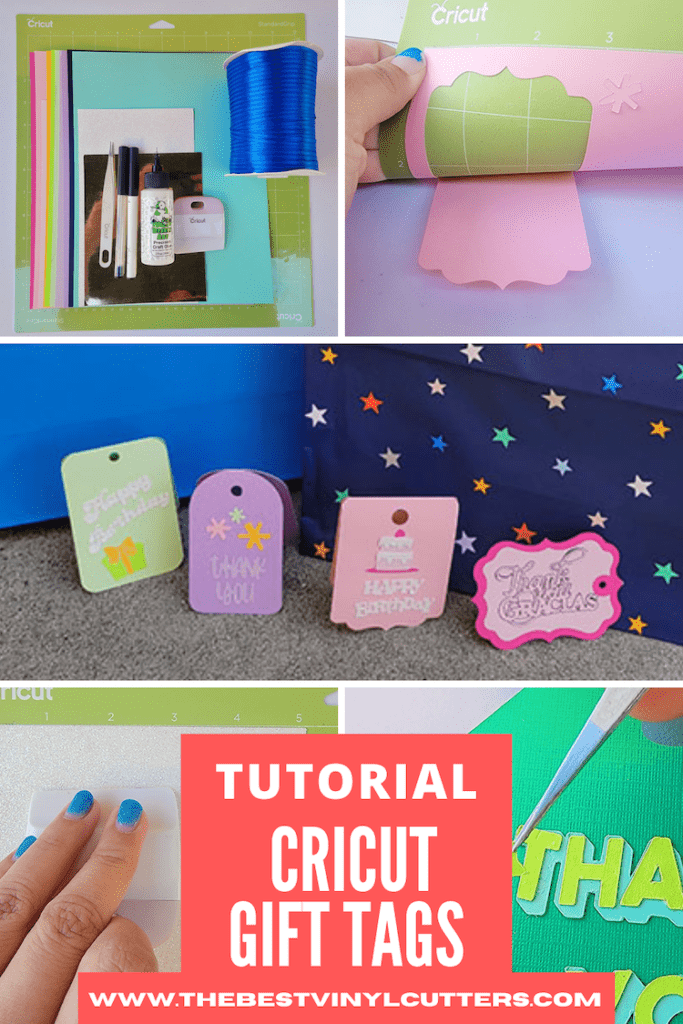
Here is our full tutorial on how to make Cricut gift tags – don’t worry it is pretty easy to do!
How To Make Gift Tags on Cricut
Looking for Cricut gift tag ideas that you can use for that awesome handmade gift you made?
Follow our tutorial and learn how quick and easy it is to whip up Cricut gift tags. This is a really easy and fun tutorial and great for beginner Cricut crafters.
You could either stick to doing normal sayings such as ‘thank you' or ‘happy birthday' or if you want to step up your guide you could add some fun with a birthday quote or birthday pun – see a list of 110 birthday captions for some inspiration.
Supplies Needed For the Cricut Gift Tags:
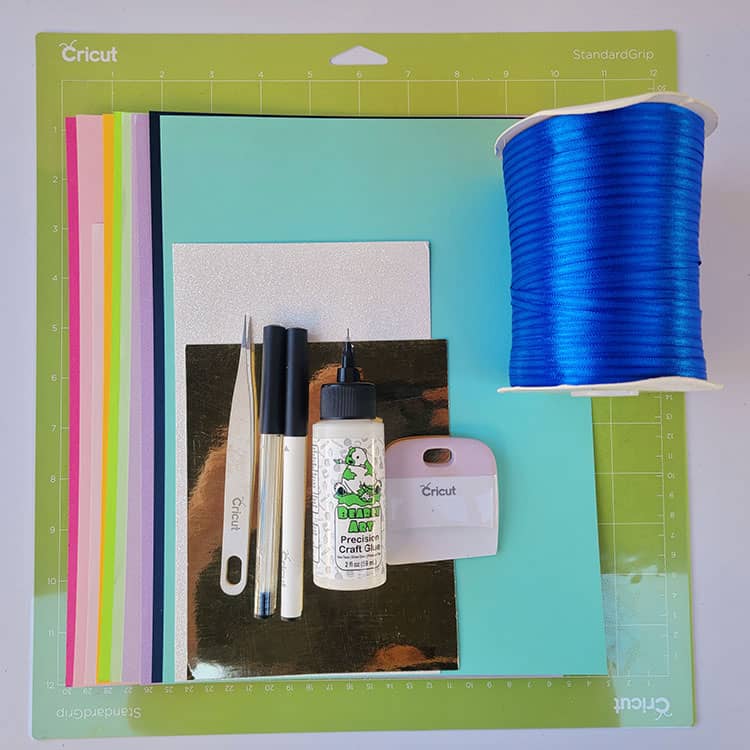
- Cricut Cutting Machine (I used a Cricut Explore Air 2)
- Cricut StandardGrip Cutting Mat
- Cardstock paper
- Cricut Pen or Cricut Marker
- Craft Glue
- Cricut Scraper
- Ribbon (Optional)
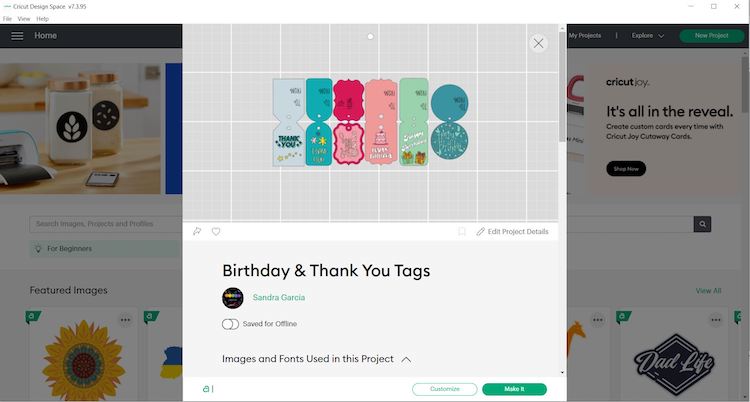
Step 1: Download Your Free Gift Tag SVG’s
Detailed below are our step-by-step instructions on how to make your gift tags. We have created designs from SVG's that you can use in Cricut Design space.
- Click here to find our Birthday & Thank You Tags project in Cricut Design Space.
Note: The designs are obtained through the Cricut Assess profile.
- Next select “Open in App” and “I agree to Cricut Terms of Use and Privacy Policy”.
- From there you can select “Edit a Copy” or “Make It”.
Note: You may select “Edit a Copy” if you want to change the color, size or any other elements of the design.
- Once you are satisfied with the design you may move on to the next stage of the process which is cutting the design.
Step 2: Prepare your Cutting Mat
Now it is time to cut your design. As we are using quite a few different colors of cardstock, you will have 20 different mats for this project. If you only use one color of cardstock the number of mats to load will be a lot less.
- When you are happy with the size and color of your design click on “Make It”.
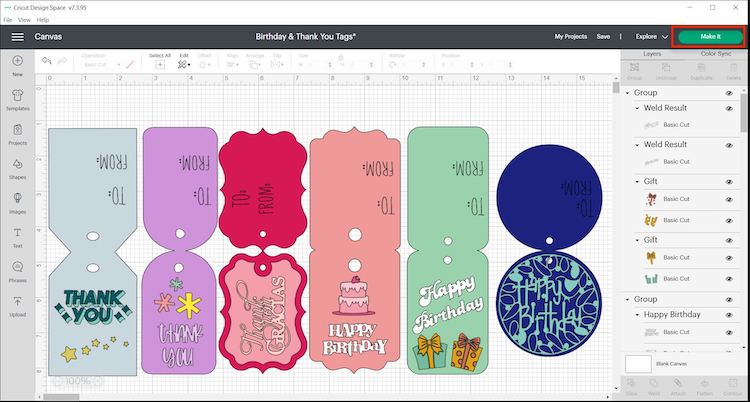
- Select continue and connect your Cricut machine (make sure to switch your Cricut machine on).
- You will now be able to pick your material and cut settings.
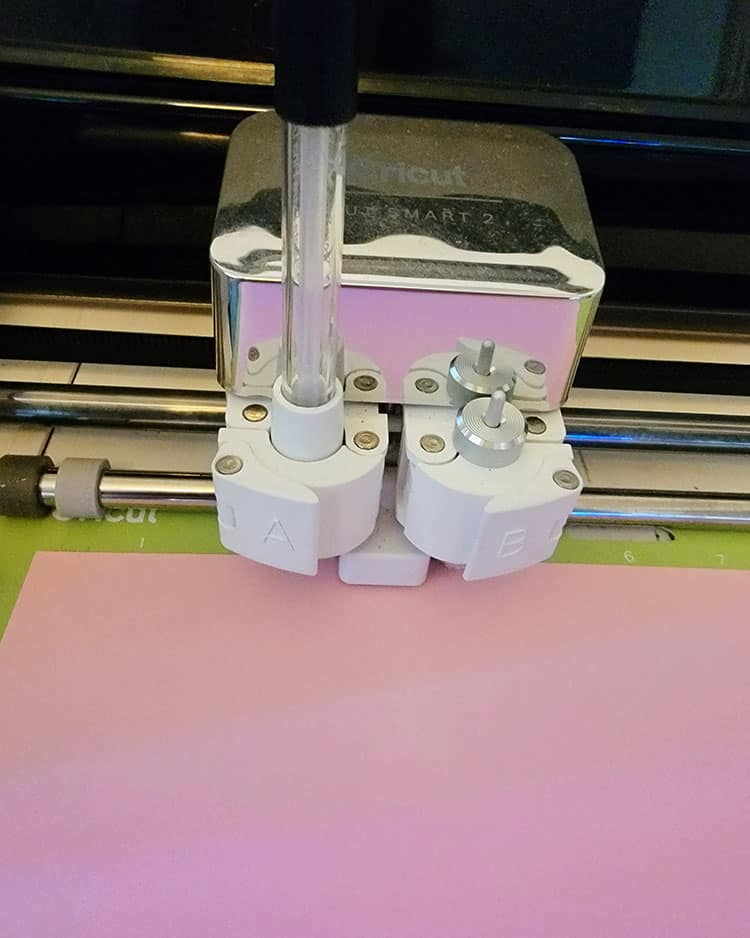
- If you have an Explore Air 2 – Select “Cardstock” on your material dial
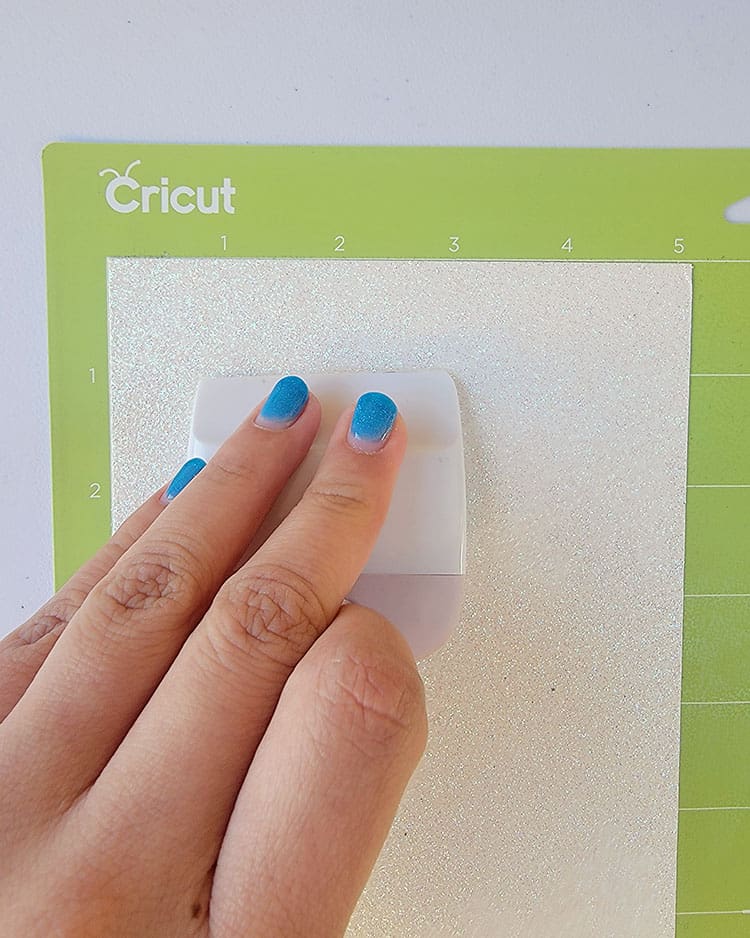
- Place the cardstock on the Green StandardGrip cutting mat.
- Load the mat into your cutting machine and follow the instructions to cut the cardstock.
Note: To ensure you get a great cut when using glitter cardstock and a CEA2, you will need to switch the dial to “Custom”. Then select glitter cordstock from the material settings in Cricut Design Space.
- For the tags that require a pen, we are just using a black pen for this however you could use any color pen you wish. Simply pop the pen into Clamp A when prompted. To do so, open the clamp, pop the pen in and push down gently until you hear the pen click into the clamp. Close clamp.
- To cut the remaining gift tags, simply repeat the above steps until you have cut out all of your tags.
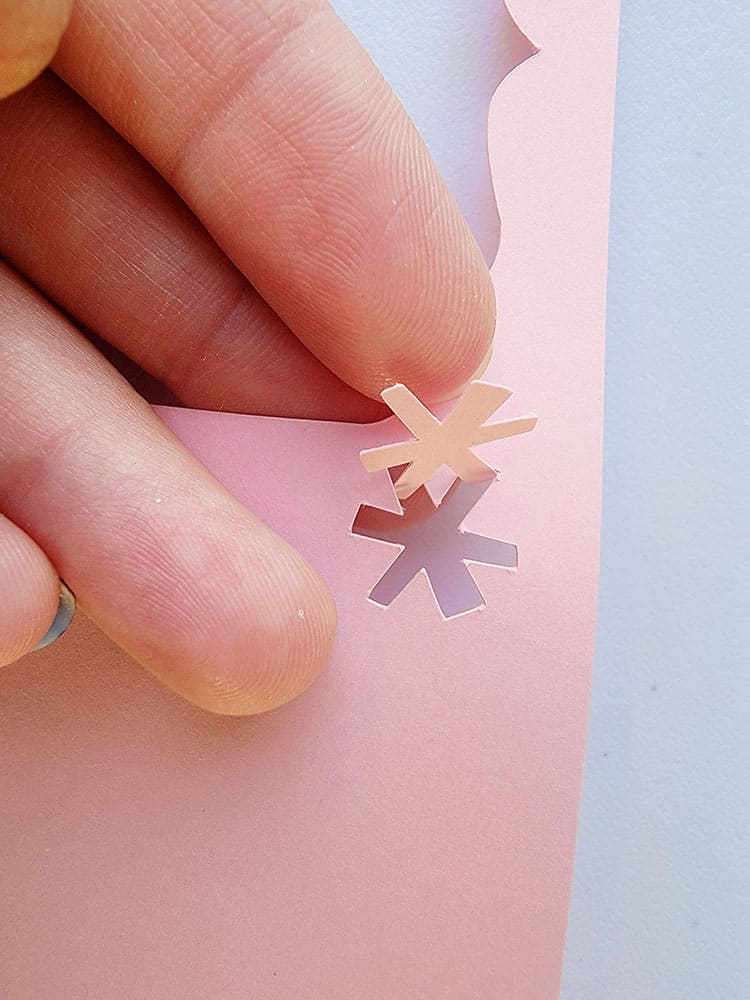
Step 3: Weed your Design
When you have cut all your gift tags you will need to remove the excess and pieces of cardstock that you will not need.
If you have a clean cut, these excess pieces of cardstock should come away when you gently remove the cardstock from the mat. However, if they don't you may need to weed them out from the design.
- Unload the mat and carefully peel the mat away from the cardstock rather than peeling the cardstock off the mat. To do this, flip the cutting mat over and peel the mat away from the cardstock.
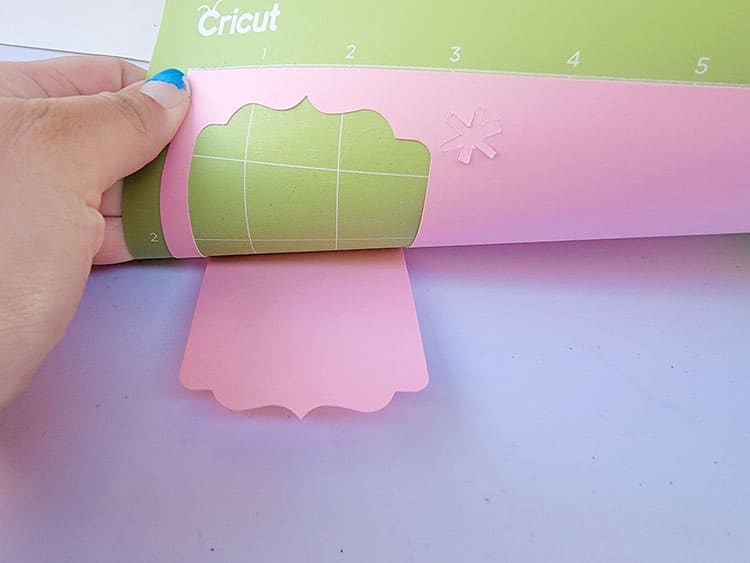
- Pop-out the small pieces of cardstock with your fingers.
- Use the scraper to remove any pieces of cardstock that are still stuck to your mat.
- Go ahead and repeat the above steps for all your tags.
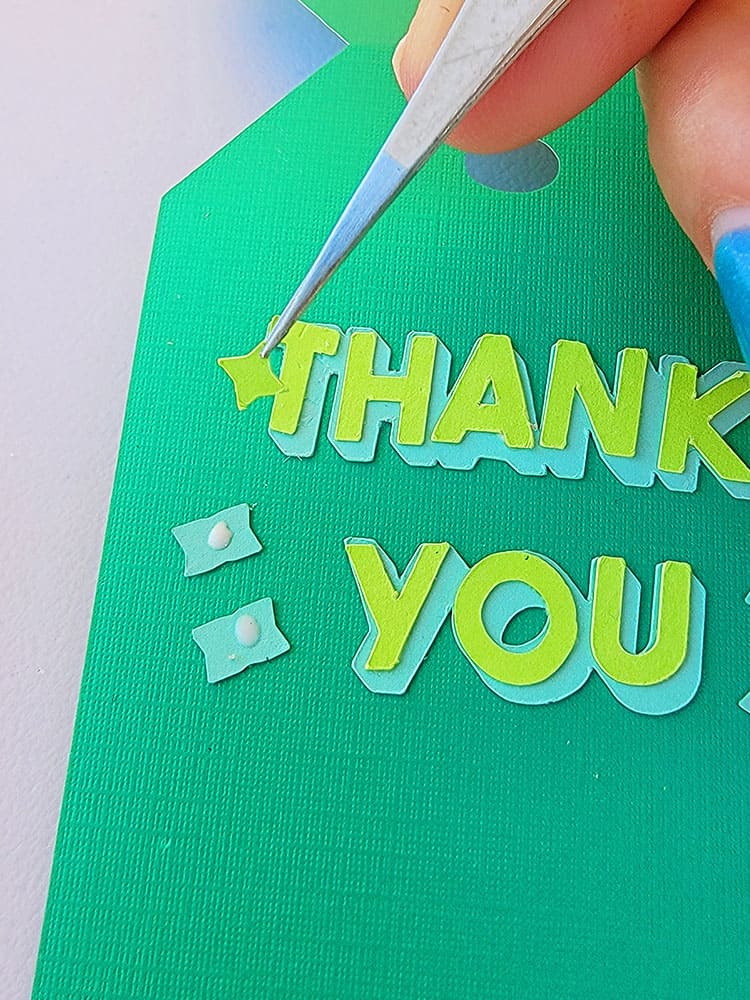
Step 4: Assemble the tags
- Fold each of your tags in half.
- I found it easiest to use some liquid glue and tweezers to put my accents together on the tags.
- Add some ribbons to your tags and they are ready to use.
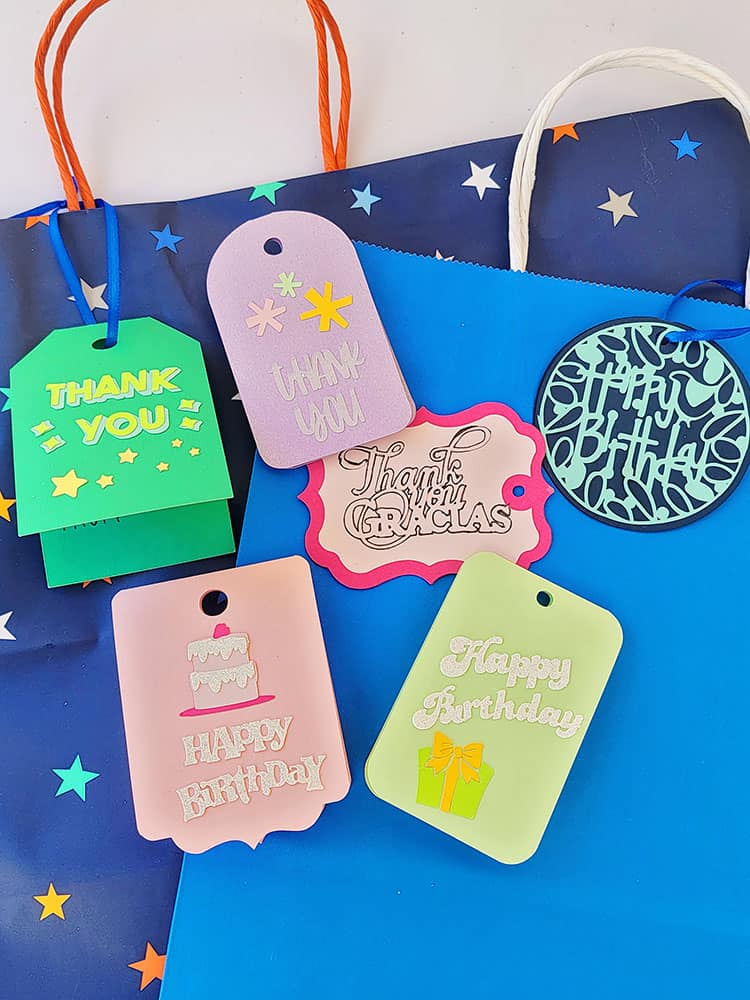
And just like that, you have created your very own gift tags that can be color coordinated to any theme or gift paper.
You can also change the gift tags in size and color depending on the event or occasion that you need them for!
If you love the idea of creating your own gift tags, you can create your own Cricut birthday gifts by checking out this great list of easy and fun ideas!
If you love working with cardstock you will enjoy our post with over 17 things you can make with cardstock on a Cricut. If you love using vinyl be sure to check out this list of Cricut Vinyl Gift Ideas!