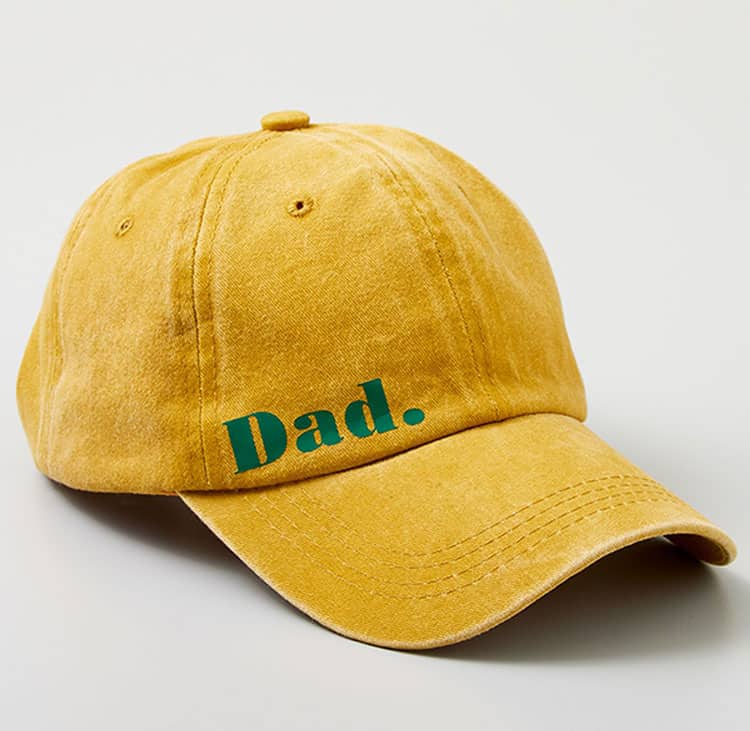
Did you know that you can have fun creating a custom hat design without actually having to purchase a special hat press?
Now, it might be obvious, but it is, of course, heaps easier to create a hat transfer design using a special hat press.
And if you know that you will be making custom hats or caps on a regular basis, it probably will be worth your while to invest in one of the best hat press machines.
But if you only enjoy making custom hats on the odd occasion it would be a waste of money to purchase a hat press, when you can simply make it on your normal heat press.
And if you don't have a heat press yet, we suggest you start off by reading through our heat press reviews first.
Step-by-Step Tutorial on How To Press A Hat without a Hat Press
Find below some super easy instructions on how to add a heat transfer vinyl design to your hat (or cap) without actually using a special hat press.
Materials Needed:
- Hat
- Heat Press
- Teflon Sheet
- Magnets
- Heat Tape
- Glitter or Flocked Heat Transfer Vinyl
- Thick Fabric about a ¼ yard (oven mitts or thick towel will work well)
- Rubber Band
Note: Don't use regular standard heat transfer vinyl with this method. Whilst you can use normal vinyl when you use a special hat press, it is too thin and will wrinkle when you move your hat on a normal heat press.
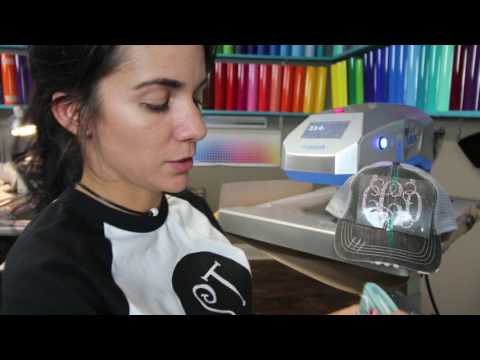
Instructions on How to Use a Normal Press for your Hat

1. Adhere your Teflon sheet to your upper platen using the magnets (see the video below for a visual representation of this).
2. Heat up your heat press.
3. Pop on your oven mitt or use your thick fabric to protect your hand as you press and roll the hat against the platen to remove any wrinkles and moisture.
4. Next, fold your trimmed-down transfer design in half to mark the center of the mask.
5. Adhere your design to the center of the hat (or where ever you want) using the heat tape.
6. Again pop on your oven mat or grab your thick fabric. Press your hat against the upper platen for 5-10 seconds. Carefully remove the hat and have a look to see if any other sections need to be pressed as well (this will depend on the size of your design).
7. Once you think it is properly adhered to, carefully start peeling it off. Keep an eye out for any parts that might not be properly pressed. If you see any of the designs coming off the hat, simply lay down the transfer tape and repeat the pressing process until you can remove the mask.
8. At this point, you might notice that the hat is a bit flatter than normal. You can fix this by squeezing the front of the cap towards each other to give it some shape again. You might also like to wrap a rubber band around it and leave it to ‘set' as it cools down to give it shape again.
If you prefer visual instructions, here is a video just for you:
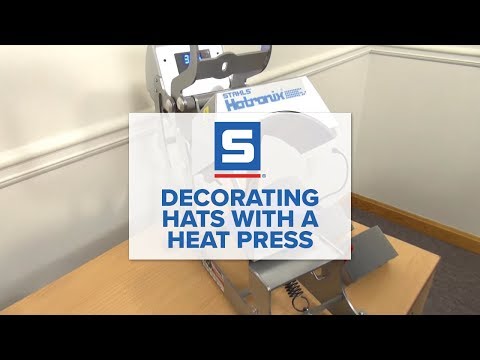
Now, of course, the easiest option to press hats is of course by using a special hat press machine. If you happen to have purchased a 5 in 1 heat press, you might have one of these handy gadgets with you.
Here is a quick video to show you how you can use a hat press to heat press a design to your hat:
And there you have it! I hope you found these steps really easy to follow along with and as always if you have any further questions please pop them in the comments down below.
- Further Reading: What is the best heat transfer vinyl?