I'm always fascinated with those foiled invitations and cards. The shiny metallic touch from the foil is so elegant that I wanted to have it as our invitation to our wedding but sadly it costs a lot and we opted for a DIY invitation.
Back when I got married (7 years ago) if you wanted to have an invitation with foil highlights, you had to send it out to get it done professionally at a local printing shop.
Now, we are so lucky because you can create one for an affordable price from the comfort of your own home. All you need is your Cricut Machine, some foil transfer sheets, and the Cricut Foil Transfer Tool! You can do this Cricut Foil Transfer Card on both Explore Air and Maker but it won't work with the Joy.
Are you excited? We are so let's get started!
How to Make a Gorgeous Cricut Foil Transfer Card
Find below the steps to follow in order to create this easy but elegant-looking Cricut card with foil highlights that you can give out to someone on any occasion.
Supply List
- Cricut Cutting Machine (I used a Cricut Maker in this tutorial)
- Cricut StandardGrip Cutting Mat
- Cricut Pens
- Cricut Scraper
- Transfer Tool
- Black Cardstock
- White Cardstock
What you Need to Know About the Foil Transfer Sheets and Tool
Before we get started it is important to understand a few basics around the foil transfer kit.
What you will get in the foil transfer kit:
- The foil housing tool comes with three tips (fine, medium & bold tips),
- 12 Foil Transfer Sheets 4″ x 6″ – 4 Gold, 4 Silver, 4 White,
- Tape to secure your sheets in place
Which machines does the Cricut Foil Tool work with?
- The Foil tool can only work with the Cricut Maker and Cricut Explore Air 2. It WILL NOT fit in the Cricut Joy Machine.
Important to know:
- You can only use the Cricut Foil Transfer Tool from your computer/laptop. It is not compatible with the Cricut Design Space app that you use on IOS or Android.
- These sheets are pressure-activated. I accidentally got my sheet stuck to my Cricut mat and the pressure of the stickiness meant that the foil stuck onto my mat.
- The sample sheets are slightly too small for this card, I improvised and it still looks fabulous but if you are a perfectionist you might prefer to buy the Foil Transfer Rolls so you have a bigger piece.
- Lastly, it is SUPER IMPORTANT that you DON'T unload your mat after it draws, cuts and scores. You have to keep your mat in whilst you load up the transfer sheet – it is a pain but it is the only way to make sure you get the foil highlights in exactly the right spots.
Step 1: Let's Create the Card!
This card is super easy because it is one of the Cricut Projects, which means that you don't have to design anything at all.
- To create the design on Design Space, search for “Wild About You” in the project section and click Make It.
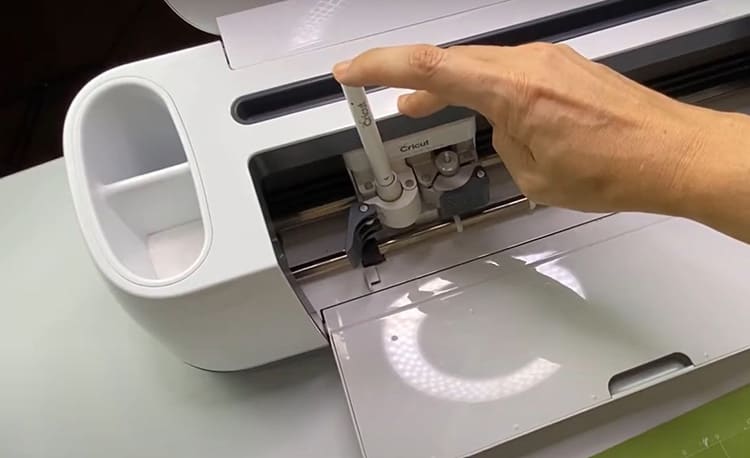
- Load your pen in Clamp A to draw your design on the white cardstock. Push the pen downward until the arrow on your pen disappears from view. Close the clamp to keep the pen securely in place.
- Load the scoring wheel in Clamp B. The scoring wheels will create your fold lines.
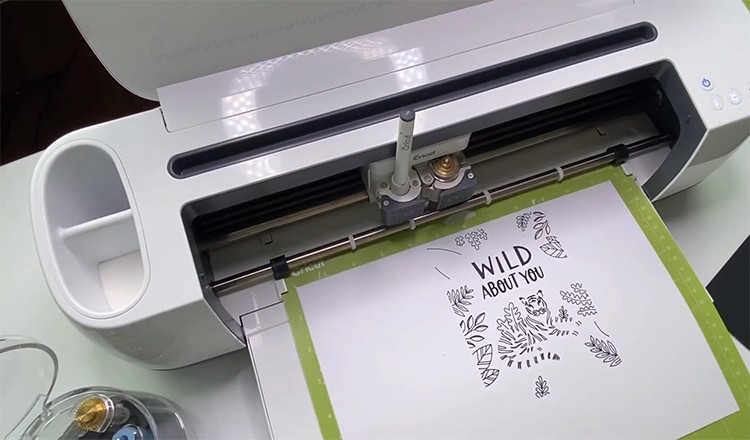
- Pop your white cardstock on your StandardGrip mat. If you are using an A4 sheet like me, make sure that you adhere it in landscape to your mat.
- Load the mat and press C to start drawing and scoring on the white cardstock. Wait for it to finish, DO NOT unload the mat when it completes.
Important: DO NOT Unload the mat to leave it where it is so that when you put the foil in your card, it will be on the exact place where you draw the design.
Step 2: How to Transfer the Foil
This is exciting! To make your card more beautiful, let's put the foil. You will be amazed how this card will turn out.
- Remove the scoring wheel from Clamp B to replace it with the Transfer tool.
- Grab the Transfer tool. Use the medium tip tool, this is the tip that has the two lines.
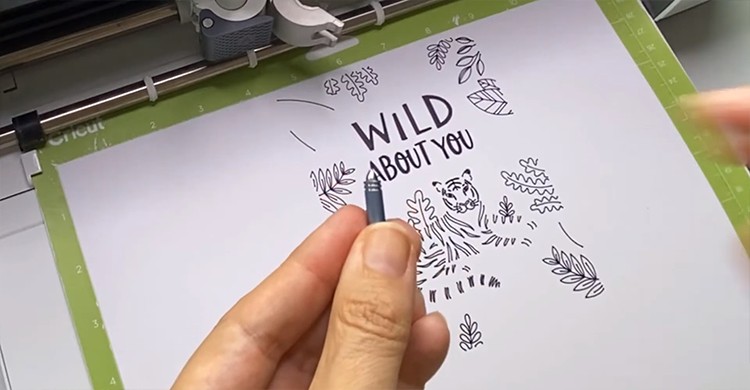
Tip: To change the tip of the transfer tool, push down the pin at the back of the transfer tool and pop the tip at the front then release the pin at the back.

- Load the transfer tool in Clamp B.
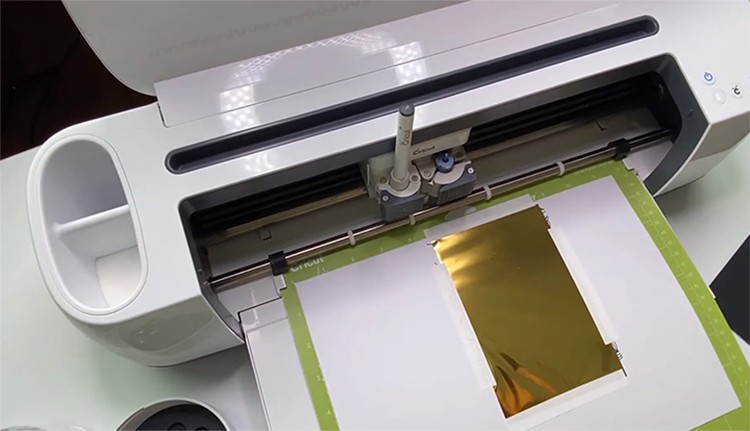
- Place your foil in place, you can find the placement by following the scoreline on the white cardstock, and adhering the foil to the right of this.
- Tape down the foil in place. It should be very tight and secure. You will find white tape in your foil transfer box that you can use. I recommend you go right around your foil to secure down all sides.
Tip: The foil is pressure sensitive. The pressure from the transfer tool is applied to the foil, this is how the foil is being transfered to your cardstock.
- Press C again to start transferring the foil to the design on your white cardstock.
- Once done, DO NOT unload the mat. Remove the foil from your cardstock.
- Load the normal cutting blade in Clamp B then press C to start cutting the edge of the card.
- Unload the mat then turn the mat upside down to pull the cardstock away from the mat.
Step 3: Make the Envelope
To complete the card, let's create an envelope with a foil design too!
- Adhere the black cardstock to the green cutting mat.
- Load the scoring wheel again in Clamp B to put score lines on the envelope.
- Load the mat then press C to start.
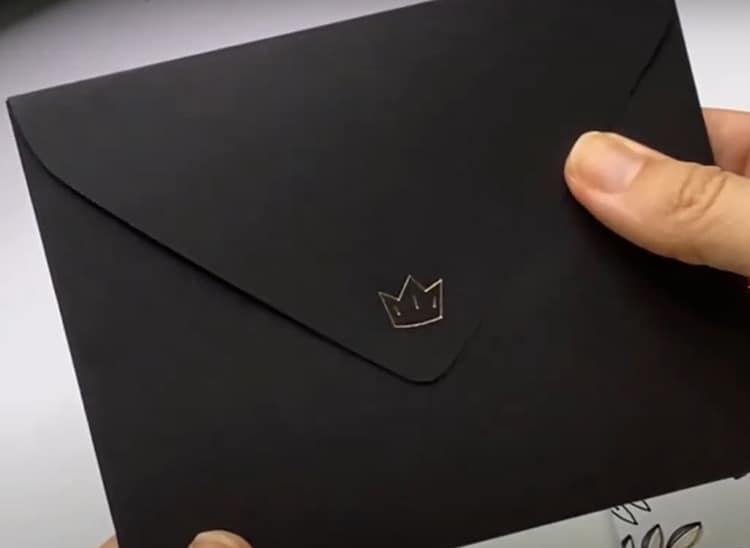
- Once done, DO NOT unload the mat. Load the Transfer tool so that we can add that gorgeous foil crown to our envelope.
- Tape the foil down and then press C.
- Once done, DO NOT unload the mat. Remove the foil from your cardstock.
- Load the normal cutting blade to cut the envelope then press C to start cutting.
- Once done, unload the mat, then again turn the mat upside down to pull the cardstock away from the mat.
Step 4: Assemble the Card and Envelope
Nearly done, now we simply need to glue our envelope together and fold our card.
- Get the foiled card, fold the card in half following the scoreline.
Tip: You can use your fingers, a scraper or other alternative like ruler to fold the card.
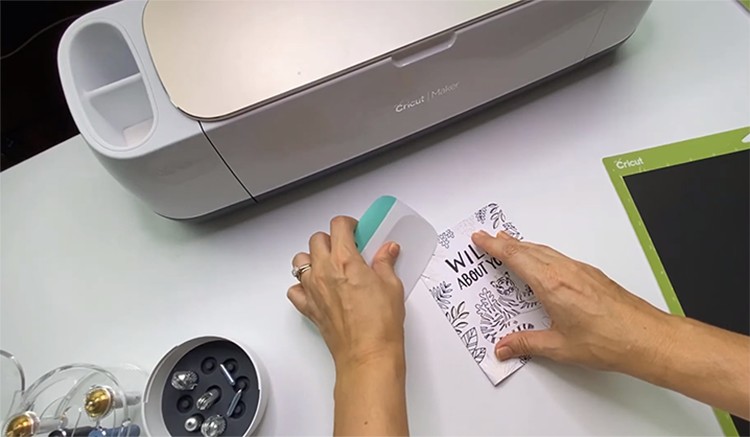
- Your card is now done!
- Grab your envelope, use a scraper to fold the sides of the envelope. Make sure that the little crown design is outside the envelope.
- Put a little glue on the sides of the envelope and let it dry.
Tip: You can use liquid glue, double sided tape or a hot glue gun to stick down the sides of the envelope.
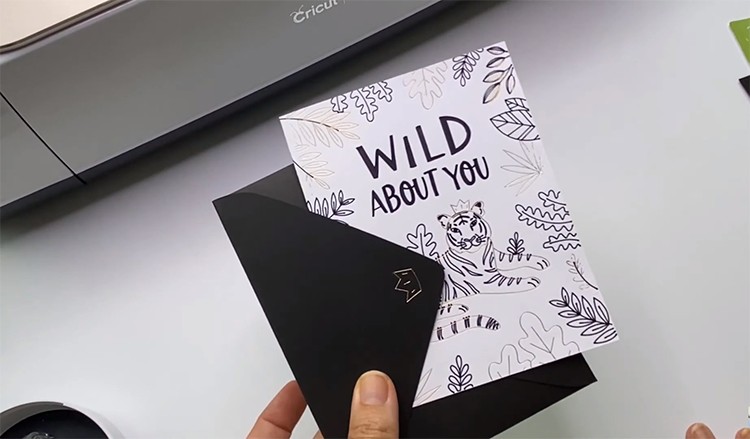
There you have it! Your DIY easy but elegant foiled Cricut card is done!
You can now create as many cards as you want for all occasions and give them to your family and friends, I'm sure they will love your cards too.
Looking for more inspiration? Find a list of our favorite cardstock Cricut projects here.