Cupcake wrappers are by far the easiest items to create on your Cricut, it can turn a simple cupcake into a fabulous cupcake, think of it as clothing for your cupcake.
One of the best things about cupcake wrappers is that you can have them match the theme of your party and Cricut Design space has many designs to choose from. They have designs for birthdays, Halloween, Christmas, and even princesses.
Today, we will share with you three great designs found in Design Space that can take your sweet bar up a level.
Here is our super easy customized Cricut cupcake wrapper tutorial – let’s do it!
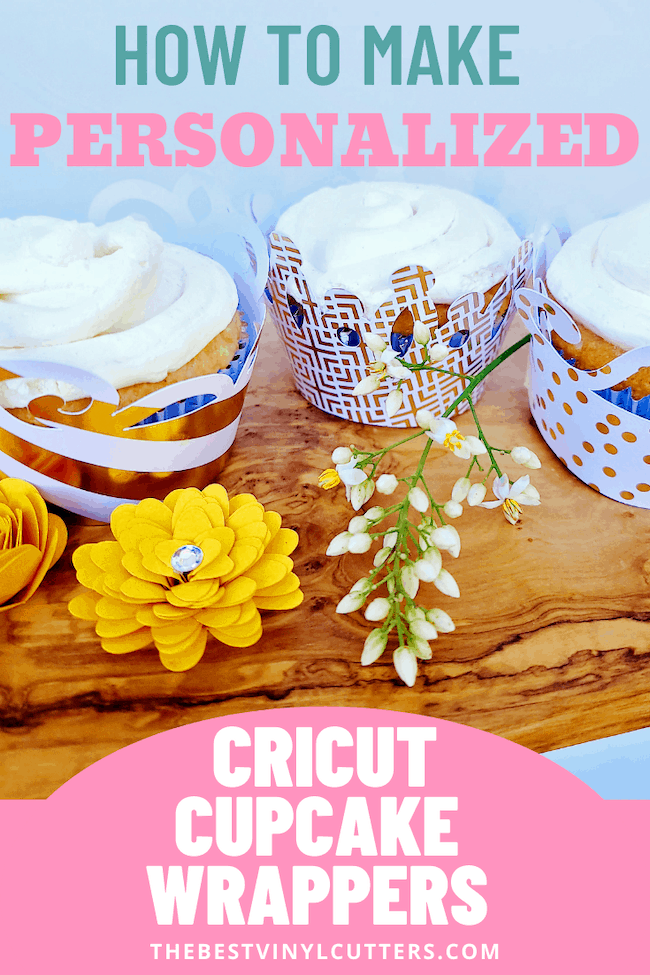
How to Create Your Own Customized Cricut Cupcake Wrappers
Learn how to make cupcake wrappers with Cricut so you can take your celebrations to the next level and wow your guests!
Cricut Cupcake Wrapper Supply List
- Cricut Cutting Machine – I use an Explore Air 2
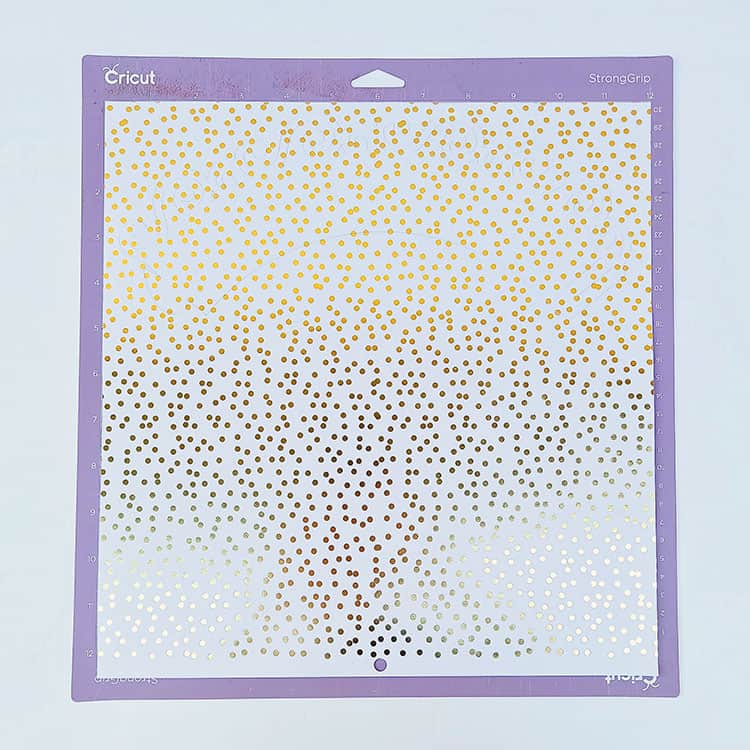
- StandardGrip or StrongGrip Cutting Mat
- Heavy Cardstock Paper (We use this pack from Amazon)
- Cricut Scraper
- Measuring tape
Step 1: Cricut Cupcake Wrapper Template
Find below the step-by-step instructions on how to prepare your cupcake wrapper for cutting.
- Begin by clicking here to open the Cupcake Wrapper project in Design Space.
Note: The designs are obtained through the Cricut Assess profile.
- Next select “Open”.
- Select “Open Cricut Design Space Application”.
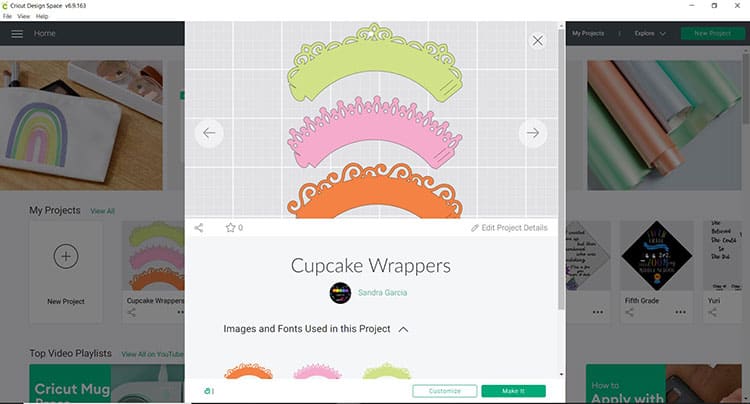
- From there you can select “Customize” or “Make It”.
Select “Customize” if you want to change the color and size. Most cupcakes come in the standard size width of about 9 inches therefore you may not need to adjust.
- Once satisfied, select “Make It”
Step 2: Cut Image
Next, it is time to cut your design. This project will have you load the project onto three different mats as we are using three colours.
- When you are happy with the design click on “Make It.”
- From there place the cardstock onto your StandardGrip or StrongGrip cutting mat. Depending on how thick your cardstock is and how sticky your mats are will determine which mat you should use.
- Make sure to turn the Smart Set Dial on your machine to Cardstock if using the CEA2.
You can select the correct setting for your cardstock thickness in Design Space by using the Select Materials option (set your dial to Custom to bring up the Material Options selection).
- Once the design has been cut, carefully remove the cut cardstock from the cutting mat being careful so as not to tear the design.
TIP: You can turn the cutting mat over and roll it away from the cardstock at a perpendicular angle if the cut cardstock is not peeling away easily.
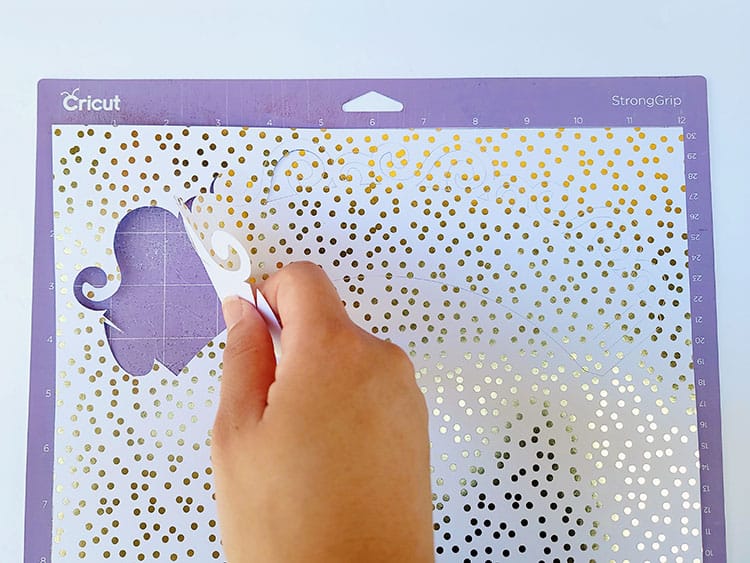
- Weed away (or remove) any excess pieces from your wrapper.
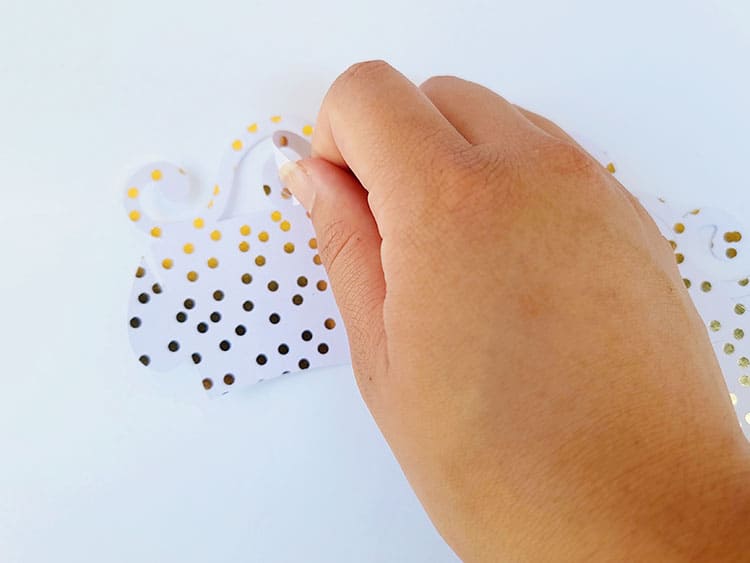
- To cut the remaining wrappers, repeat the above steps.
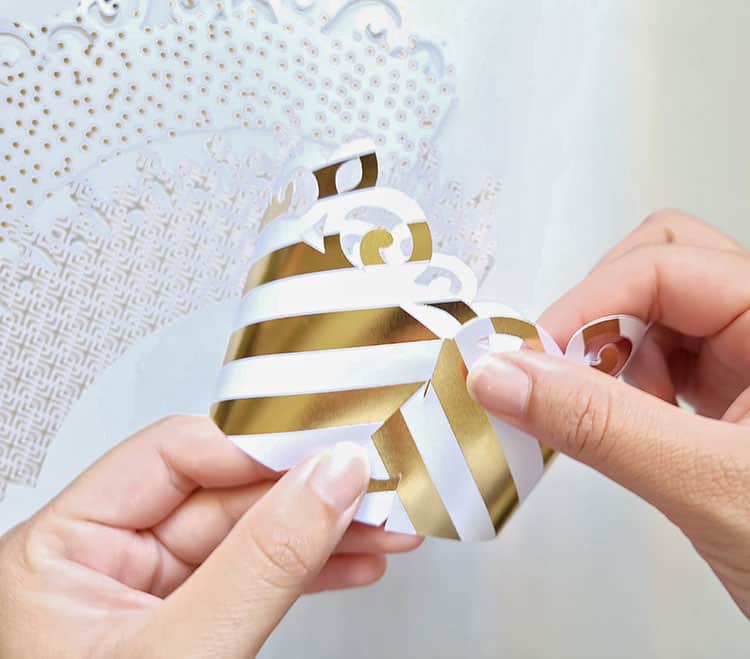
- Lastly, you will need to assemble the wrapper by simply putting one end through the other at their designed cut slots.
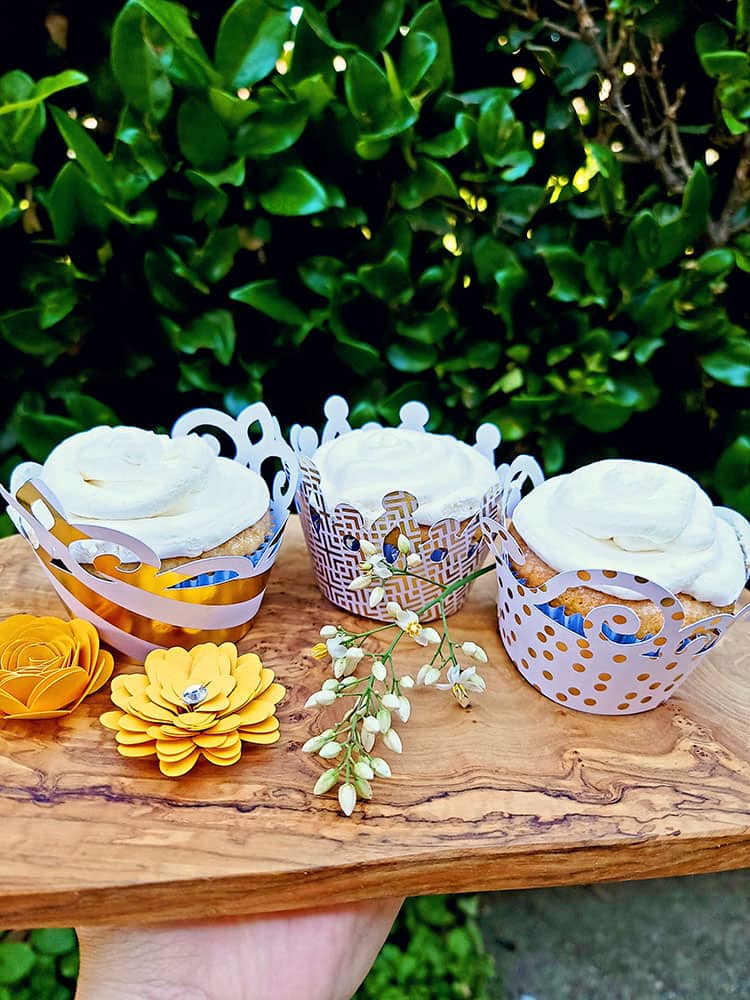
Hey presto! Now you have a cupcake wrapper that you have made using your Cricut and some beautiful cardstock.
Now all you have to do is place your delicious cupcake inside and enjoy!
I hope you enjoyed this very quick and easy Cricut tutorial working with cardstock. This is such a great beginner Cricut project with a beautiful end result.
There are so many other cardstcok projects that you can make with your Cricut! If you would like more cardstock project inspiration hop on over to our post that has 15 awesome Cricut cardstock projects that you can make with your Cricut.