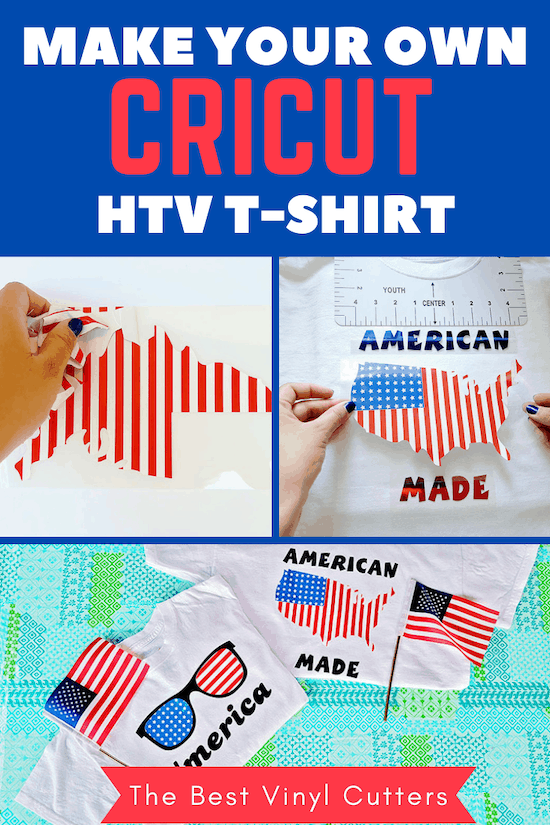
Want to customize your own Cricut 4th of July shirts this year?
One of the reasons many people buy a Cricut is to be able to make T-shirts! And it’s easy to see why.
On special occasions such as the Fourth of July, you are able to create your own design on the Cricut Design Space or use a pre-designed item.
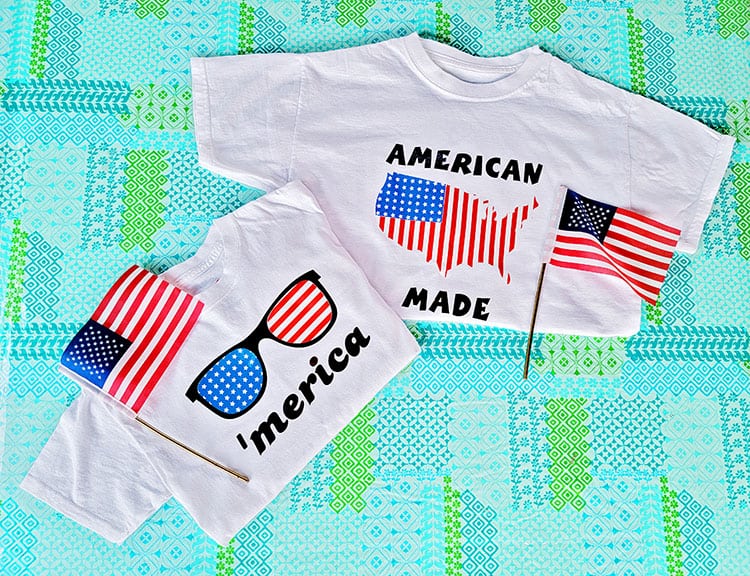
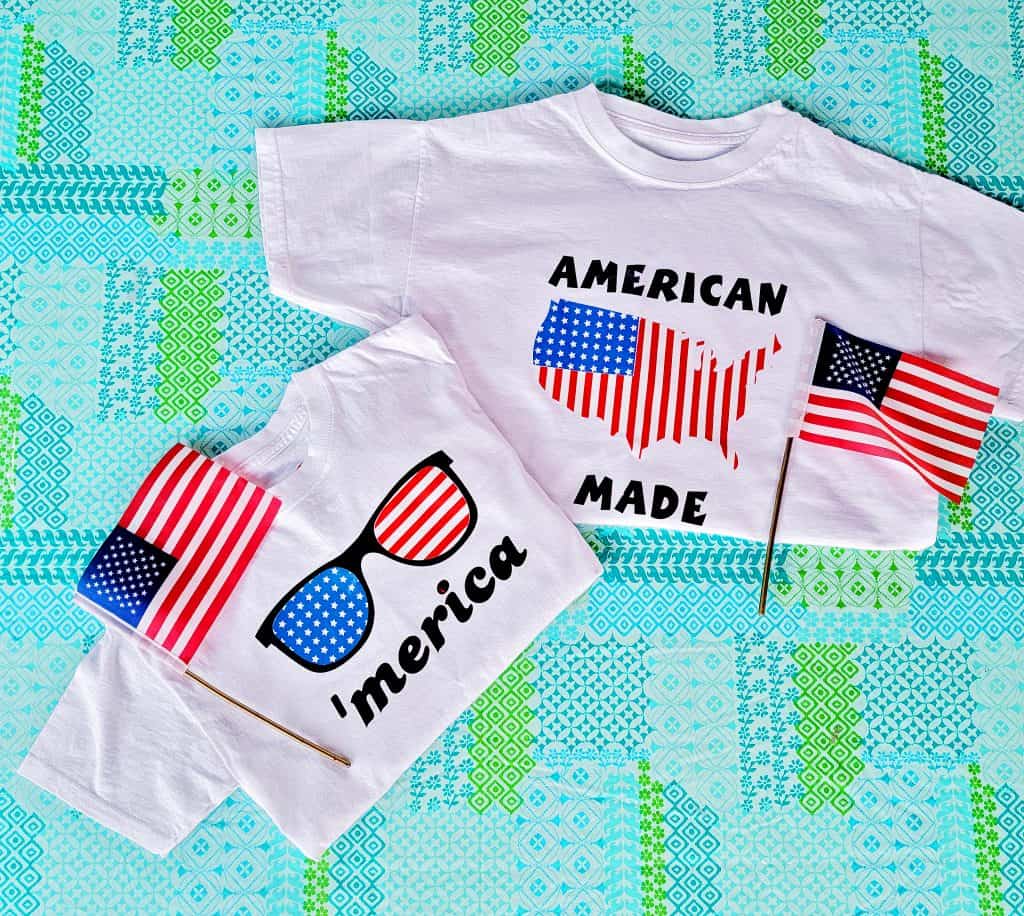
Today we will show you how to design your own cute 4th of July kids shirts using printed HTV!
DIY Cute Cricut 4th of July Shirts for Kids
Find below the steps to follow in order to create cute kids 4th of July shirts using your Cricut and some HTV (Iron-On Vinyl). It is an easy project that everyone can do, even for a newbie.
Supply List
- Cricut Cutting Machine (I used an Explore Air 2)
- StandardGrip Cutting Mat
- Patriotic Patterned HTV
- Flag Patterned HTV
- Metallic Foil HTV
- (Optional) Glitter HTV in Patriotic Colors
- HTV Transfer Tape (this is included with the Patterned HTV Packs)
- Cricut Weeding Tool
- Cricut Scraper Tool
- T-shirt Blank (We love the Hanes kids blank shirts on Amazon)
- Cricut EasyPress
- Cricut EasyPress Mat
- Lint Roller
- T-shirt Alignment Rulers
Step 1: Create 4th of July T-Shirt Design on Cricut Design Space
Below we have instructions on how to make these designs from scratch, however, if you want to save some time, you can simply click on the links below and it will open the projects (ready-to-go) in Cricut Design Space.
Note: Designs are made with Design Space, images and texts have a cost if you do not have a Cricut membership.
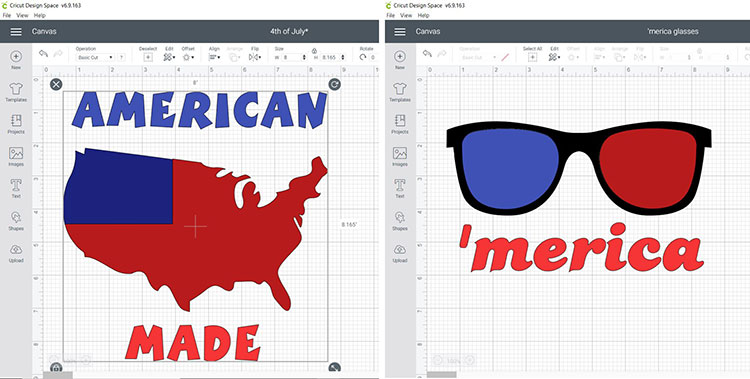
Design 1: American Made
Follow the steps below to create your American Made Design in Cricut Design Space. By following these steps you can customize your end design.
- Open Cricut Design Space.
- Select “New Project”.
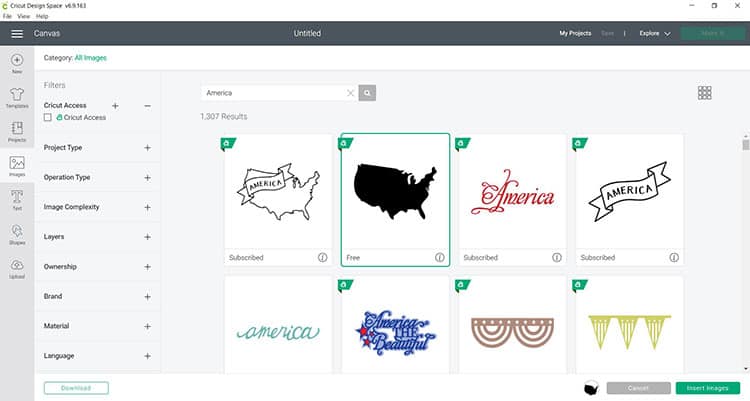
- Select “Images” then search “America” in the search options.
- From there select the second America image and click on “Insert Images” to add the image onto your canvas.
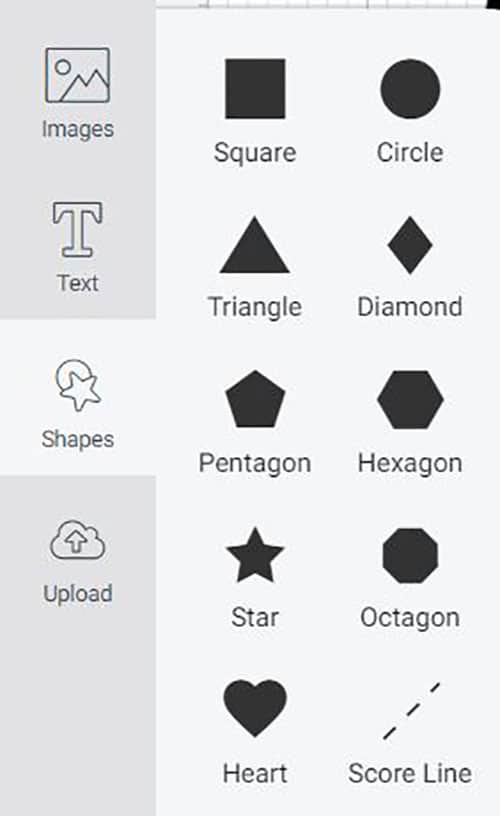
- After, select “Shapes” and pick the “Square” option.
- Place the Square at the top left corner of the America design.
- Highlight both images and select the “Slice” option.
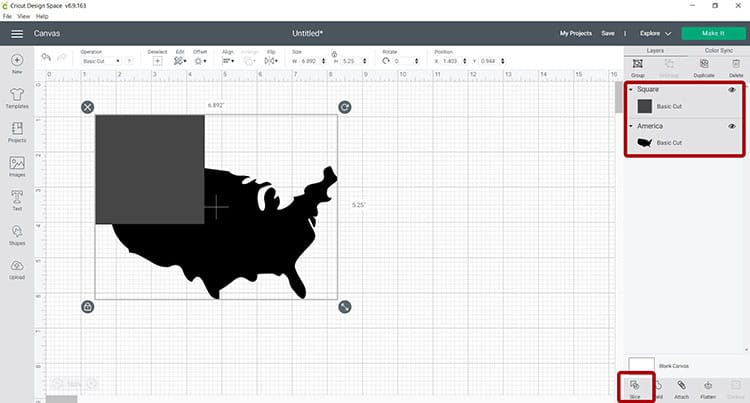
- After, you may remove the unneeded sliced cut, leaving only the America design which you will now notice it has two parts and is no longer a single image.
- From there color coordinate the design as this will help when loading the mats for cutting. For this design, blue represents the star's print HTV while red represents the striped print HTV.
Tip: Don’t forget to save your project along the way!
- Now it is time to add the text.
- Select the “Text” icon on the left panel and select the text you want for your project. For this project, we used the Boink Com font.
- Create two text boxes one saying “American” and the other “Made” from there we color-coordinated the text in different shades of red and blue as these represent normal HTV colored paper, this will make it easier when sending to cut.
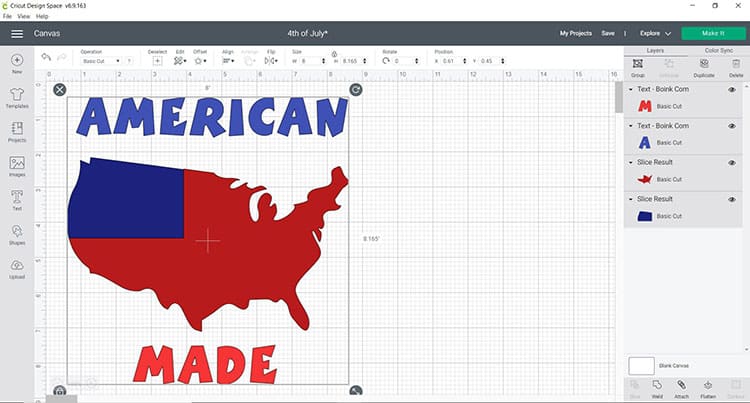
- Finally, arrange the design to your liking and resize it to the size you need. For this design, we printed it on a Youth small and resized the design to 8 inches by 8.186 inches.
Design 2: ‘Merica
Follow the steps below to create your ‘Merica Design in Cricut Design Space. By following these steps you can customize your end design.
- Save your previous project and start a new project. Select “New Project”.
- Select “Images” then enter #M87EFBB3 into the search box.
- Select the image and click on “Insert Images” into your canvas.
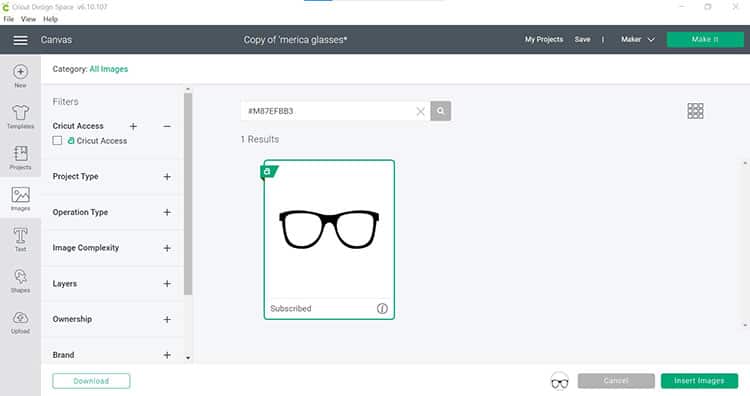
- Next, duplicate your sunglasses so that you have 3 copies of the image on your canvas.
- Select one of the copies and click on “Contour”, we do this so we can create the inside of the glasses.
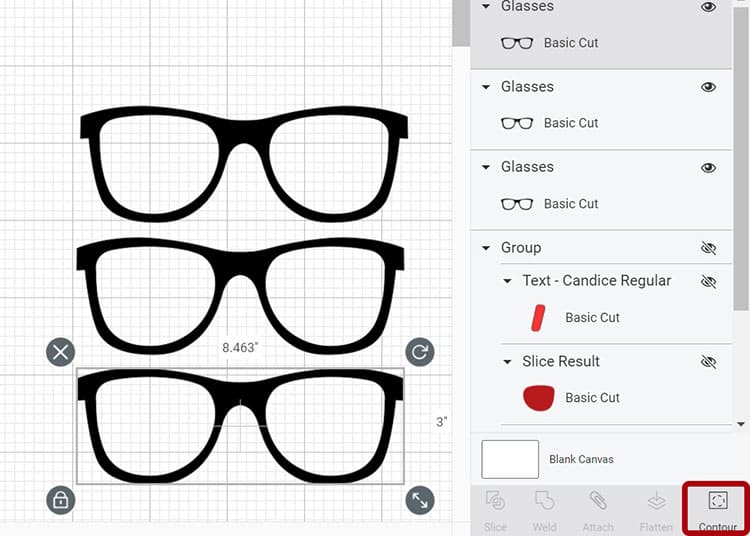
- Select one set of the glasses image to contour or hide away the frame and one of the lens pieces. I have clicked on the top two boxes of sunglass copy 1 here. Click on the X in the top right to close this screen.
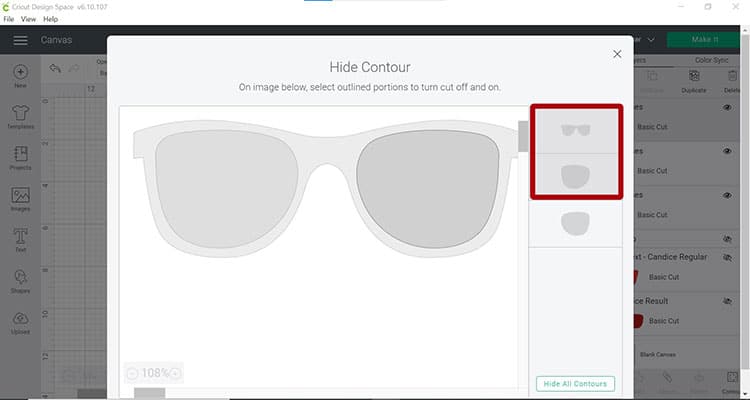
- Next select one of the remaining sunglass frames. Click on “Contour“. Then click on the frame and the other lens piece. Click on the X to exit the screen.
- Now color your eyepieces so that they match the color of the vinyl you will be using.
- Click on the “Text” icon on the left panel. Enter your text – we are writing ‘Merica.
- If you wish to change the font, choose the font you would like. We chose Candice Regular.
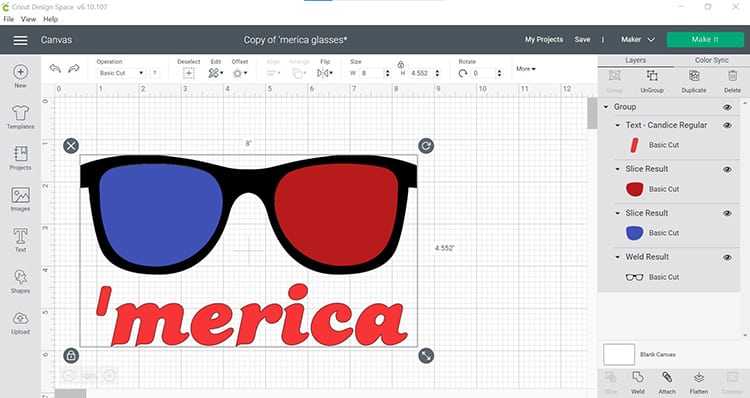
- Resize if needed and click on “Save”.
Step 2: Cut & Weed Your Designs
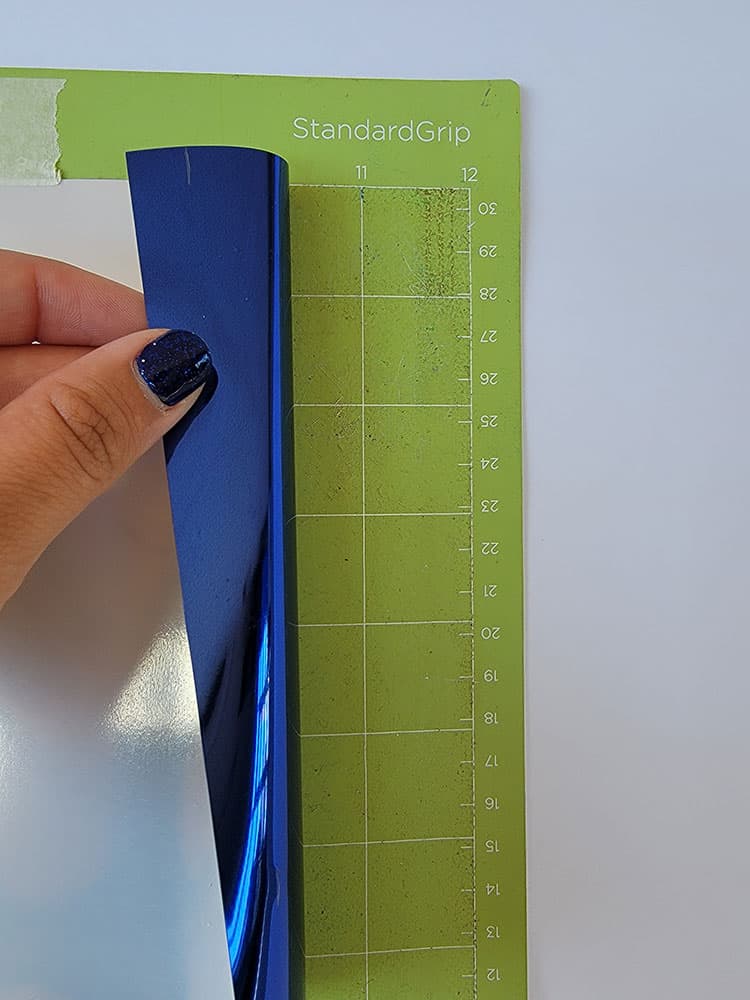
It is important to note that the patterned HTV works differently from regular HTV. Whilst you would typically place your HTV shiny side DOWN on the mat before cutting, the patterned HTV gets cut patterned side UP.
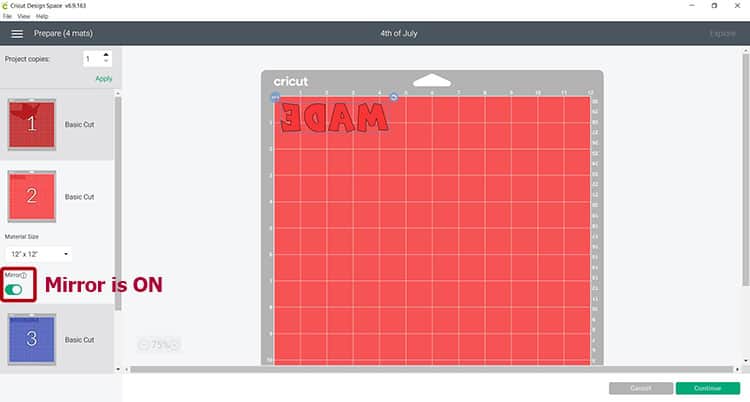
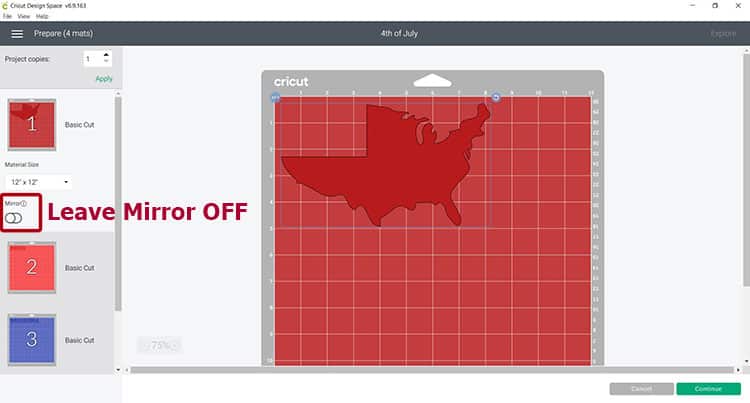
Because of this, you will need to Mirror your regular HTV, but NOT the patterned HTV.
- When you are happy with the designs click on “Make It.”
- The two text mats should have the Mirror option selected as we will be cutting this from the metallic foil HTV.
- Because we will be cutting our America shapes from patterned paper, you will NOT need to mirror your images.
- Select “Iron on” as the material to cut.
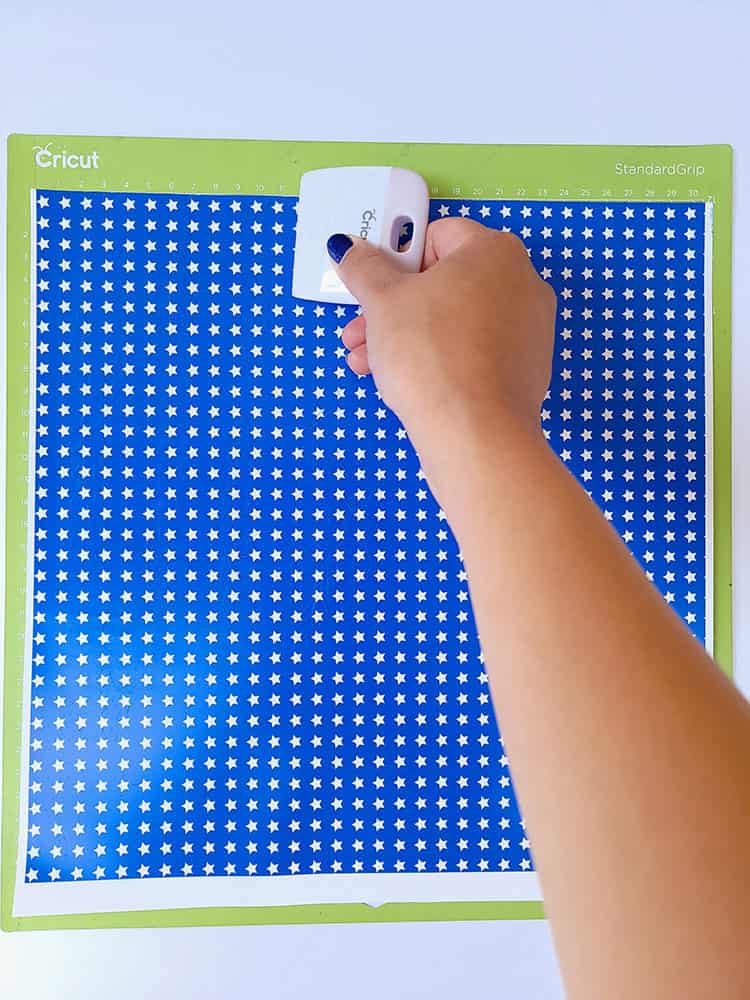
TIP: Place your patterned HTV with the patterned side UP on your StandardGrip Mat.
- Your metallic foil HTV will be placed shiny side DOWN on the green StandardGrip mat.
- Next cut out all of your designs.
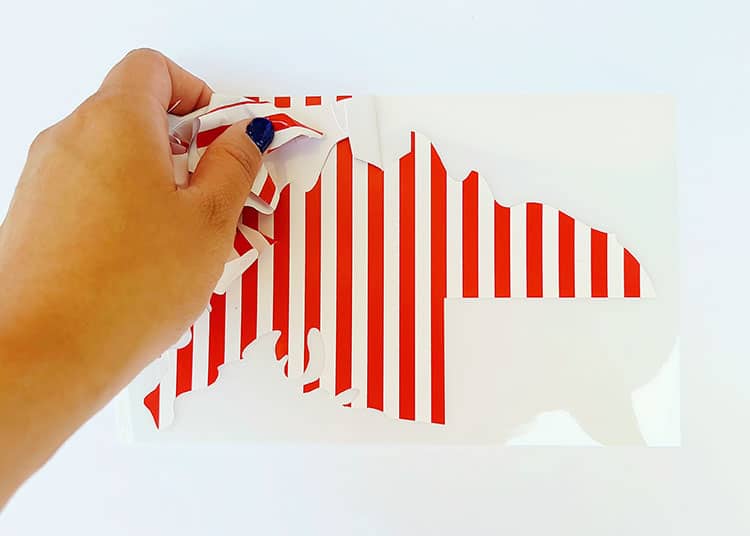
- When all the designs are cut, use your weeding tool and pick up the corner of the vinyl. Use your hands to peel away the excess vinyl. Go slowly around the curves. Don’t forget to weed out the inside pieces.
Weeding is the process of removing the excess vinyl from a cut design. To understand more about weeding and how to weed a design easily you can read how on our post all about weeding.
- The two text HTV designs are ready to press onto the shirt however you will need to transfer the printed HTV to the shirt with transfer tape. You should have some transfer tape in your HTV package.
- Grab a piece of heat-resistant transfer tape, peel it off the backing and place it on top of the printed design, make sure to use the scraper to ensure you get rid of any bubbles.
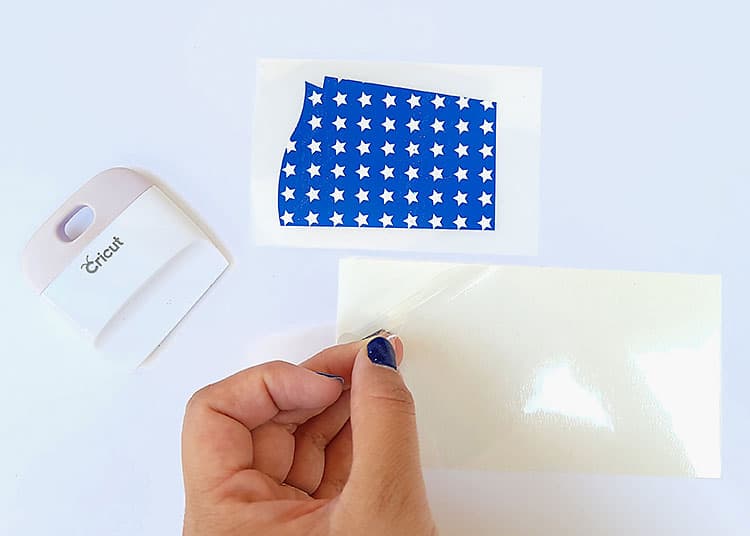
- From there carefully peel away the backing of the HTV, make sure to go slowly around the design. Repeat with your other patterned HTV designs.
- You will now have the design ready to place on the T-shirts.
Step 3: Preparing the Shirt
We will now prepare the t-shirt for pressing. The steps below are important to follow to ensure your design adheres well to the blank t-shirt. Read our guide on where to find the best blank t-shirts for your projects.
- Before you are ready to iron on the design make sure to wash the blanks prior to use.
- Place the shirt on top of an EasyPress mat (or a folded towel if you don’t have a mat).
- From there, use an iron or the EasyPress to get rid of any wrinkles. My press was set to 190 degrees and I simply pressed it for about 5 seconds.
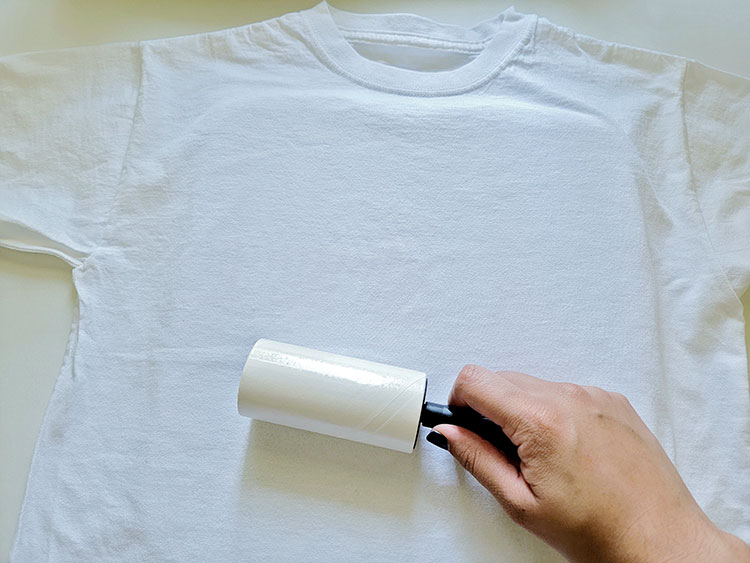
- After, use a link roller to get rid of any unwanted imperfections/lint from the shirt that can cause bumps in the design.
Step 4: Iron-On the Designs
- Warm-up your iron or EasyPress to 300 degrees and set the timer to 15 seconds.
- Once your shirt is ready for pressing begin by ensuring you know where to place your designs.
- We used a shirt alignment tool to help us identify the perfect design placement. You need to make sure your design is in the middle and also not too high or too low under the neck collar.

Tip: You can either place each design a layer of HTV at a time or all at once. For the America design, we cut around the image and connected them together while making sure there was no overlap.
- When you are satisfied with the placing, you may begin to press or iron-on the design.
- Finally, you may remove the plastic to reveal your masterpiece.

We really enjoyed making these and hope that if you are looking for ideas for 4th of July shirts that you will be inspired. We think that these are really cute Fourth of July shirts that will make any kid smile!
Let me know if you make these DIY Boys Patriotic Shirts for 4th of July!
Want some HTV or infusible ink inspiration? Check out our blog post for some other cute Cricut shirt ideas!