Learn how easy it is to make custom stickers with the Cricut Print Then Cut function.
All you need is an inkjet printer and a Cricut cutting machine to make professional-level stickers at home!
Custom stickers are such a fun way to decorate and personalize your everyday items, from tumblers, helmets, journals and more.
Handmade stickers make thoughtful gifts and great small items to sell in your Etsy shop, too!
Before we hop into the tutorial, let’s answer some of the most commonly asked questions.
1. What Exactly is Print Then Cut?
Print Then Cut is a function in Design Space that allows you to create a design or image in Design Space that you then send to your home printer to print on printable sticker paper.
Once the image has been printed you place the printed image onto your cutting mat and send the project to cut by your Cricut machine. Your Cricut machine will then cut around the edges of the image or images to create stickers that you simply peel and use.
Here is a blog post that Leap of Faith created that can be helpful as a guide.
2. Which Cricut Machines Can Print Then Cut?
In the Cricut range of machines, the only machines that will allow you to use the Design Space Print Then Cut function is the Explore and Maker family.
So the machines include the:
- Cricut Explore Air 2
- Cricut Explore 3
- Cricut Maker
- Cricut Maker 3
NOTE: The Cricut Explore Air, Cricut Explore One and Cricut Explore are all now retired machines in the Cricut collection.
3. What is the Largest Cricut Print Then Cut Size?
The maximum print size for Print Then Cut is 6.75 x 9.25 inches (17.14 x 23.49 cm) on 8.5 in x 11 in (Letter) paper, and 6.51 x 9.93 inches (16.54 x 25.22 cm) on A4 paper.
4. Why Is there a Black Border Around my Images When I use the Print Then Cut Function?
This is called a Registration Box or Registration Marks. The Cricut machine will use these printed black lines to orientate itself to know where and how to cut the design correctly.
5. What Can you Make with the Print Then Cut Function?
There are so many ideas of what you can make with the Print Then Cut function. These include:
- Gift tags
- Name tags
- Stickers
- Labels
- Nail stickers
- Invitations & party decor
- Printable iron-on vinyl decals
- Instruction cards
6. What Materials Can You Use for Print Then Cut?
You can use pretty much any kind of white paper or cardstock that can fit in your printer for Print then Cut. If you have a Cricut Maker, you can also use light to medium colored paper and lighter patterns.
Other materials that you can use are:
Printable Vinyl which is a sticky-backed material you can use to create items like decals, labels and more!
Printable Sticker Paper which you can use to create the usual stickers.
Printable Iron On where you can create a multi-color image for a fabric object without having to layer lots of different color iron on vinyl.
How to Use Print Then Cut on Cricut Design Space
Now that we have a better understanding of what it means to Print Then Cut with Cricut let us create our very own stickers!
TIP: Before you use Print Then Cut for the first time make sure that you have calibrated your machine. This ensures that your cuts will be around the edges of your printed image, and not offset incorrectly. Follow the steps to calibrate your machine by selecting Calibration in the Main Menu in Cricut Design Space (in the upper left).
Supply List
- Cricut Maker or Cricut Explore Machines (The Cricut Joy is unable to “Print Then Cut”’)
- Cricut StandardGrip Cutting Mat
- Sticker Paper
- Inkjet printer
- Cricut Scraper (Optional)
Step 1: Download and Upload your Image to Cricut Design Space
Follow the steps below to Print and Cut on Cricut to create your stickers.
- Download a pre-made sticker sheet image file. Or, design your own sticker sheet image in an app like Procreate, Illustrator, or Design Space. For this project we are providing the following three images.
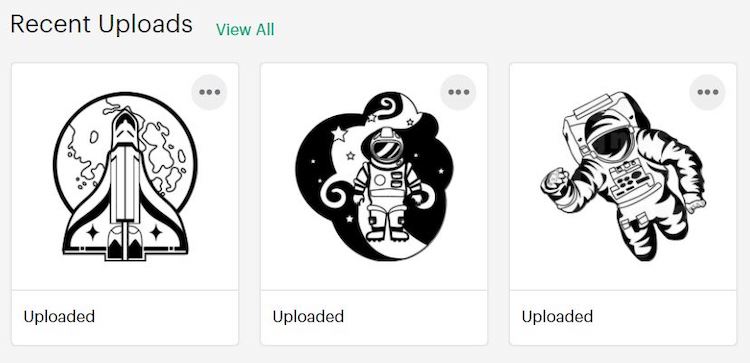
- First, open Cricut Design Space. Create a new project, then click the Upload button on the main canvas. Find your image file, then click Upload Image to import your sticker design. Download our space images here if you have not downloaded these already.
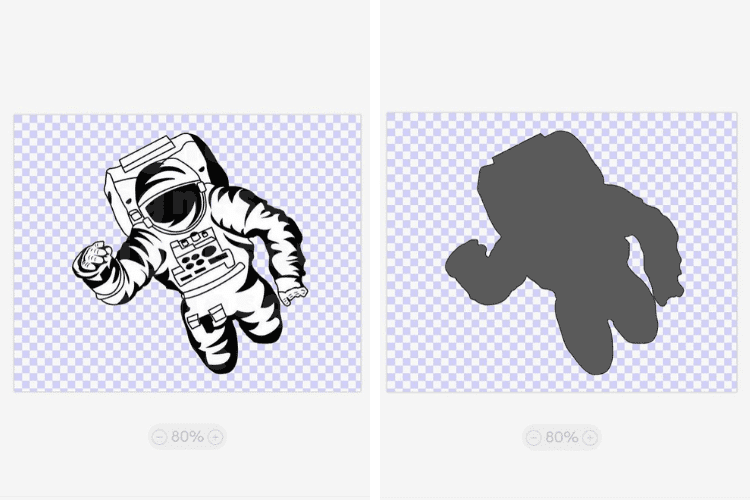
- Cricut Design Space will prompt you to choose the image type. I almost always choose a Complex image.
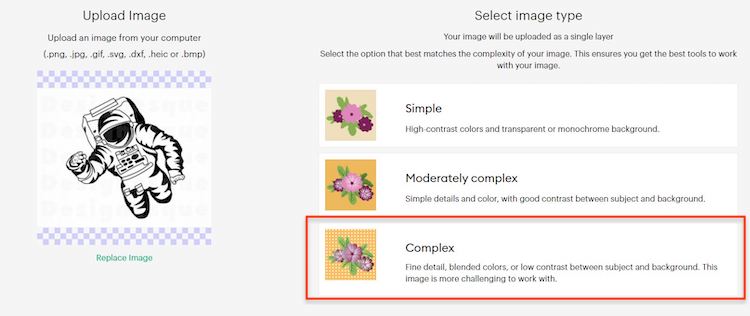
- From there remove the background, you will want the image to look like the image below once you preview it.
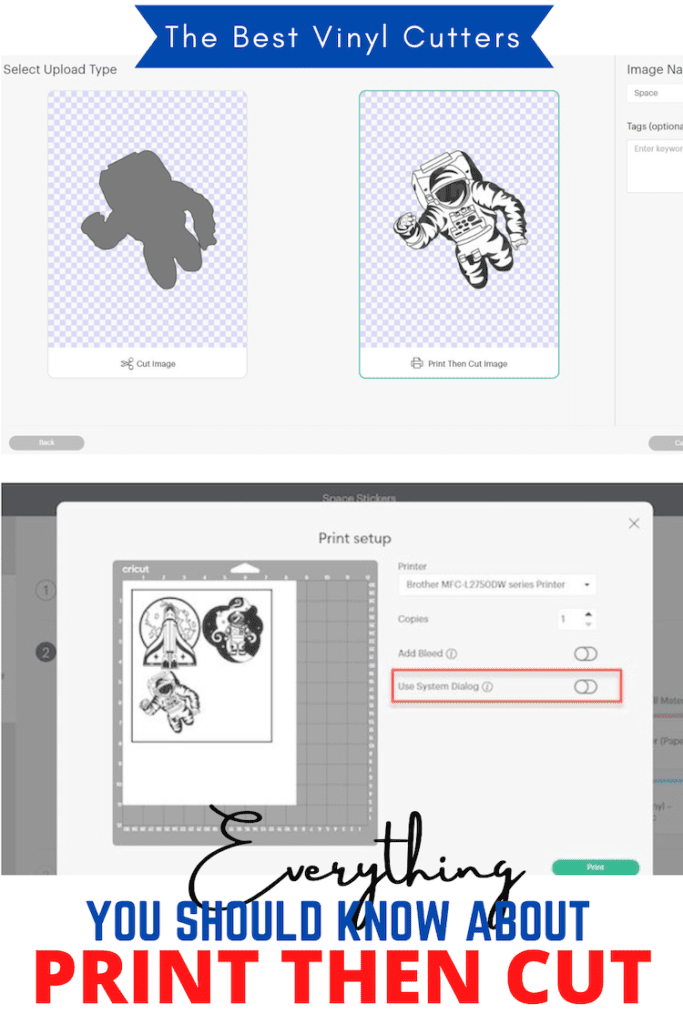
- On the next screen, click Save as a Print then Cut Image. You can name and tag the image if you like. Then press Save.
Note: You will need to do this with all three images.
- Finally, click Insert Image to add the image to your Canvas.
Step 2: Print Image
Now that we have added our images to the canvas, the next stage is to edit the images (if needed) before sending the images to be printed.
- Once the image is on the canvas, you might need to resize it to be compatible Print Then Cut. If the image is too large, make it smaller until it fits within the maximum printable area for the paper you are using.
TIP: Refer to Question 3 above that explains the maximum printable size for the paper size you use.
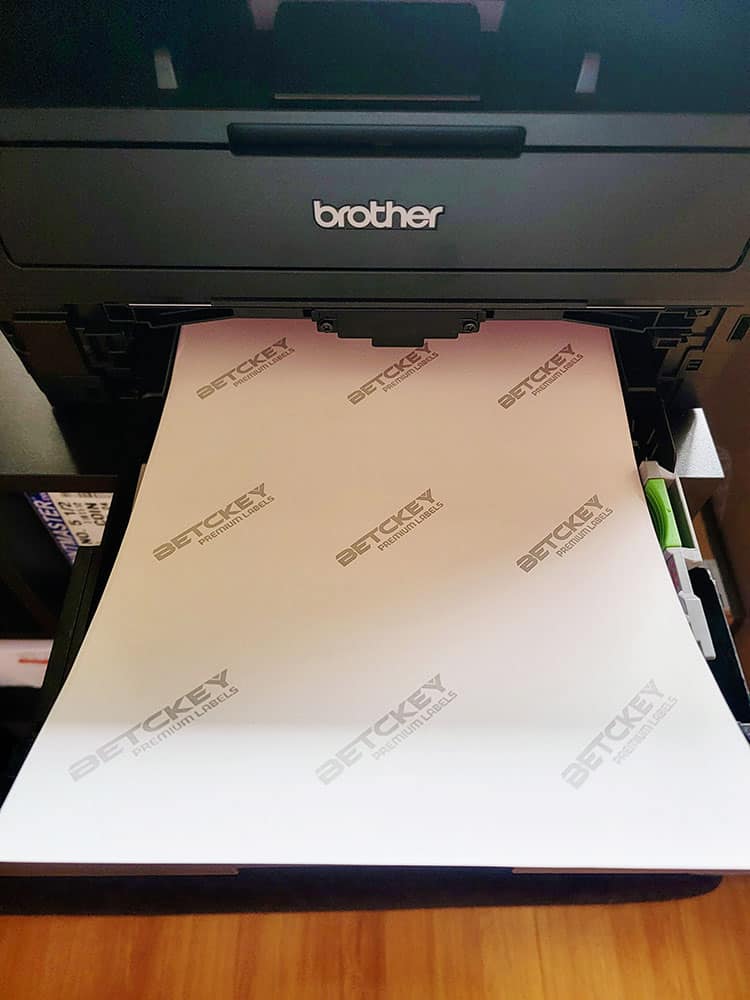
- Load the sticker paper into your inkjet printer. (For my printer, I load the sticker paper facing down. Your printer may be different, so be sure to double-check.)
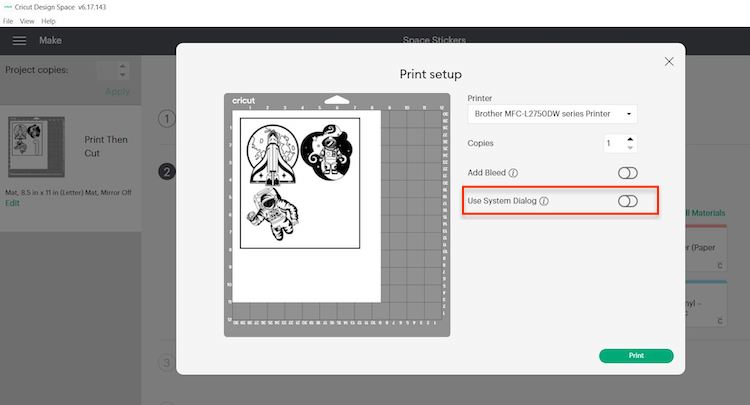
- Then, click the Make It button in Cricut Design Space. Click Continue, then Send to Printer, then Print to print out the sticker design.
- You can toggle the Use System Dialog to access more advanced printer settings to get the highest quality print from your machine.
Note: You will notice that the printed sheet has a solid black rectangle around the edges of the design. This is correct. The Cricut machine will use those printed black lines to orientate itself to cut the design correctly.
Step 3: Cut Image
The next step will be to have your Cricut machine cut the stickers you have created. This is the step where you will now use your Cricut machine to cut.
- If you are using an Explore Air 2, move your Cricut Dial on the machine to Custom.
- Go back to Cricut Design Space, and select your material. In the material settings, select “Sticker Paper” if you are using Cricut brand sticker paper, or “Washi” if you are using Avery brand sticker paper.
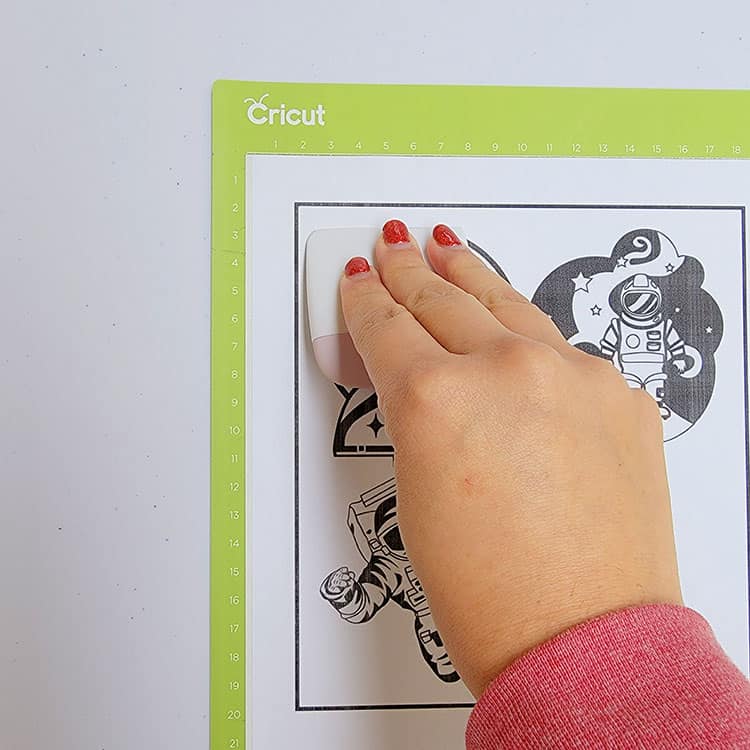
- Place the printed sticker paper onto the StandardGrip Cutting mat. Try to line up the page as close to the upper left corner as possible. Smooth the sticker paper down with your hands or by using the Cricut scraper tool. Press the flashing arrow button to load the mat into the Cricut machine.
- Once the mat is loaded into the machine, you should see the Cricut icon button start to flash. This means that the machine is ready to cut out the stickers. Press the C button to start the cut.
- You will notice that the Cricut will begin moving around your paper to scan the black registration lines. After it scans the paper, it will start to cut.
Note: It takes a few times to read the cut if the color is not as vibrant and clear.
- The Cricut machine will tell you to unload the mat when the cut is finished. Press the flashing arrow button to unload the mat.
TIP: Before removing the mat from the machine, you may want to check that the cut has gone all the way through – especially if you want to make “die cut” stickers. If it hasn’t, you can run it through a second time.
- When you are done cutting, remove the mat from the machine and remove the stickers from the mat. Your stickers are now ready to use!
Note: If you are having trouble with your sticker sheet ripping or curling as you peel it off, try this: Turn the whole mat upside down onto a clean work surface, and peel the mat off of the sticker sheet. This technique will keep the stickers from curling up!
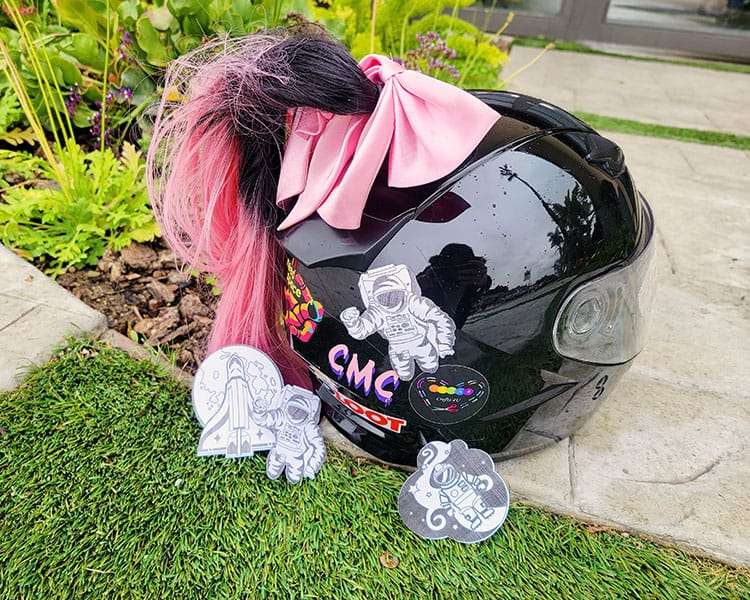
- You can now go ahead and use the stickers. This is what we decided to do with our stickers, looks pretty good right!?
Finally, you have your very own personalized stickers that can be placed anywhere!
I hope you found this Print Then Cut Cricut tutorial super helpful.