Can’t find the perfect Thanksgiving sweater this holiday season?
You can create a DIY Cricut Thanksgiving shirt or sweater using your cutting machine and the Cricut EasyPress 2 (or any other press that you may have).
Today we will be creating a “Talk Turkey to Me” sweater made out of flock HTV to go with the holiday “warm and fuzzy” feel. Best of all the design is ready to cut and iron on.

How To Create Your Own Cricut Thanksgiving Shirt/Sweater
Find below the steps to follow in order to create this warm and fuzzy Thanksgiving Sweater or T-Shirt.
Supply List:
For this project, I am using my Cricut Explore Air 2 but you could use any Cricut cutting machine.
- Cricut StandardGrip Cutting Mat
- Flock HTV
- Cricut Scraper Tool
- Cricut Weeding Tool
- Cricut Tweezer Tool
- Cricut EasyPress 2
- Cricut Heat Mat
- White Sweater
Step 1: Prepare Design in Cricut Design Space
- Begin by selecting the design in Cricut design space by cliking here.
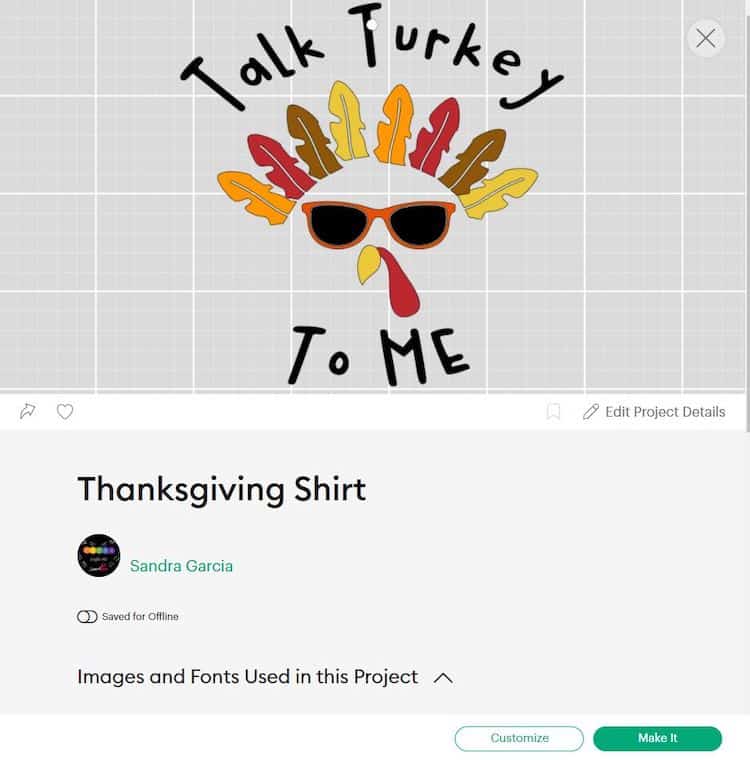
- Select “Open” and then select “Open Cricut Design Space Application.” From there select “Customize/Edit Copy”.
- Now you will need to edit the dimension to best fit your sweater size. For this project, we customized the design to a 9″ x 9″ for a women’s swester size Medium.
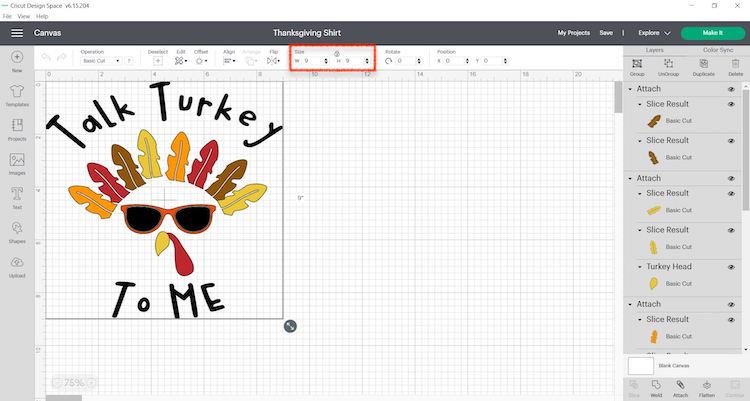
- Once you are satisfied with the design and size you can move forward to the next step of cutting the design.
Step 2: Cut & Weed Design
Now that the size has been adjusted it is ready to cut.
- Switch on your Cricut Machine.
- Grab your StandardGrip cutting mat. Place the flock HTV shiny side down on your green StandardGrip mat. Use your scraper to remove any bubbles and/or wrinkles by rubbing the scraper over the HTV.
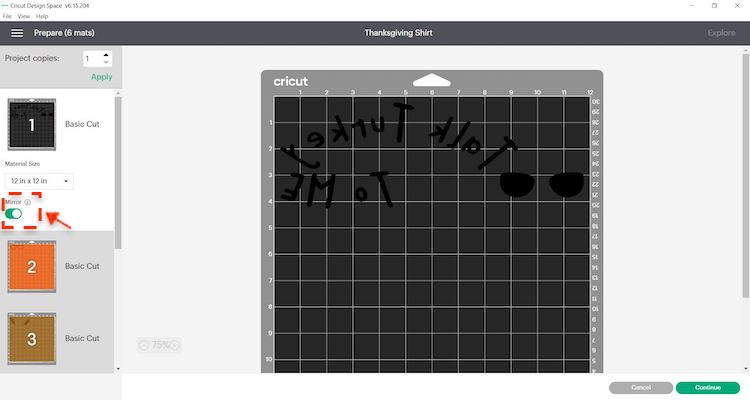
- In Cricut Design Space, click on “Make It”.
- Make sure to select “Mirror” for each mat.
- Select continue and connect your Cricut machine. You will now be able to pick your material and cut settings. If you have an Explore Air 2 – Select “Iron-on +” on your material dial.
- Load the mat into your cutting machine and follow the instructions to cut the transfer sheets.
Tip: By color coordinating the design prior to cutting, Cricut Design Space will instruct you on which color mat to load next.
- Next, use your weeding tool to help you lift the unneeded pieces of your design. Go slowly around the letters and fine details. Don’t forget to weed out the small pieces inside your cut design.
Note: You should be able to do your weeding with your fingers but use a weeding tool for smaller detail if required. I also found that in some cases the Cricut tweezer helped best for the very small items.
Step 3: Press the Flock Layers on the Sweater
- Start by warming up your EasyPress. I am using the EasyPress 2 and selecting 320 degrees Fahrenheit or 160 degrees Celsius for 10 seconds as my settings.
- Place the flock HTV design on the shirt. I recommend that you lay down all your pieces to make sure the spacing is correct and that it all fits on your shirt. I love to use a shirt ruler, to get the spacing correct.
- Next carefully remove all the layers except for the top one. We will start building our shirt from the top down, adhering one layer at a time.
- Place your EasyPress on top of the design, press the start button. Apply light pressure and wait for the press to beep, indicating that it has completed the step.
- Wait 1 – 2 minutes and then peel the clear layer away from the vinyl.
- Next repeat the steps with all your remaining layers. I love using a teflon sheet or kitchen paper when applying multiple layers to help protect the fuzzy flock vinyl that is already adhered.
Note: Some pieces might be bigger than your easy press, so simply press in sections to ensure the whole design is pressed properly.
- When I use an EasyPress, I also prefer to flip the shirt over and to do a quick 15 sec press from the back as well.
Finally, you have your very own personalized Cricut DIY Thanksgiving sweater! It will make your friends and family chuckle at the funny holiday saying.
Want some more inspiration? Check out our blog post for some other cool Cricut t-shirt ideas!