Ever walked into a retail store and seen a giant calendar whiteboard?
Well today, the design team will be walking you through a very fun project that will allow you to make your very own calendar on plexiglass.
The best part is you can completely customize it to your color spectrum and size once you know the basics.
To add, this would make an excellent Cricut Teacher gift, for them to best organize their monthly items.
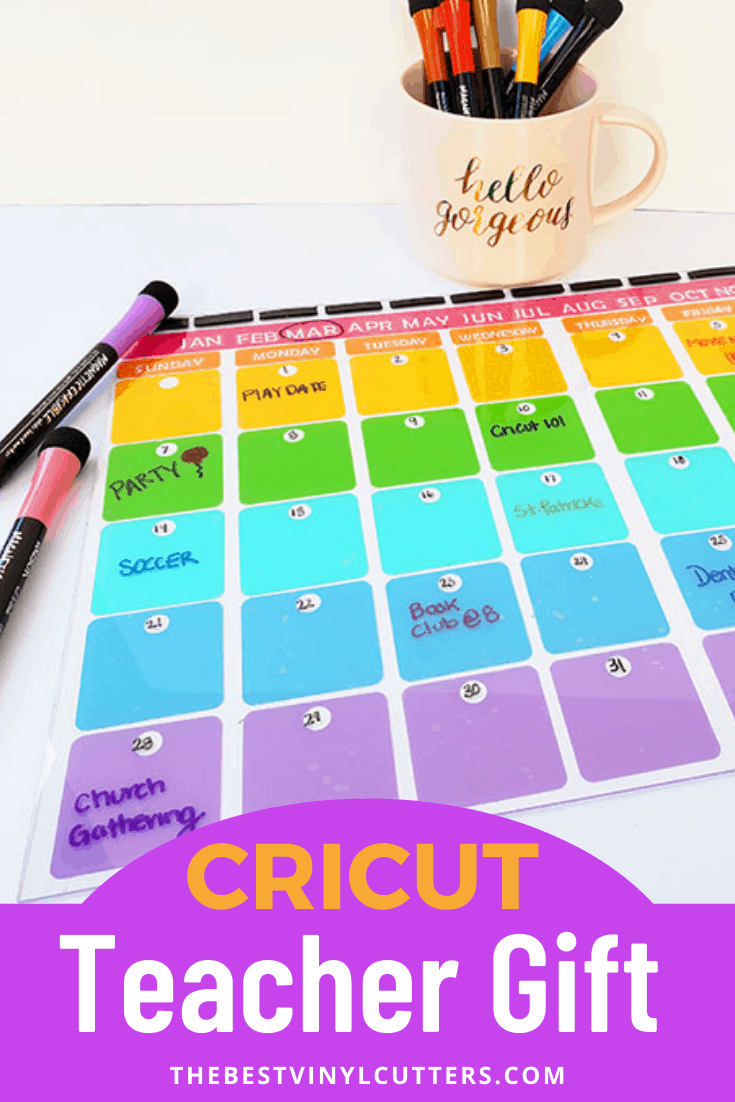
Cricut Teacher Gift Idea: Monthly Plexiglass Calendar
Showing appreciation to teachers in ways other than a bottle of wine or box of chocolates can be a little stressful.
So if you are looking for Cricut ideas for teachers to show your appreciation this Cricut teacher gift is really cool!
Supply List
- Cricut Cutting Machine (I used an Explore Air 2)
- Cricut Fabric Grip Mat 12 x 24 (You can use a standard grip mat – I only had the fabric grip mat)
- Cricut Scraper
- Cricut Weeding Tool
- 11×14 Plexiglass
- Adhesive Vinyl
- Transfer Tape (Find the best transfer tape for vinyl decals in our blog post here)
- Scissors
- Double-Sided Magnet Tape
- Magnetic Whiteboard Markers
- Paper Cutter
Step 1: Download and Upload your SVG to Cricut Design Space
Find below the step-by-step instructions on how to prepare your calendar SVG for cutting.
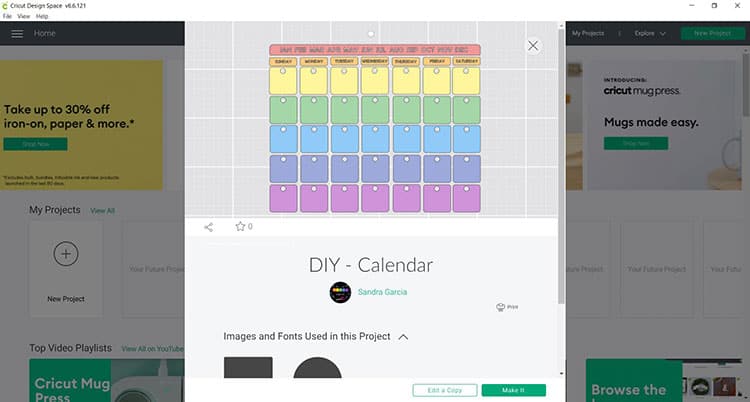
- Begin by selecting the project from Cricut Design Space to upload the Calendar SVG files by clicking here.
- Next select “Open”
- After select “Open Cricut Design Space Application”
- From there you can select “Edit Copy” or “Make It”
Note: You may select “Edit Copy” if you want to change the color and size. If you want to keep the same size as ours 11 in x 14 in and love the color selection, you may select “Make It”
- Once you are satisfied with the design you may move forward with cutting the design
Step 2: Prepare Your Cutting Mat
Next, it is time to cut your design. This project will have you load the project into eight different mats.
- When you are happy with the size and color of your design click on “Make It”.
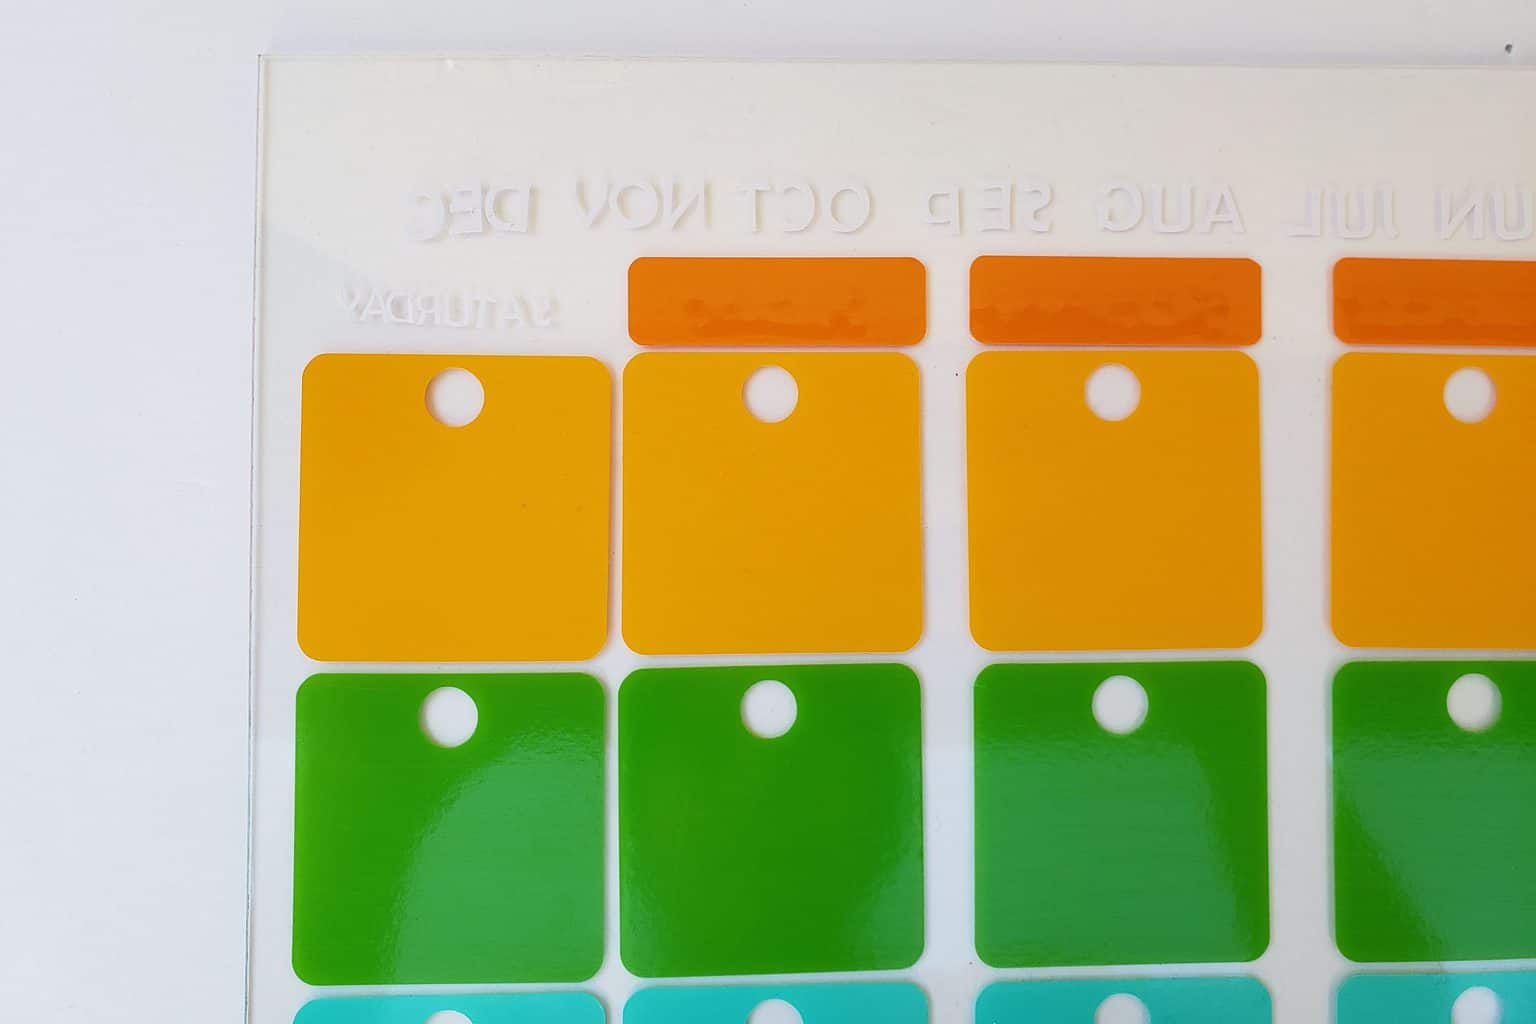
- Make sure to select “Mirror” on the text mat. For all other mats, you may remove the “Mirror” option.
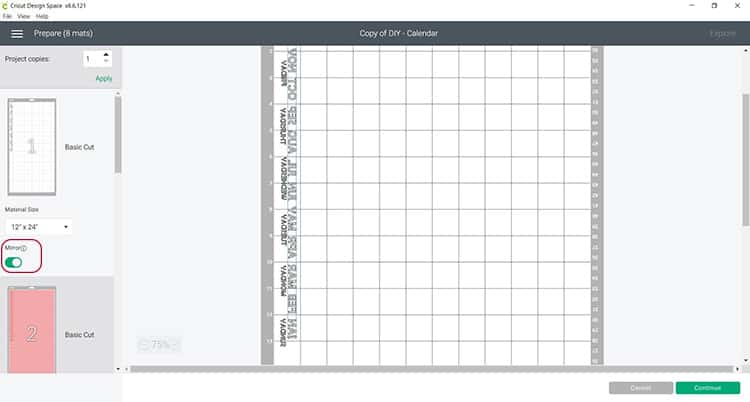
Note: You will need to mirror the text as the text will be placed from the back end of the plexiglass
- Select continue and connect your Cricut machine
- You will now be able to pick your material and cut settings
- If you have an Explore Air 2 – Select “Vinyl” on your material dial
- Load the mat into your cutting machine and follow the instructions to cut the vinyl
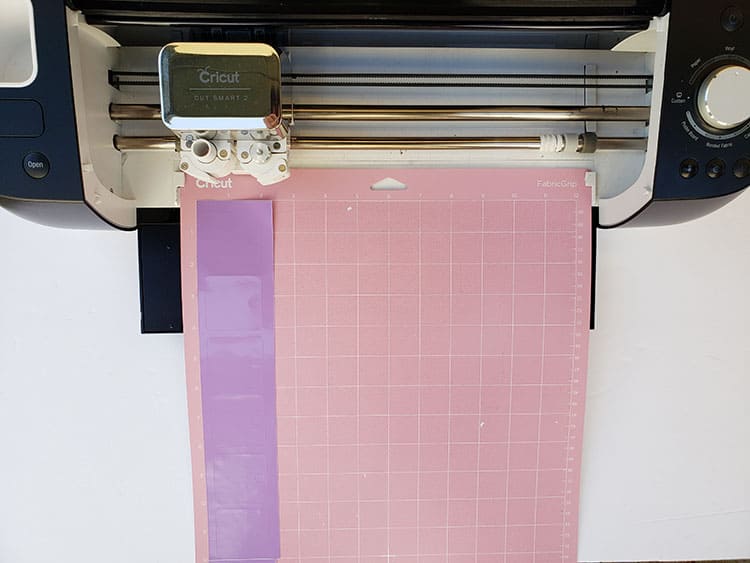
Tip: As the cut measures 14 inches in length you will need to use the 12×24 Cricut cutting mat. In addition, you may want to use vinyl measuring 12×24 inches as well. However, if you only have 12×12 vinyl, you may want to put two 12×12 vinyl sheets back to back.
- Last, you will want to adjust the Design Space cutting mat prior to sending it to cut to make sure no text will be cut off if you are placing the 12×12 vinyl back to back.
Step 3: Weed Your Design
Now that your vinyl has been cut you will need to weed the cut vinyl before placing it on the plexiglass.
- Next, remove the unneeded pieces of vinyl from your design.
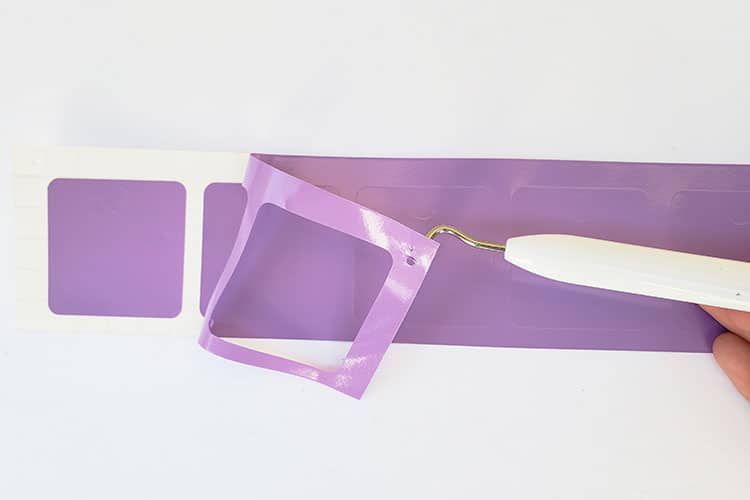
Tip: Using a weeding tool will help you weed out the text vinyl
Step 4: Assemble the Calendar Onto the Plexiglass
Now that you have completed weeding all your cut vinyl pieces, it is time to adhere the vinyl onto the plexiglass to create your Cricut teacher gift!
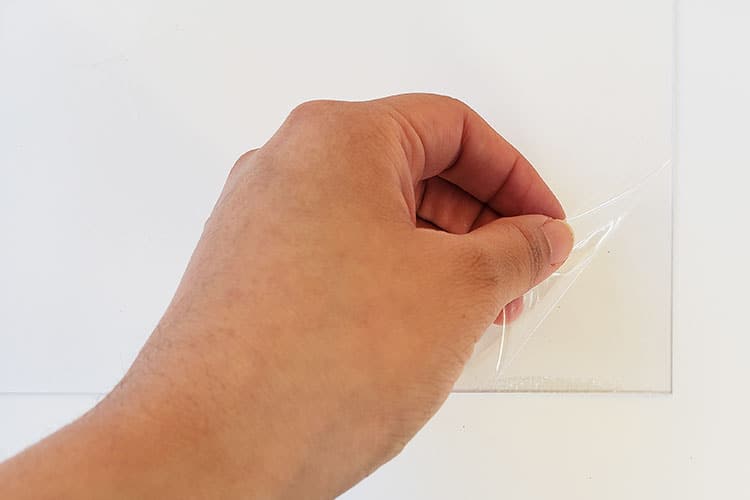
- Start by removing the front clear plastic film from the plexiglass. From there you will want to make sure your surface is clean and dry.
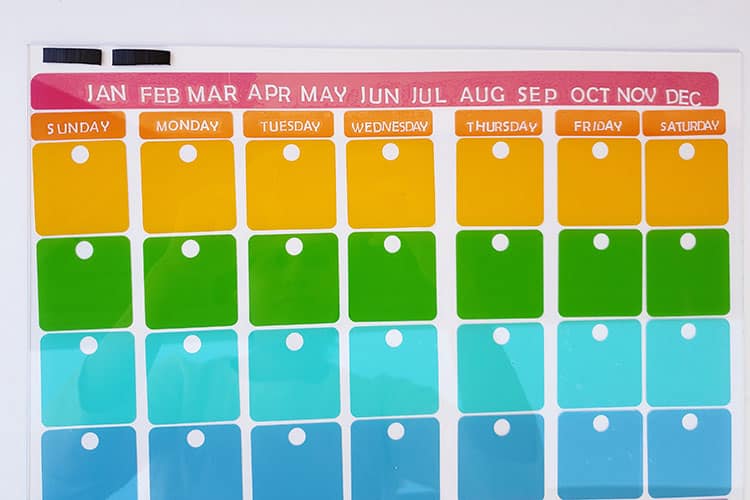
- From there use the transfer tape to place your first row of date sections onto the plexiglass. If you want your magnetic strip at the top of the plexiglass start from the bottom and work your way up otherwise you can start top-down.
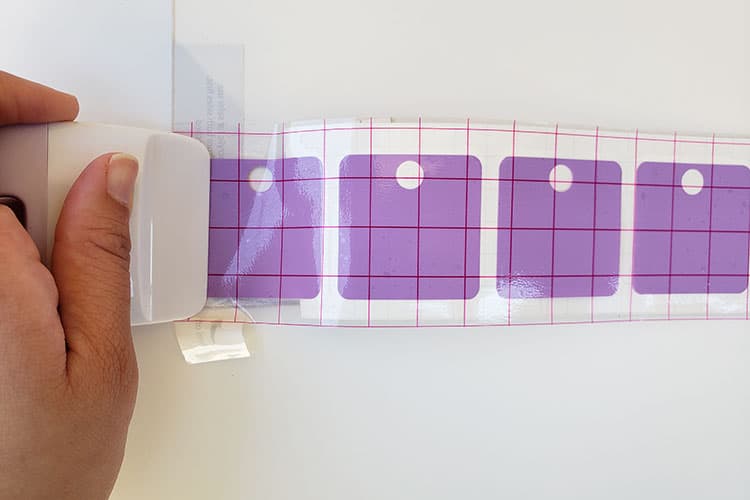
- You want to go slowly and take your time to avoid bubbles and uneven placing.
- Place each row of vinyl one at a time until you get to the top two sections containing text.
- Place the vinyl text BEFORE the color vinyl as you are placing everything from the back end of the plexiglass and not from the front.
Step 5: Add Magnetic Tape
Once all the vinyl has been placed on your plexiglass you are now ready to add the magnetic tape.
- Next, you will want to flip the plexiglass over and remove the clear film.
- Make sure the front side is clean and dry.
- Place your double-sided magnetic tape at the top of the calendar.
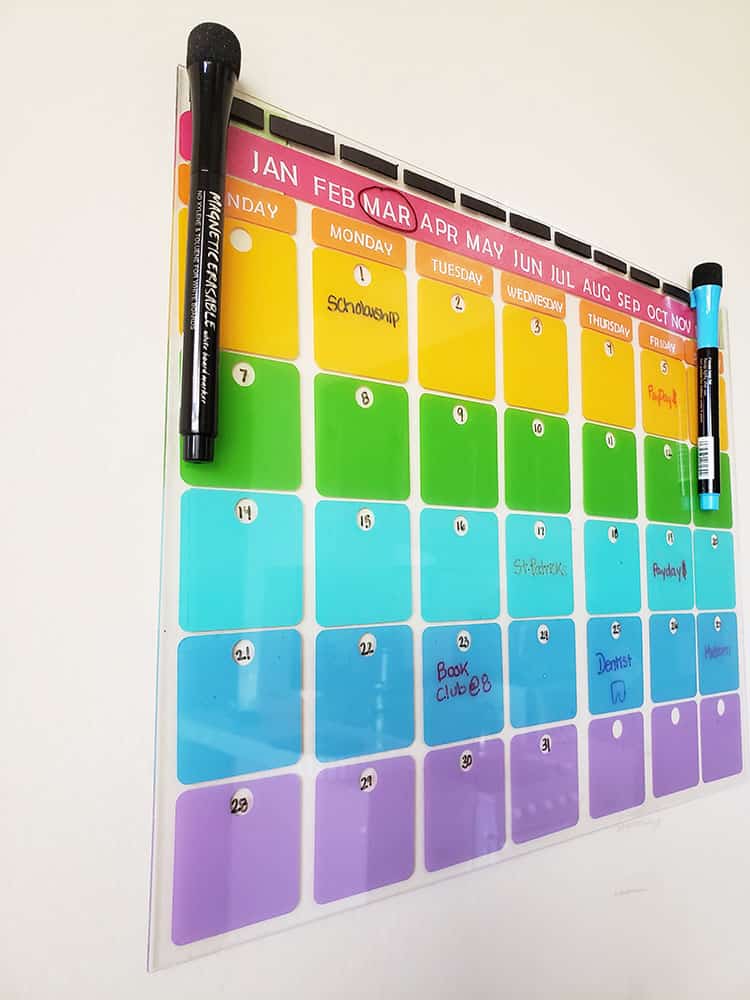
- The magnetic strip is so you can place your whiteboard markers at the top.
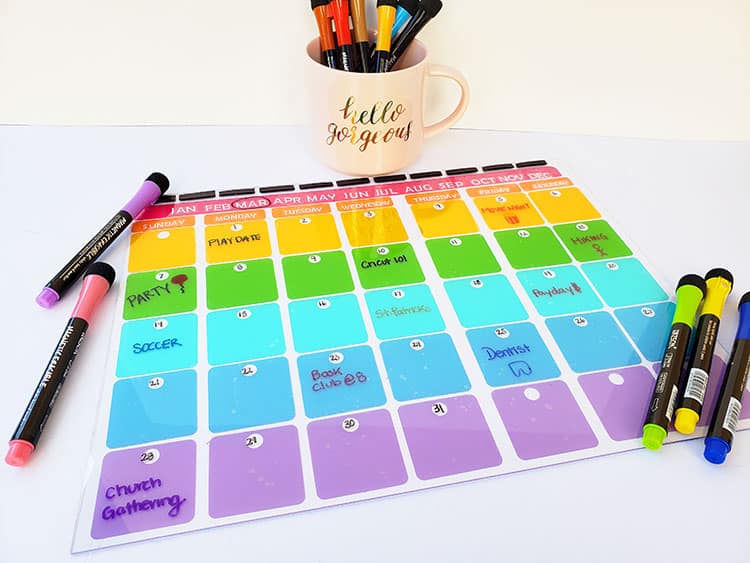
And just like that, you have created your very own whiteboard calendar. The best part is you can mix and match the colors, size, and text font to your liking.
Today, we made a small 11×14 inch calendar however, now knowing the steps you can make yours even bigger, maybe even a 22×24 inch board.
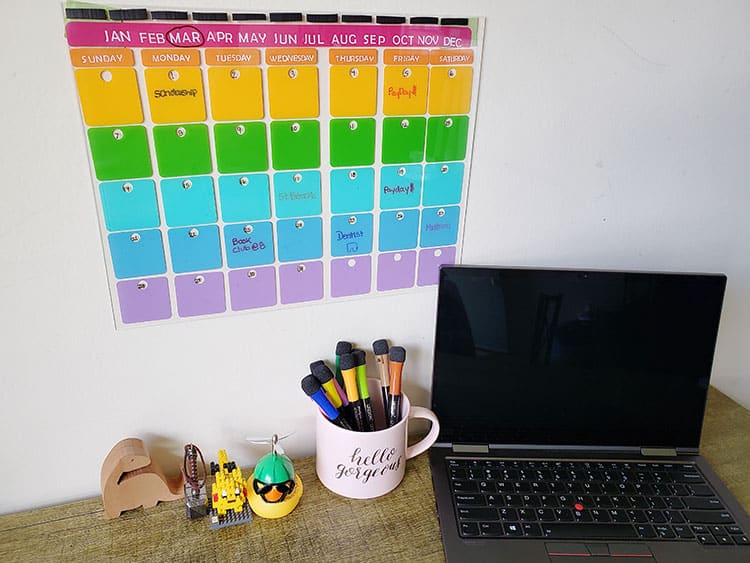
Making a monthly calendar board with a Cricut is an easy, unique way to show your appreciation for teachers.
Not only will they get the satisfaction of having this creative gift in their classroom, but it’s also something that can be used daily and serve as a reminder of how much you care about them.
For more teacher appreciation gift ideas, you can browse through this big list of daycare teacher appreciation gifts. From easy gifts to purchase to DIY gifts or personalized gifts – there are plenty of ideas.
Regardless of what you decide to make for your favorite teacher, take time to appreciate all the hard work they do every day!