Sometimes just the thought of that special someone (significant other, friend, sibling, or family member) brings a song to mind. Letting them know just how much you care for them with a customized Cricut Spotify Song Art Frame can be the perfect gift!
Today we will show you how to create your own Spotify Glass Art by using some adhesive vinyl and a plexiglass frame.
Spotify Cricut Project Tutorial
Find below the steps to follow in order to create this gorgeous Spotify Glass Plaque. Perfect for Valentine's Day, Birthday's or for any occasion!
Supply List
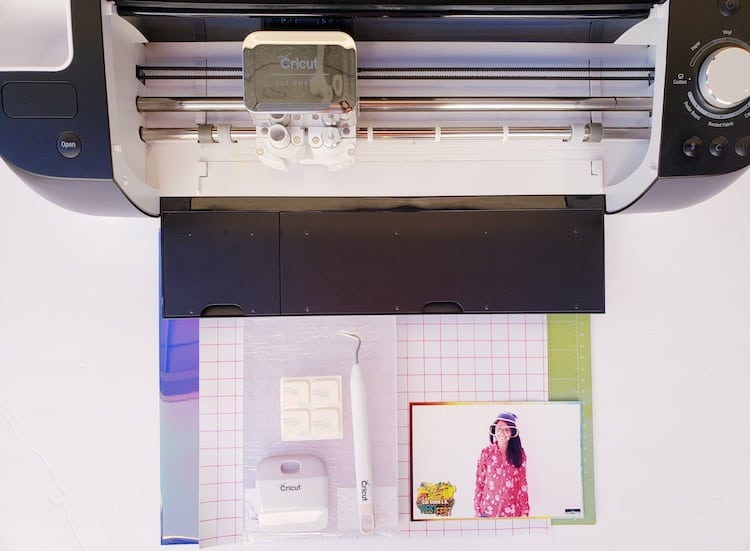
- Cricut Cutting Machine (I am using the Cricut Explore Air 2 – see the review for the machine here)
- StandardGrip Cutting Mat
- Adhesive Vinyl
- Transfer tape
- Weeder
- Scraper
- 5 x 7 Plexiglass
- Spotify Account
- Photograph
- Mount tape
Step 1: Find your Song
The first step is finding the perfect song that reminds you of the person you have in mind.
- Open Spotify.
- Sign up for an account or log in if you already have an account.
- Search for the song name you would like to place on your project.
- Once you find the song you want, play the song to ensure it is the correct version.
- Once satisfied click on the “…” dots located to the right of the song.
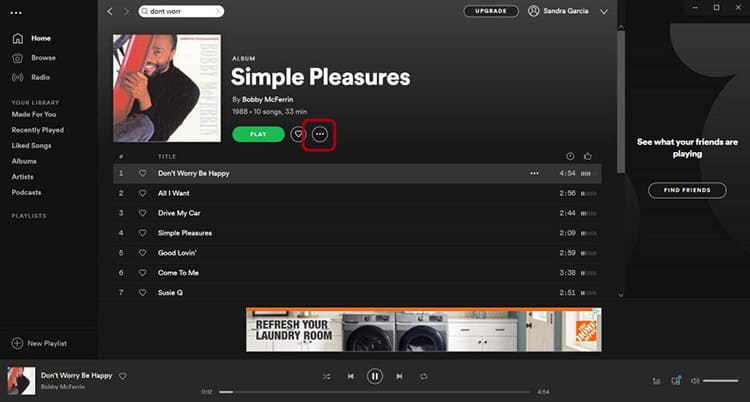
- Select share, then Spotify Code.
- Take a screenshot of the code and save it to your device.
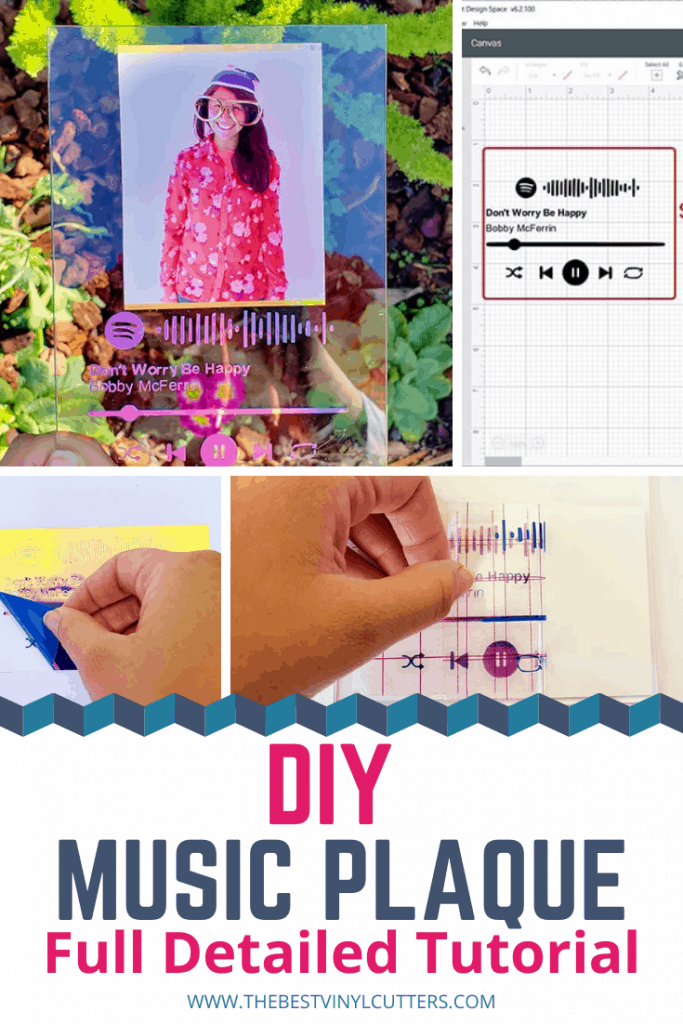
Step 2: Upload Your Spotify Code Image into Cricut Design Space
Find below the step-by-step instructions on how to prepare your song code for cutting.
- Open Cricut Design Space.
- Select Upload, then select Upload image and then Browse.
- From there navigate through your device and retrieve your Spotify code file that you saved on your device.
- Select Complex, then Continue.
- Erase the background of the image by clicking around the image of the Spotify code. The magic wand will automatically delete all the white if you click on any of the white areas.
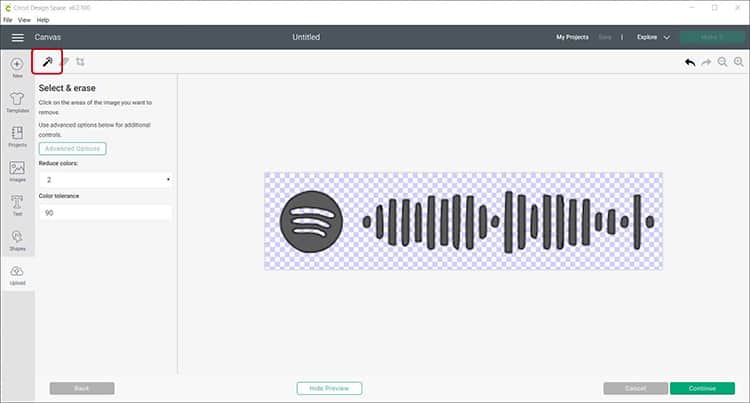
- Select Continue.
- Select Save as a cut image, then select Save.
- Select the image and upload it to your project canvas in Cricut Design Space.
Step 3: Add Song Title and Artist
Let's start creating our design. First, we will add the song title and the artist's name to our canvas.
- Select Text and type in the name of the song you have chosen.
- Create a separate Text box and type in the Artist's name.
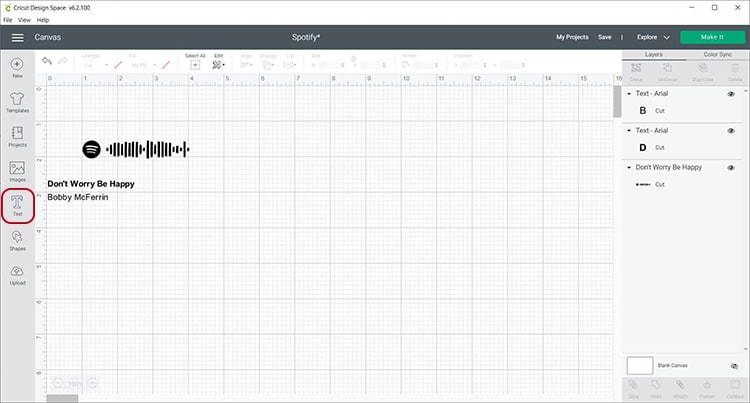
Tip: You may choose to play around with the text font. For this project I used “Arial” on both the song name and artist however kept the Song name in bold.
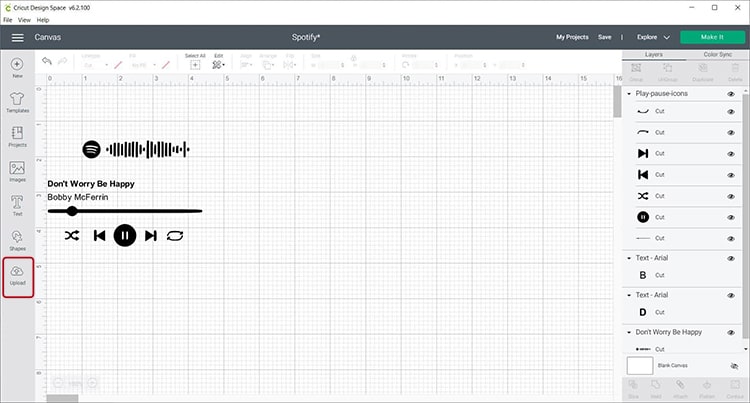
Step 4: Upload the Play Pause Icon
Next, let's add our Play, Pause, Forward, and Backward buttons. We have created a free SVG that you can simply click to download and use for your design.
- Download Play Pause Icon SVG file.
- Upload to Cricut Design Space.
- Add the image to your project canvas.
Step 5: Get Ready to Cut
Now it is time for the fun to begin. Let's load up the vinyl so that we can cut this super cool project.
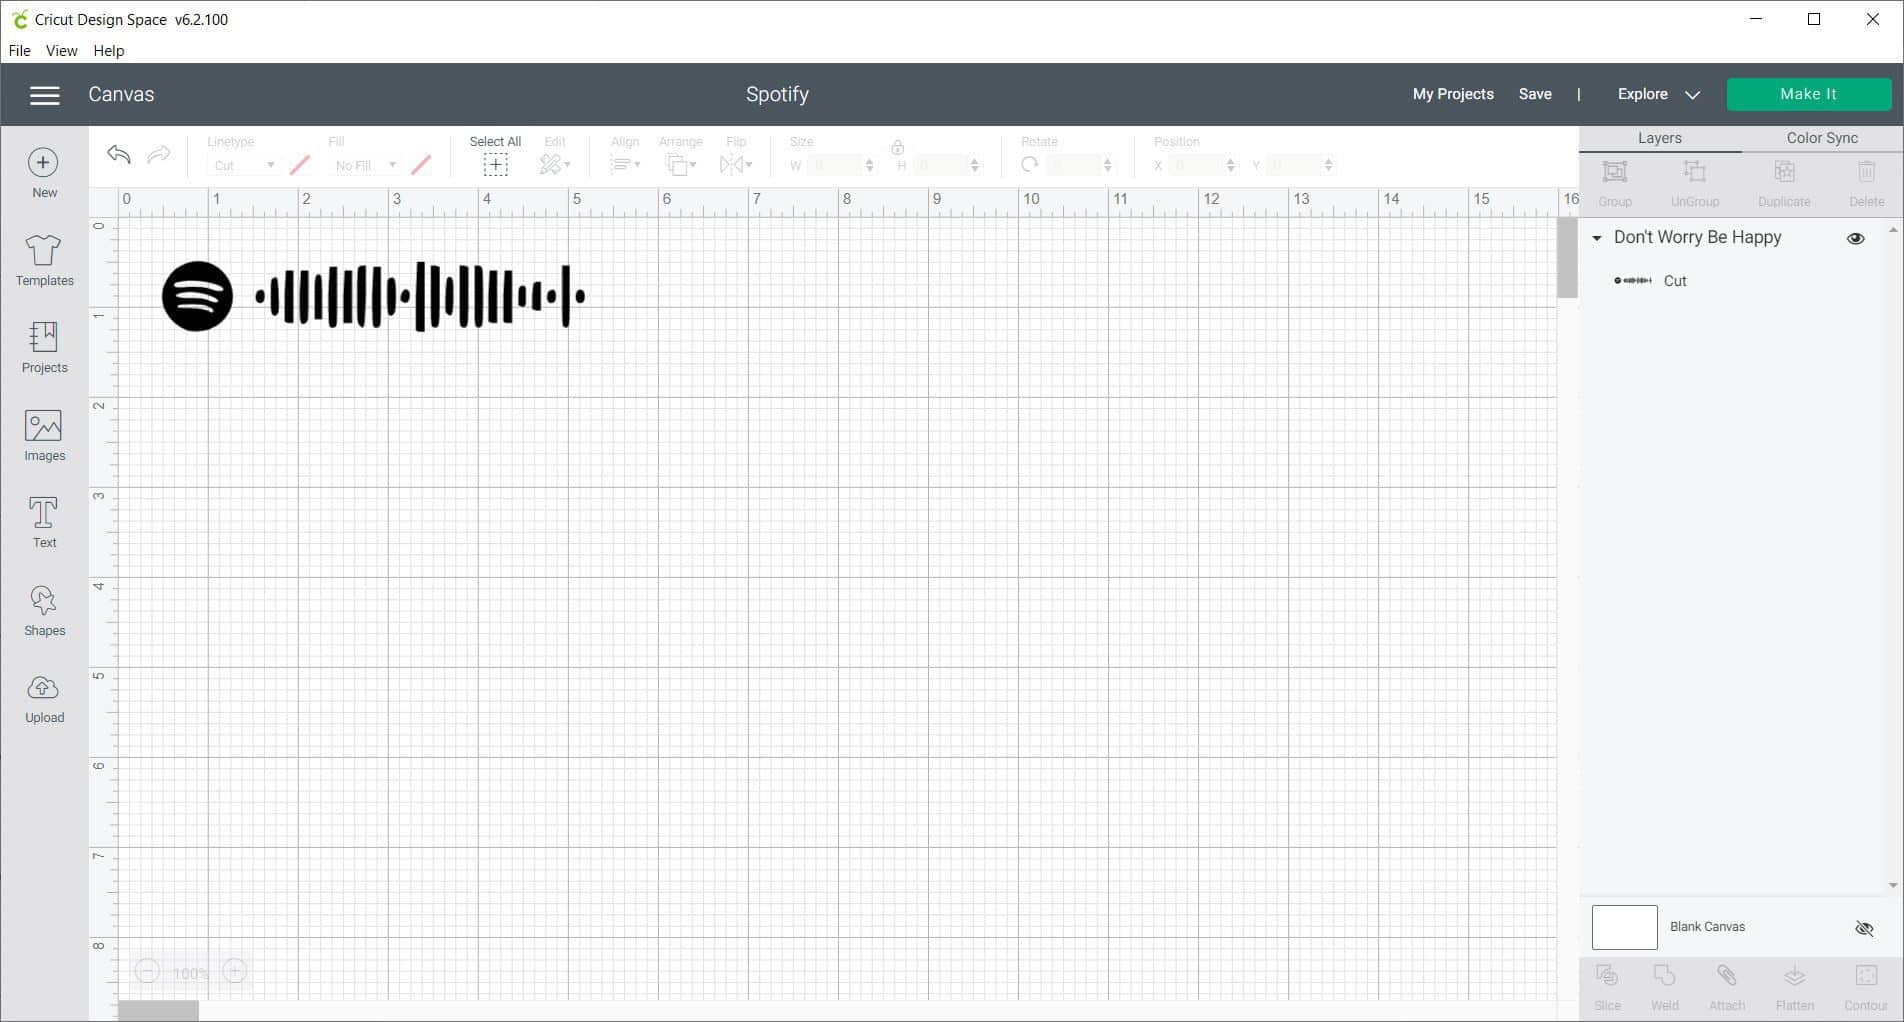
- Measure the size of your plexiglass and resize your design if needed. I resized my designs to 3 inches.
- When you are happy with the dimensions, Attach all the elements together and select Make It.
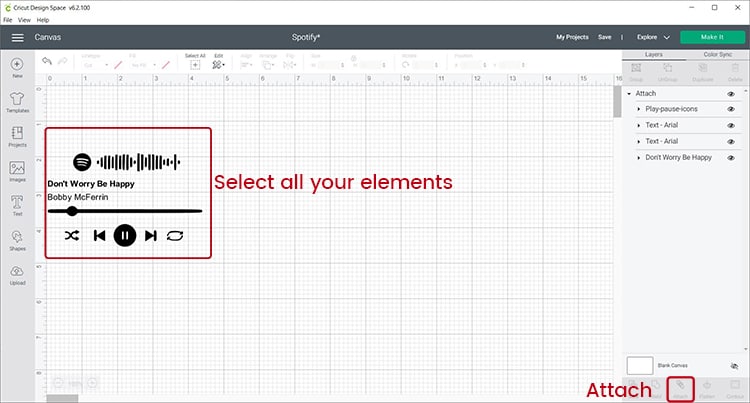
- Select Vinyl as the material to cut.
- Place your adhesive vinyl with the shiny color side face up on your Green StandardGrip mat.
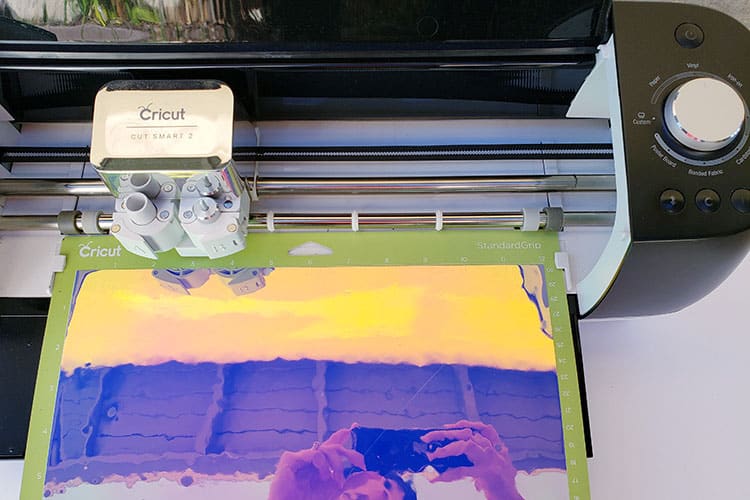
- Load the mat into your cutting machine and cut the vinyl.
Step 6: Weed your Design
- Next, peel away all the excess vinyl. Go slowly if your elements are really tiny.

- Use your weeding tool to remove inner pieces from your letters.
Tip: If your design is small, I highly recommend that you think about using our reverse weeding hack.
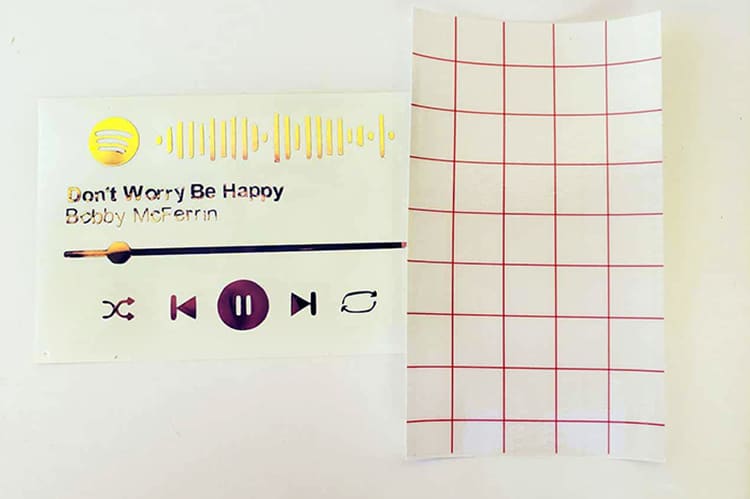
Step 7: Transfer the Adhesive Vinyl to the Plexiglass
Now it is time to complete the design. Find your scraper and plexiglass to complete the project.
- Remove one side of the plastic film on the plexiglass and ensure that it is clean and dry.
- Cut your transfer tape to the same size or slightly larger than the adhesive vinyl design.
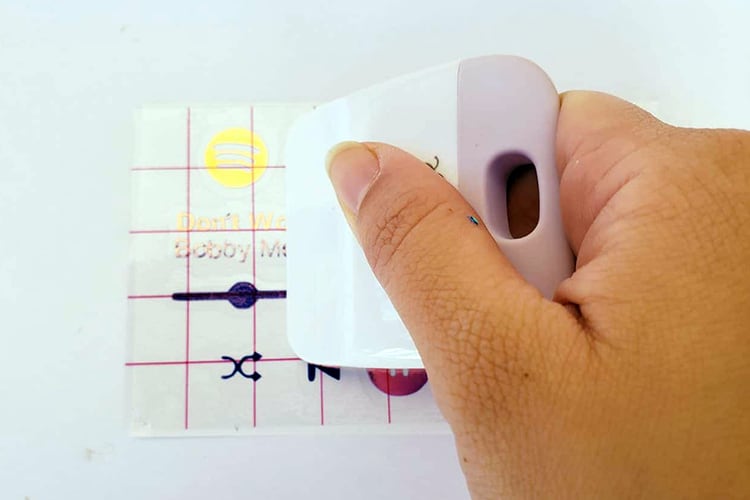
- Place the transfer tape on top of the adhesive vinyl and be sure not to have any bubbles or bumps.
- Use your scraper to rub over both the front and the back of the design. We want the image to stick to the sticky transfer tape so that it will lift up off the vinyl backing sheet.
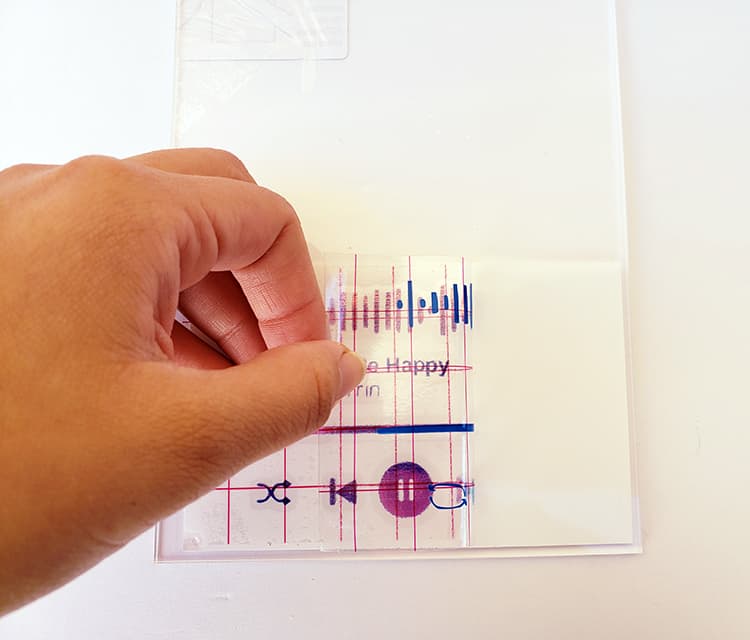
- Slowly peel up the transfer tape and design from the top left-hand corner and continue in a diagonal direction.
TIP: If the adhesive vinyl design is not lifting up with the transfer tape, place it back down and give it another good rub with the scraper
- Once you have removed the vinyl from the backing, place the transfer tape with the image on the plexiglass, making sure there are no bubbles or bumps. Try to make sure that it is in the center and that it is straight.
- Once again, use the scraper to rub over the design. This time we want it to stick to the plexiglass and to release from the transfer tape.
- Slowly peel back the transfer tape. If your design lifts up, simply place the transfer tape back down and rub over the problem area again.
Tip: Place your transfer tape back on the backing paper (you can reuse transfer tape so don't throw it away).
Step 8: Add your Photograph
- The final step is to add your photograph, simply cut it to size and place double-sided tape to the back of the image and stick your image to the plexiglass.
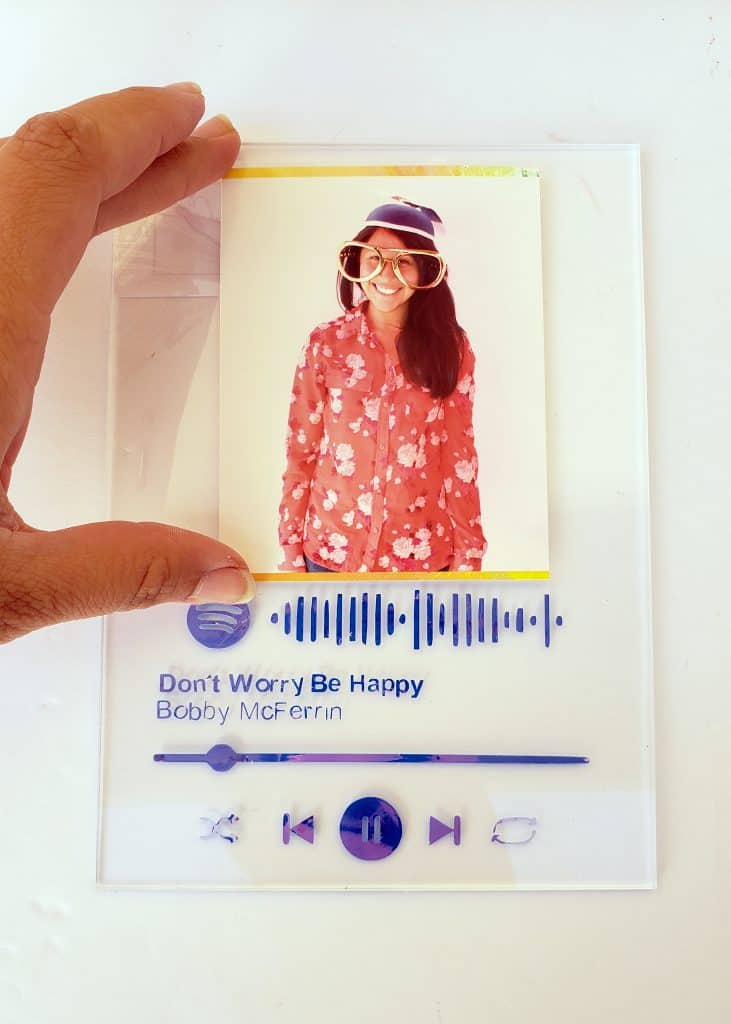
- Remove the back plastic film off the plexiglass.
And just like that, you have made your very own Spotify Song Art frame! It is now ready to gift wrap and send to someone you love.
All they have to do is to hold their phones with the Spotify App open over the code to play the song.
Such a great personalized gift.
What song are you going to choose for your design?