Looking for a creative way to share some Valentine’s Day love this year? How about some Valentine's coloring cards for the kids to hand out?
This step-by-step tutorial will teach you how to use a pen with your Cricut machine by using the “Write” function in Cricut Design Space.
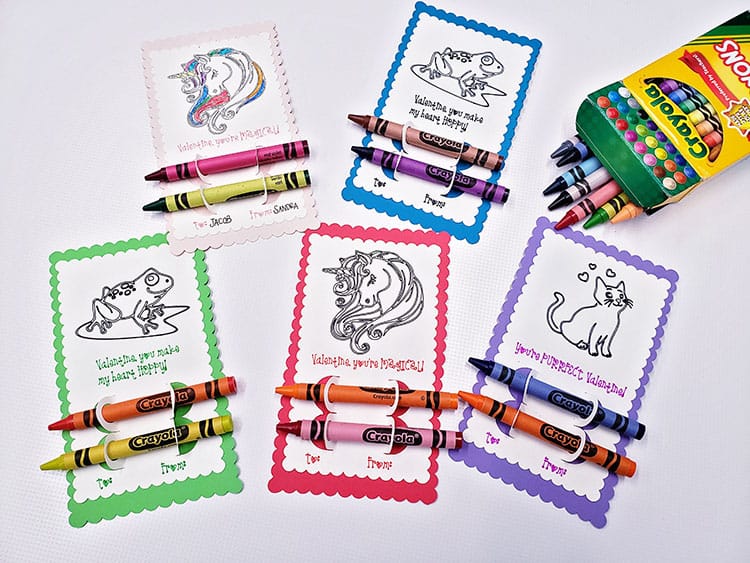
How to Make Valentine's Day Coloring Cards with Crayon Holder
Find below the steps to follow in order to create some cute Valentine's Day cards. You can even select your own pen colors and catchy phrases.
Supply List
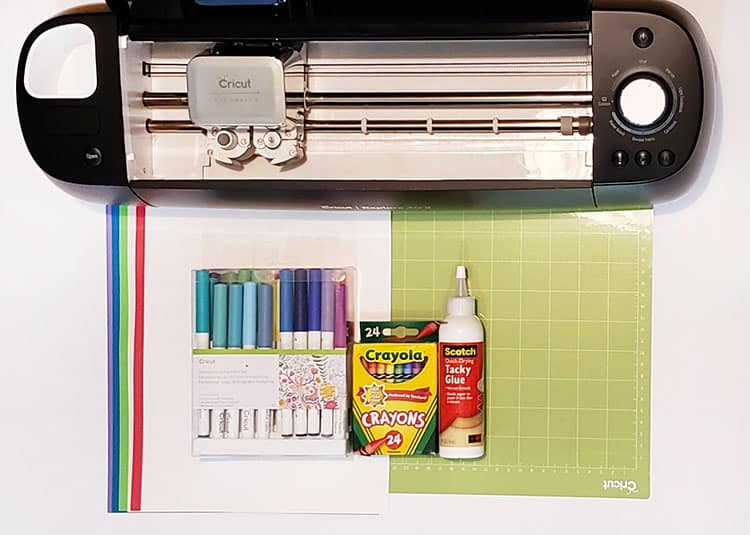
- Cricut Cutting Machine (I used the Cricut Explore Air 2 – see the review for the machine here)
- StandardGrip Cutting Mat
- An assortment of construction paper (red, pink, green, blue, purple, white)
- Cricut Markers
- Crayons
- Quick Dry Glue
Below are the step-by-step instructions on how to prepare your Valentine Coloring Card. This tutorial uses a unicorn, cat, and frog, but you can find any SVG or JPG image that you would like to use such as dinosaurs or other lovable characters.
Step 1: Adding your SVG/JPG to Cricut Design Space
The first step is finding the perfect image that you would like to use in your design.
- Download all of our free Valentine's Day Card images and files.
- Upload the Coloring Card Template file image into Cricut Design Space.
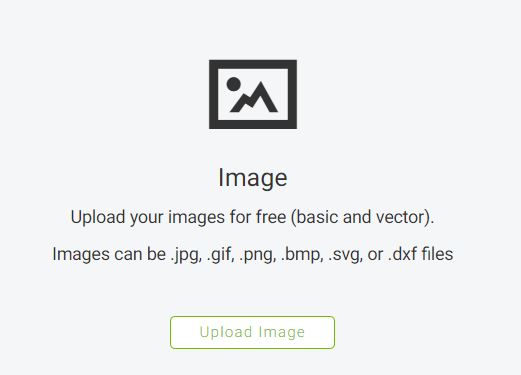
- Begin by selecting the “Upload” icon, then “Upload Image”.
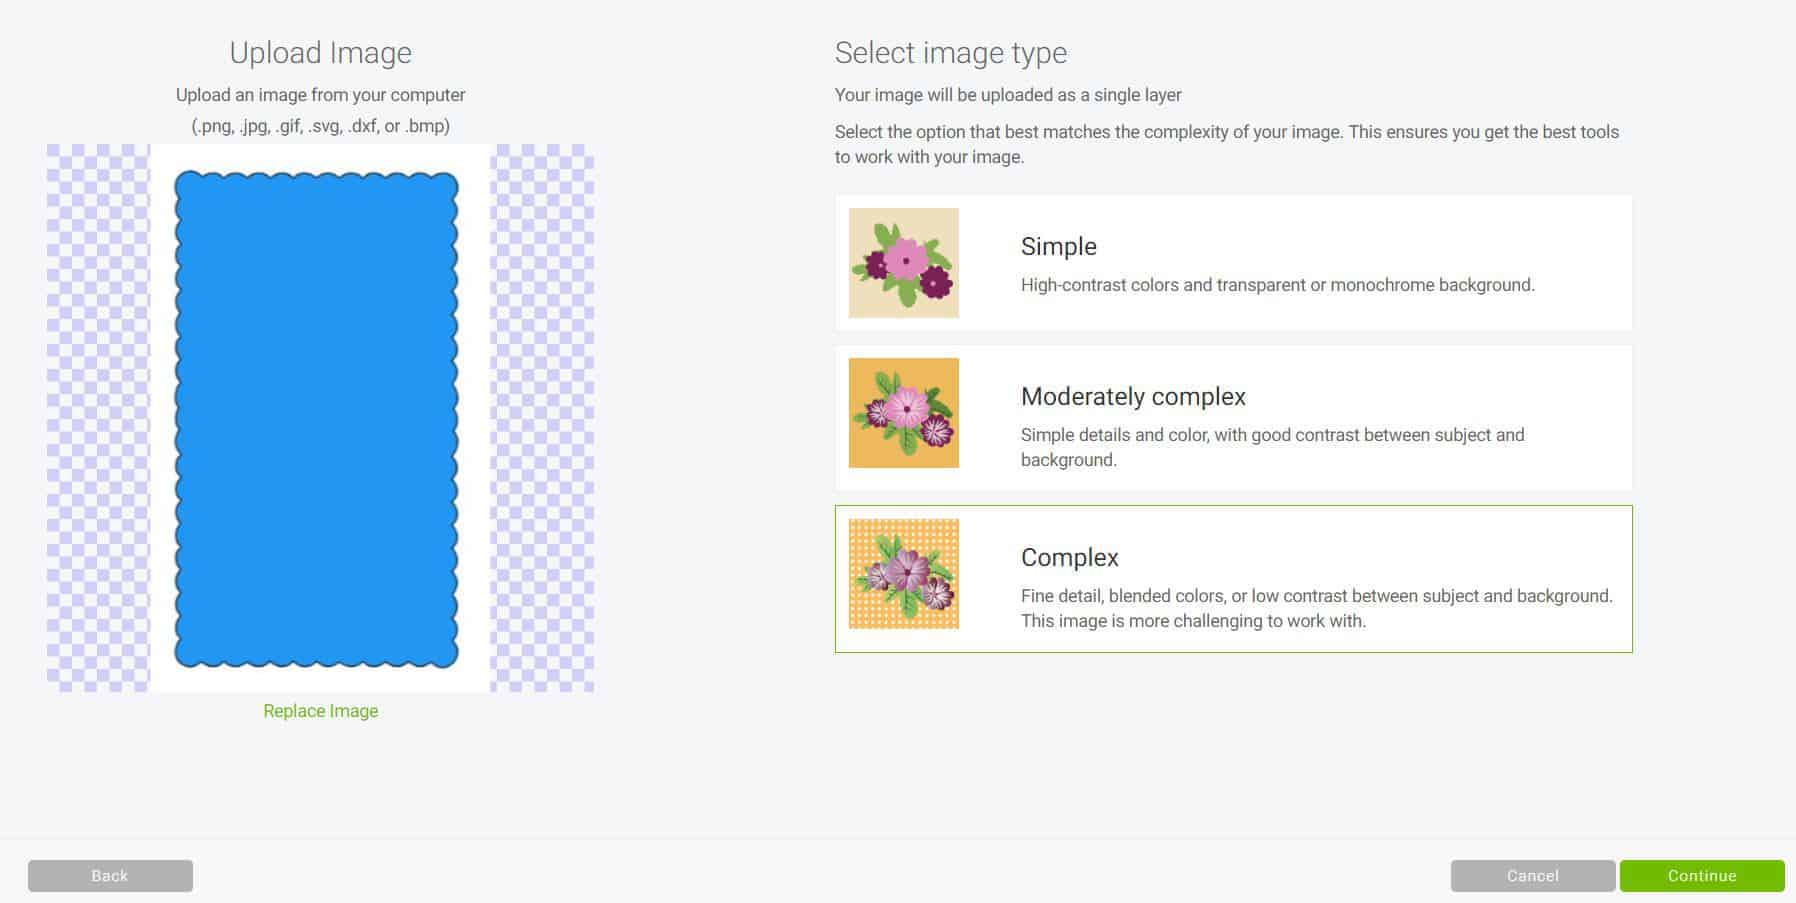
- Next select “Browse” and search for the downloaded file.
- Once the file is loaded, select “‘Complex”.
- Next, click on the “Select & Erase” tab and begin removing the white background.
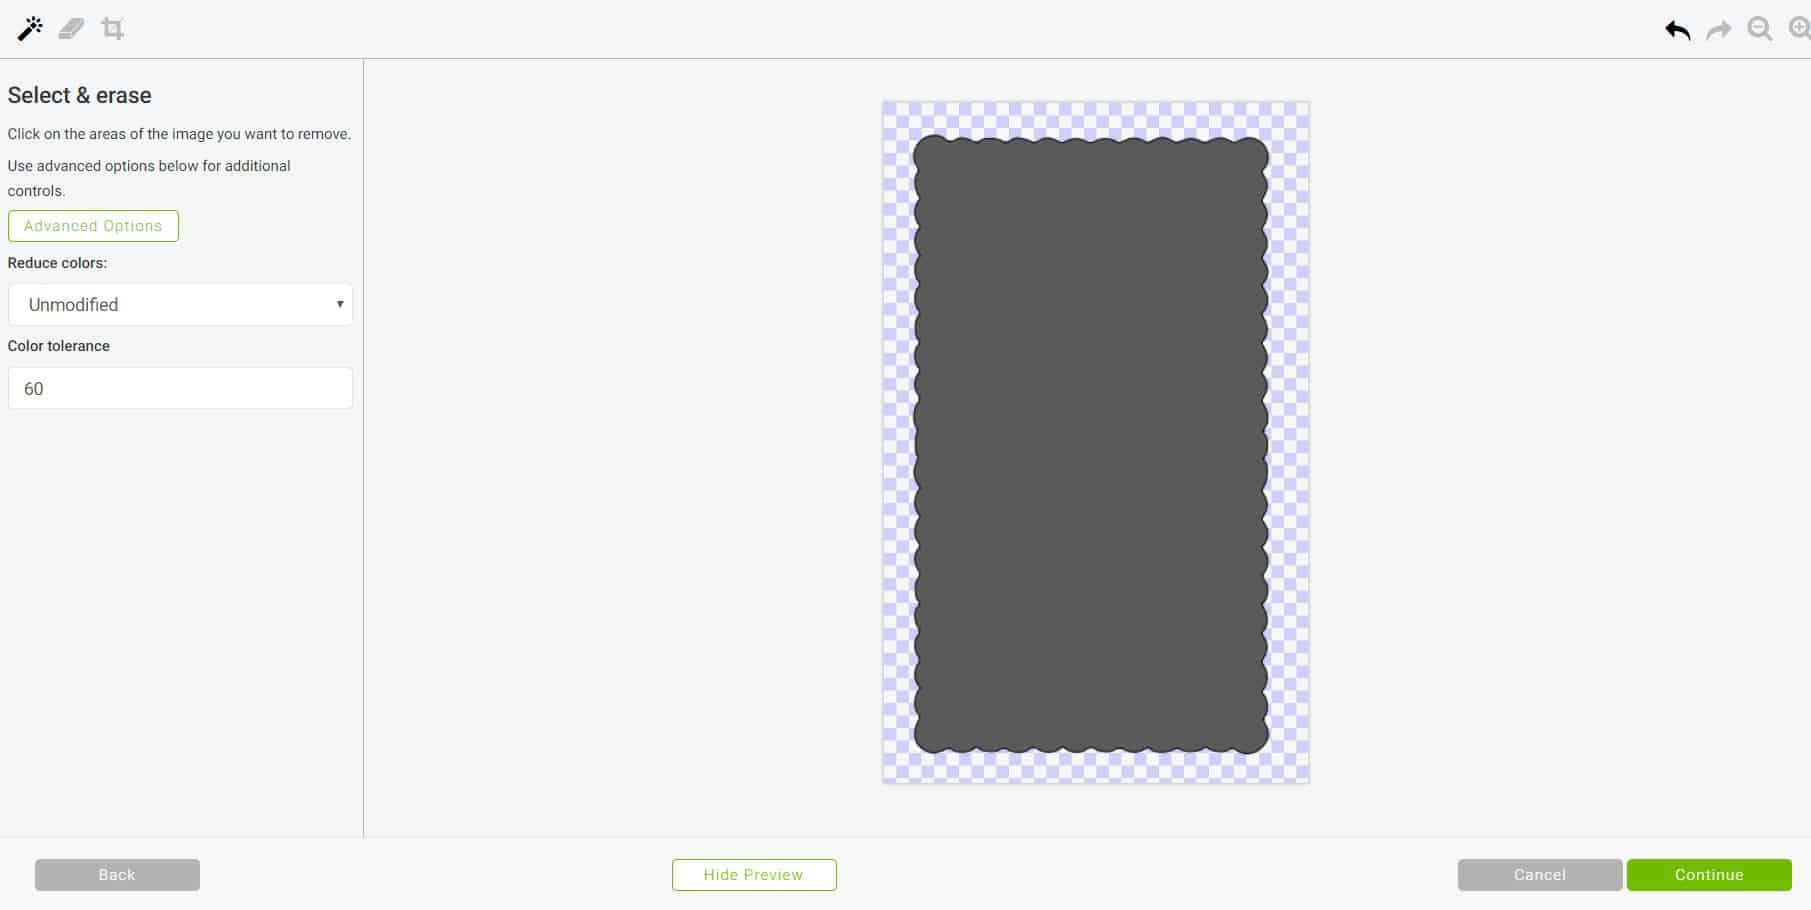
Tip: You can use the “Preview” button to see how your cut image will appear.
- Once complete, select “Continue”.
- Select the “Save as a Cut Image,” and you can now name the file.
- Select the “Save” icon and you will now have your new cut image saved and uploaded into Cricut Design Space.
- Repeat the above steps for the “Crayon Insert” file and the three animal SVG files (unicorn, cat, frog) or any image of your choice.
Step 2: Designing the Project in Cricut Design Space
Find below the step-by-step instructions on how to prepare your images for drawing and cutting.
Once your images have been uploaded, you will want to assemble the images and add the text to the project.
- Duplicate the coloring card image as you will create a layered effect with these two images.
- Color coordinate the coloring card templates on your design space to match the colored cardstock /construction paper that you will be using.
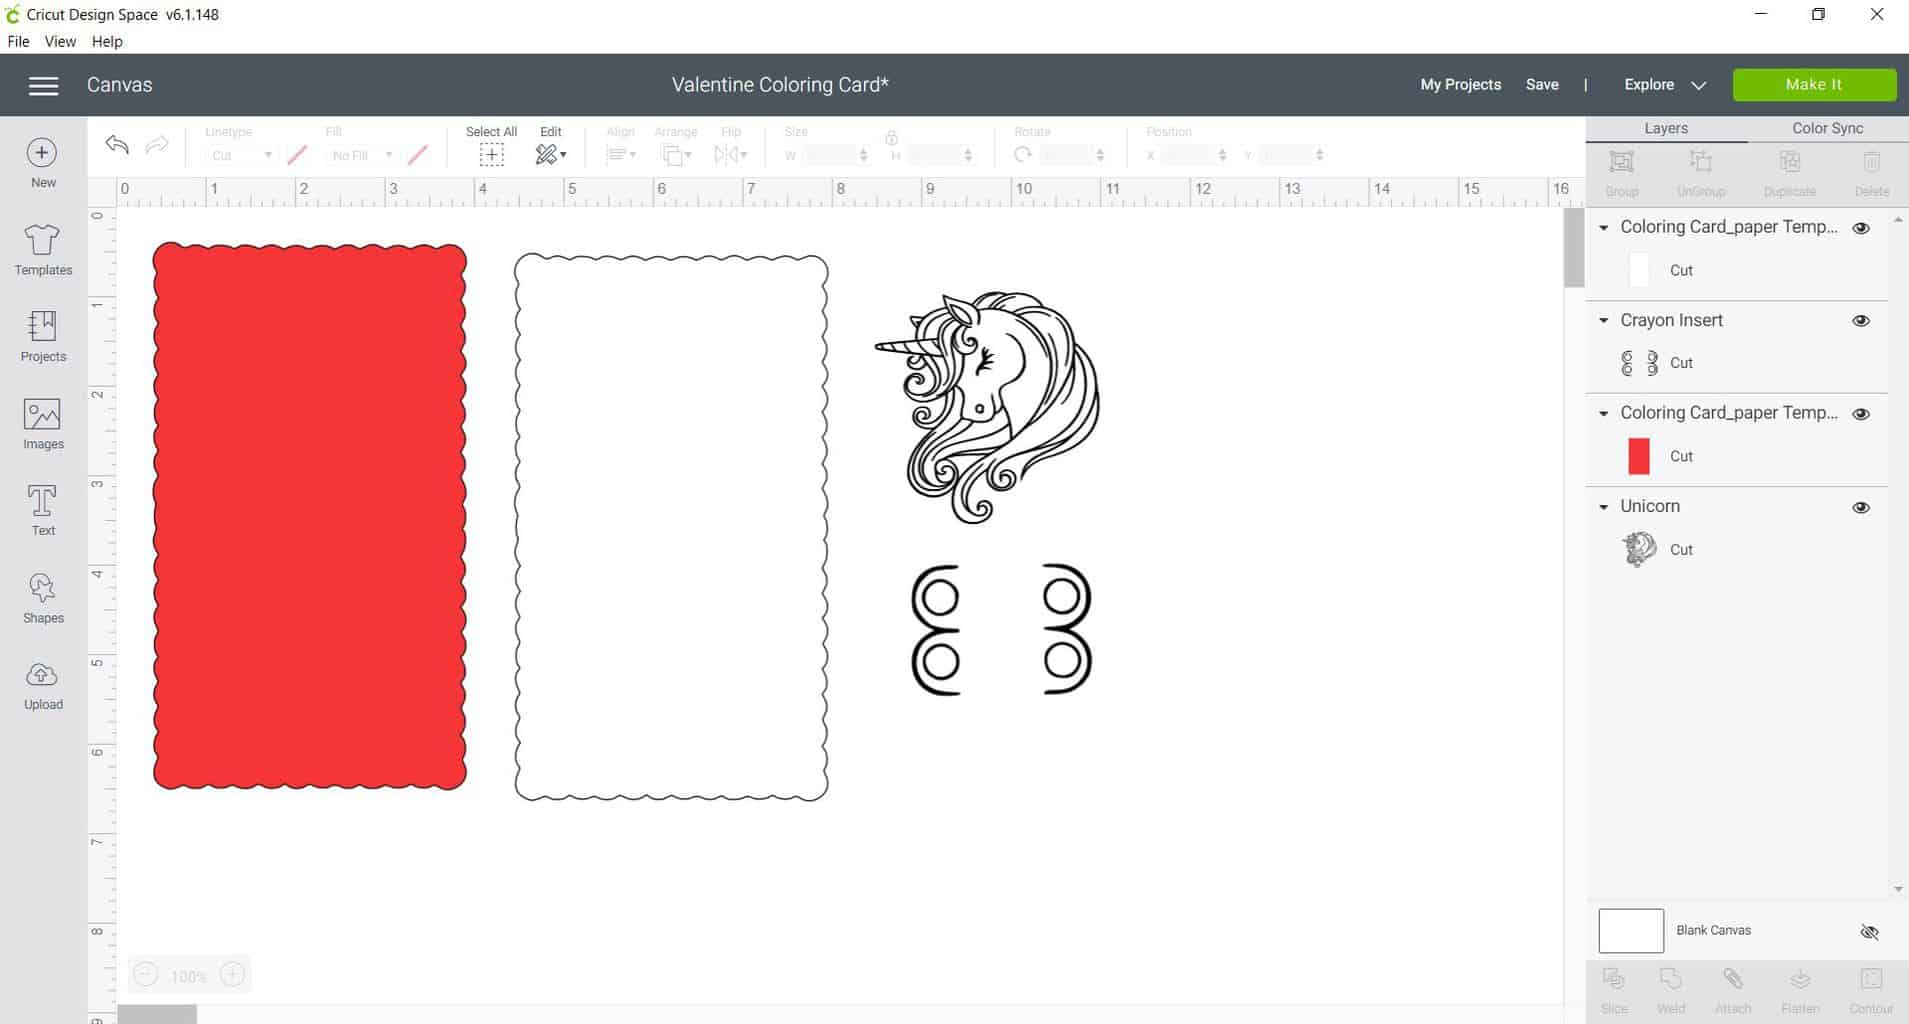
- Resize your images.
Tip: The crayon insert should measure 2 inches in Width, anything smaller and the crayons will not fit through the insert.
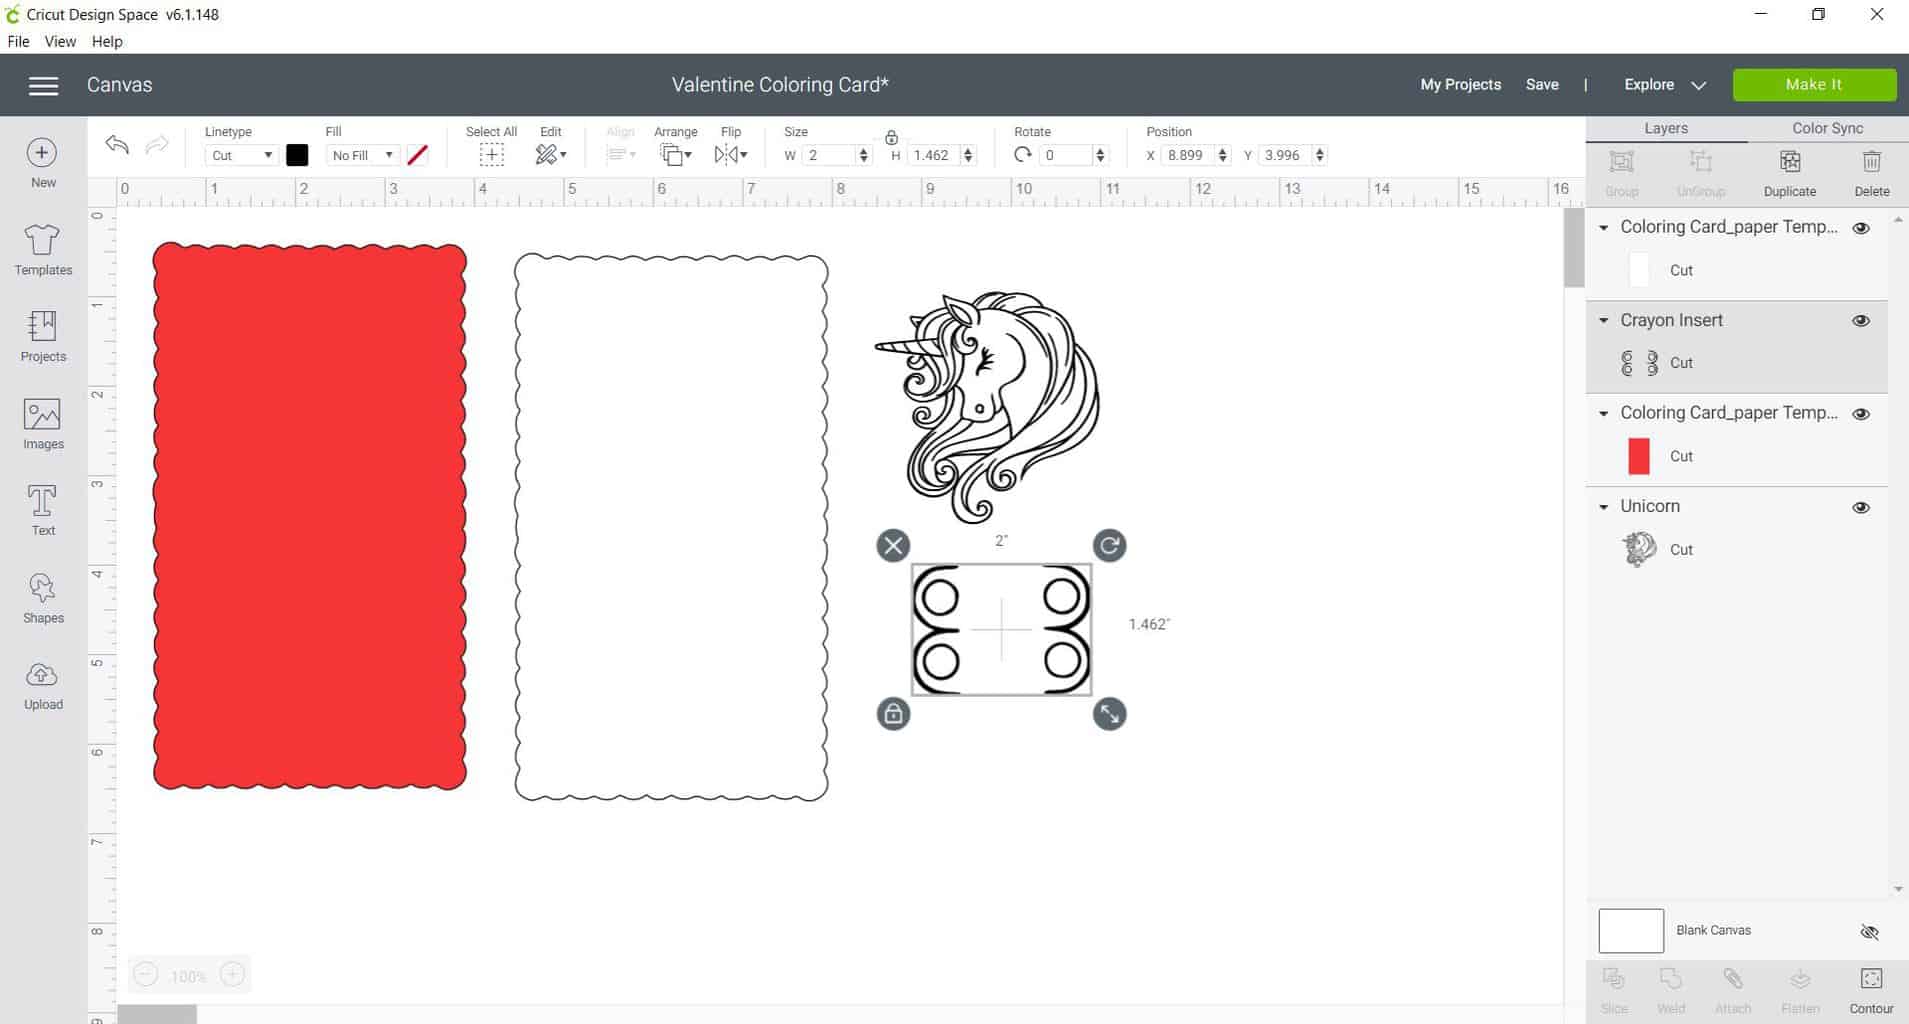
- Place images in front of the white paper template.
Tip: For the animal files and images, make sure you change the Line type to “Draw”.
- Select the Text icon on the left.
- Once the text box pops up, begin typing your message, ours will say “You’re MAGICAL Valentine” for the Unicon card.
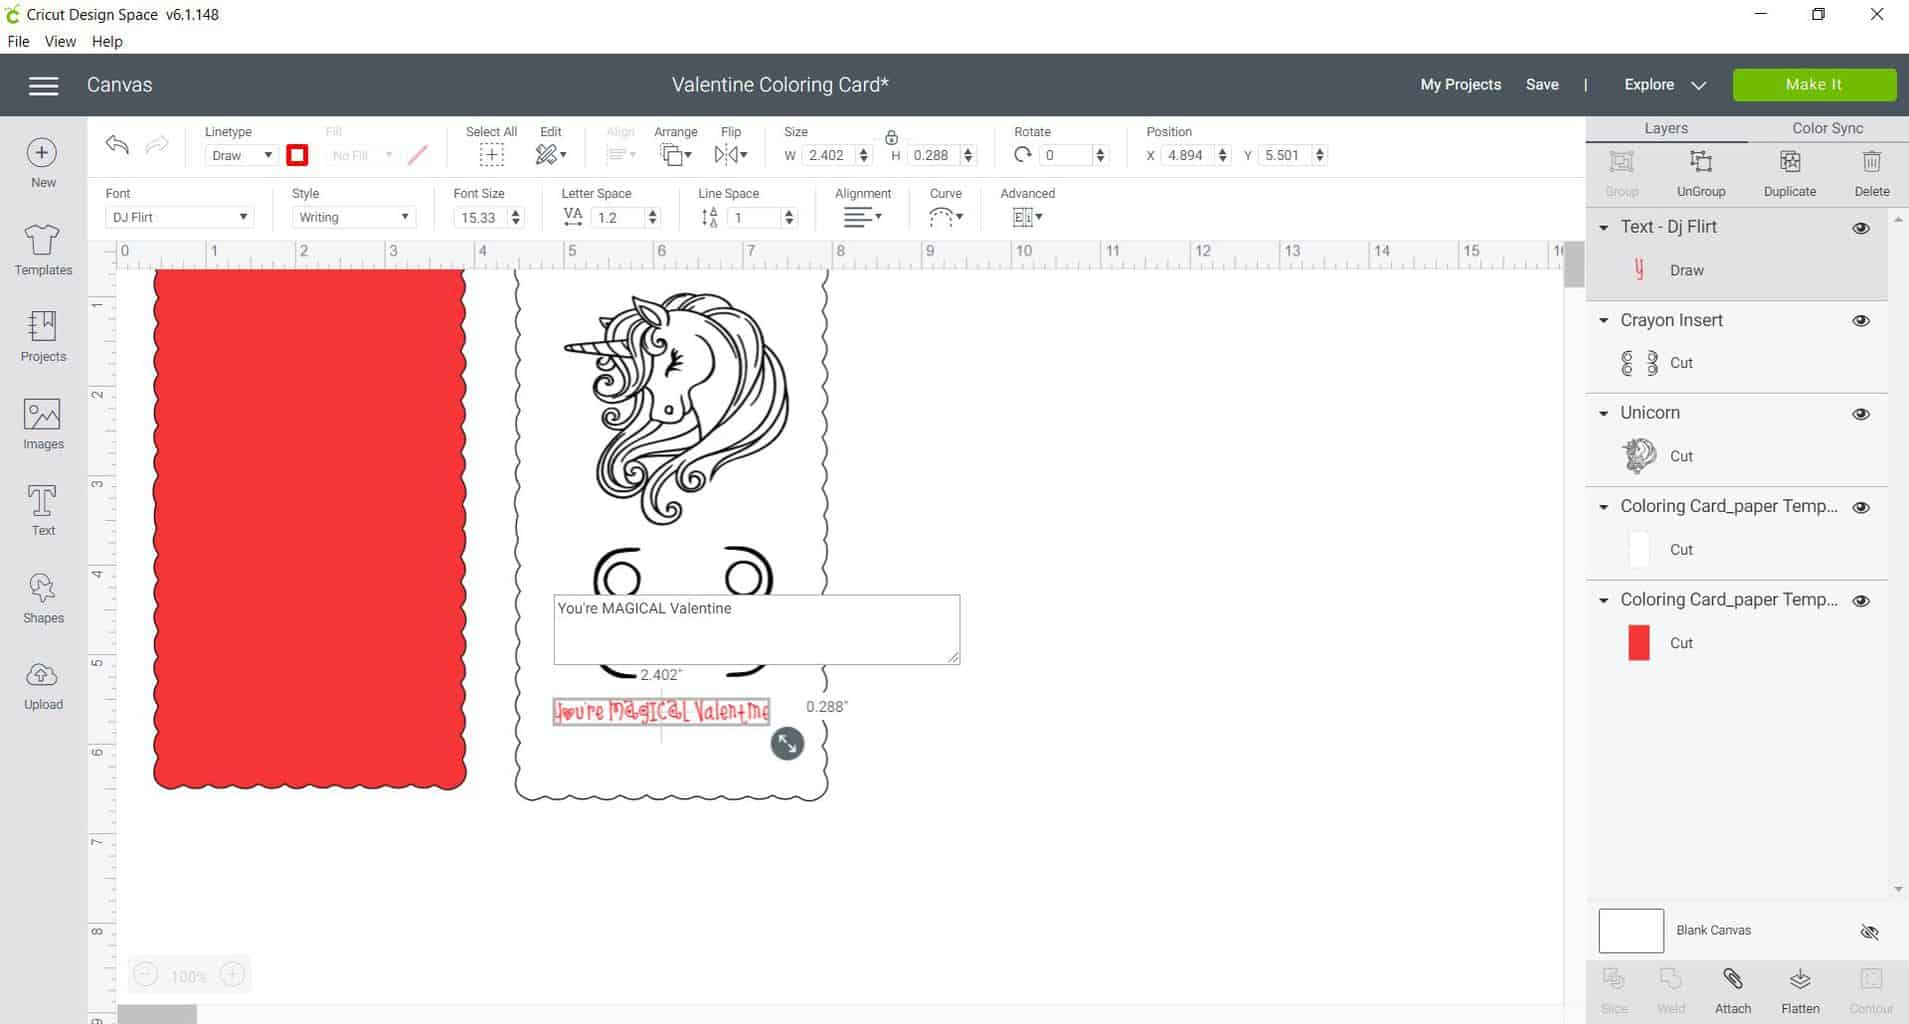
- Make sure the Text box is a “Draw” Line type, and Style “Writing,” this way the text is written and not cut. You can also change the color font if you would like.
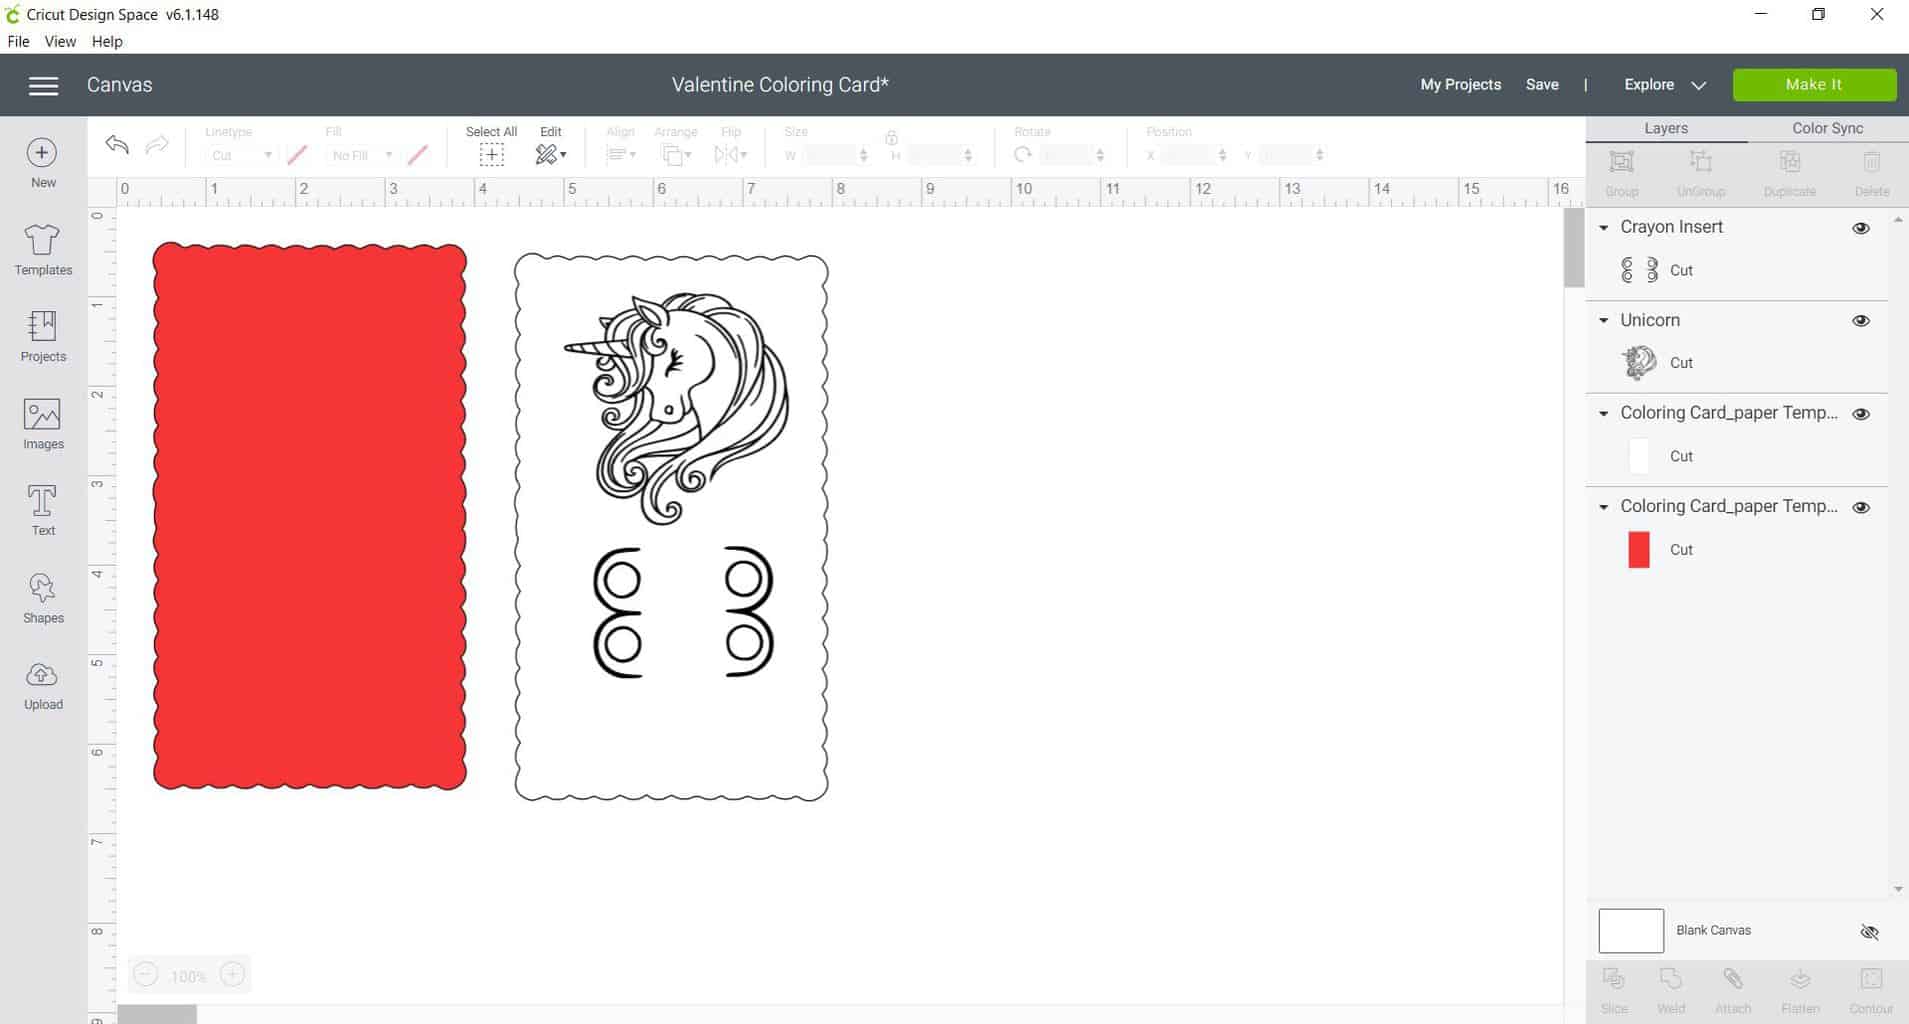
- Repeat steps above two more times to add the two other text items so that there are three different text items
- One for your Valentines day saying
- One saying “To:”
- A final saying “From:”
- Once all text items are complete rearrange them to your liking on your design. Below is how we have arranged ours.
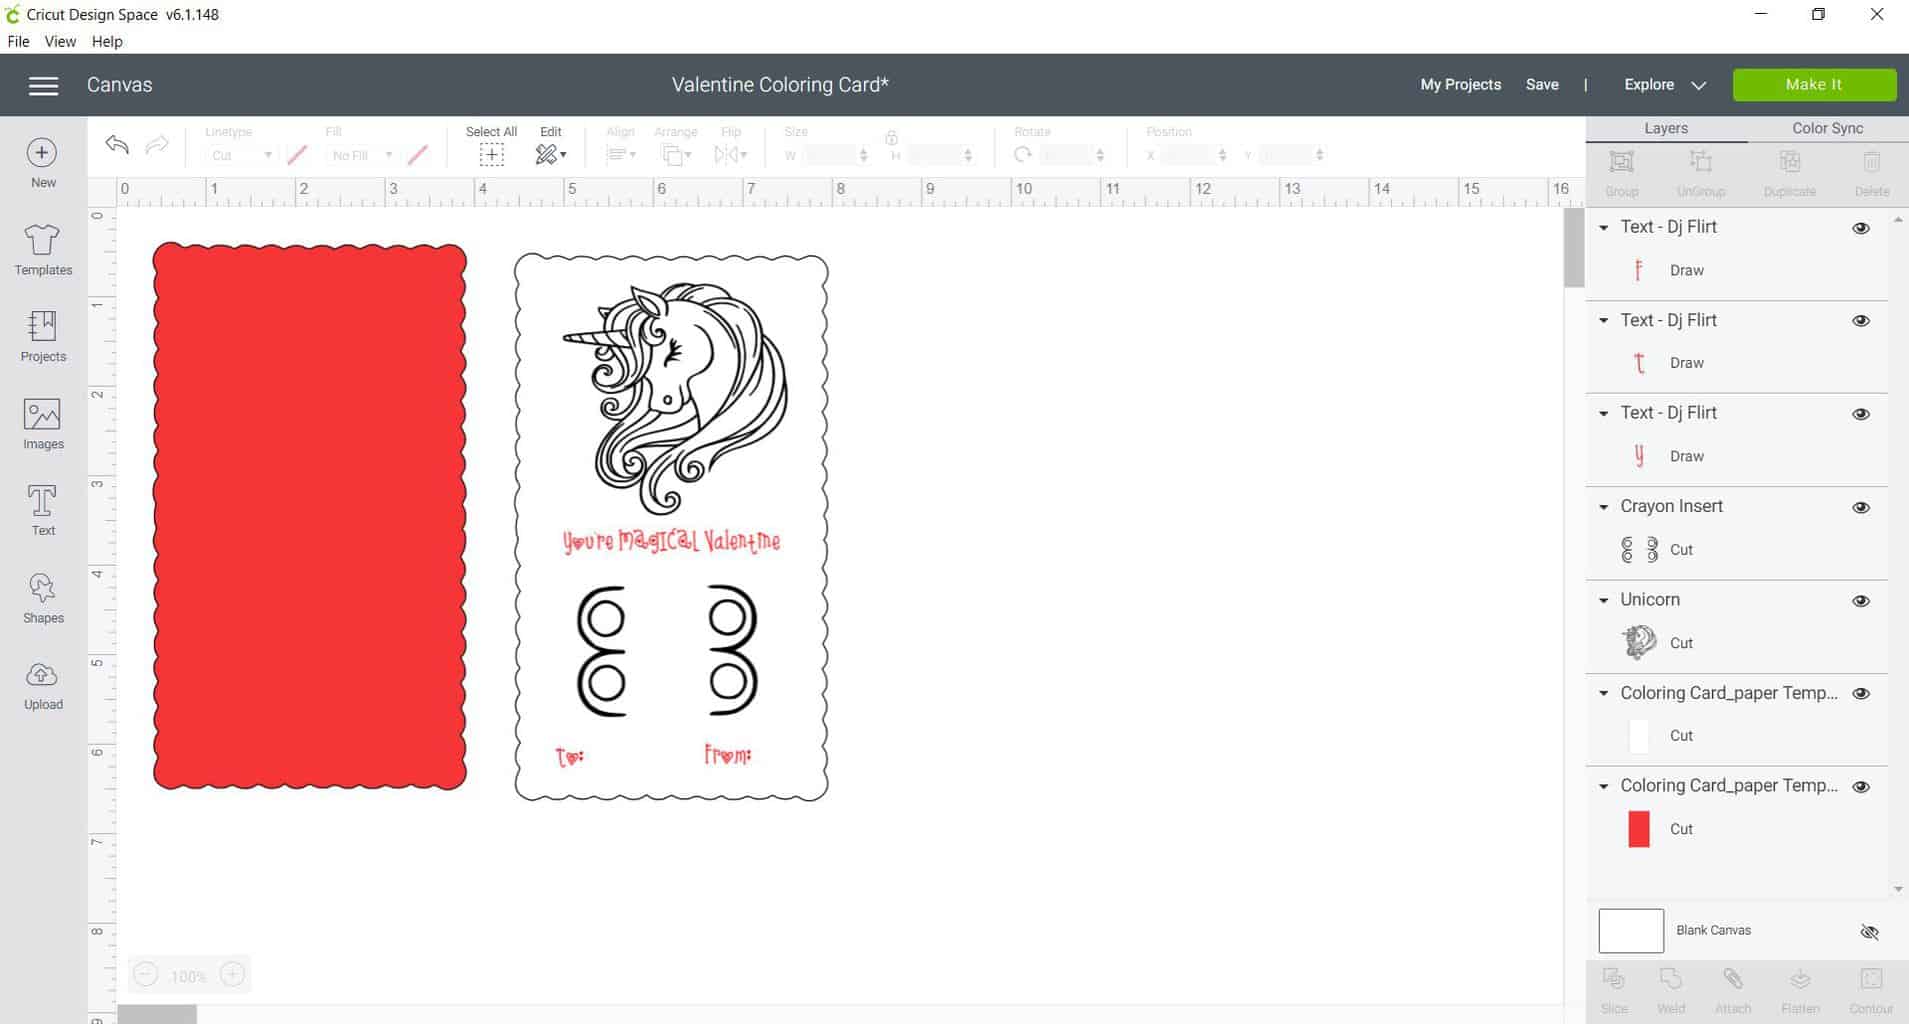
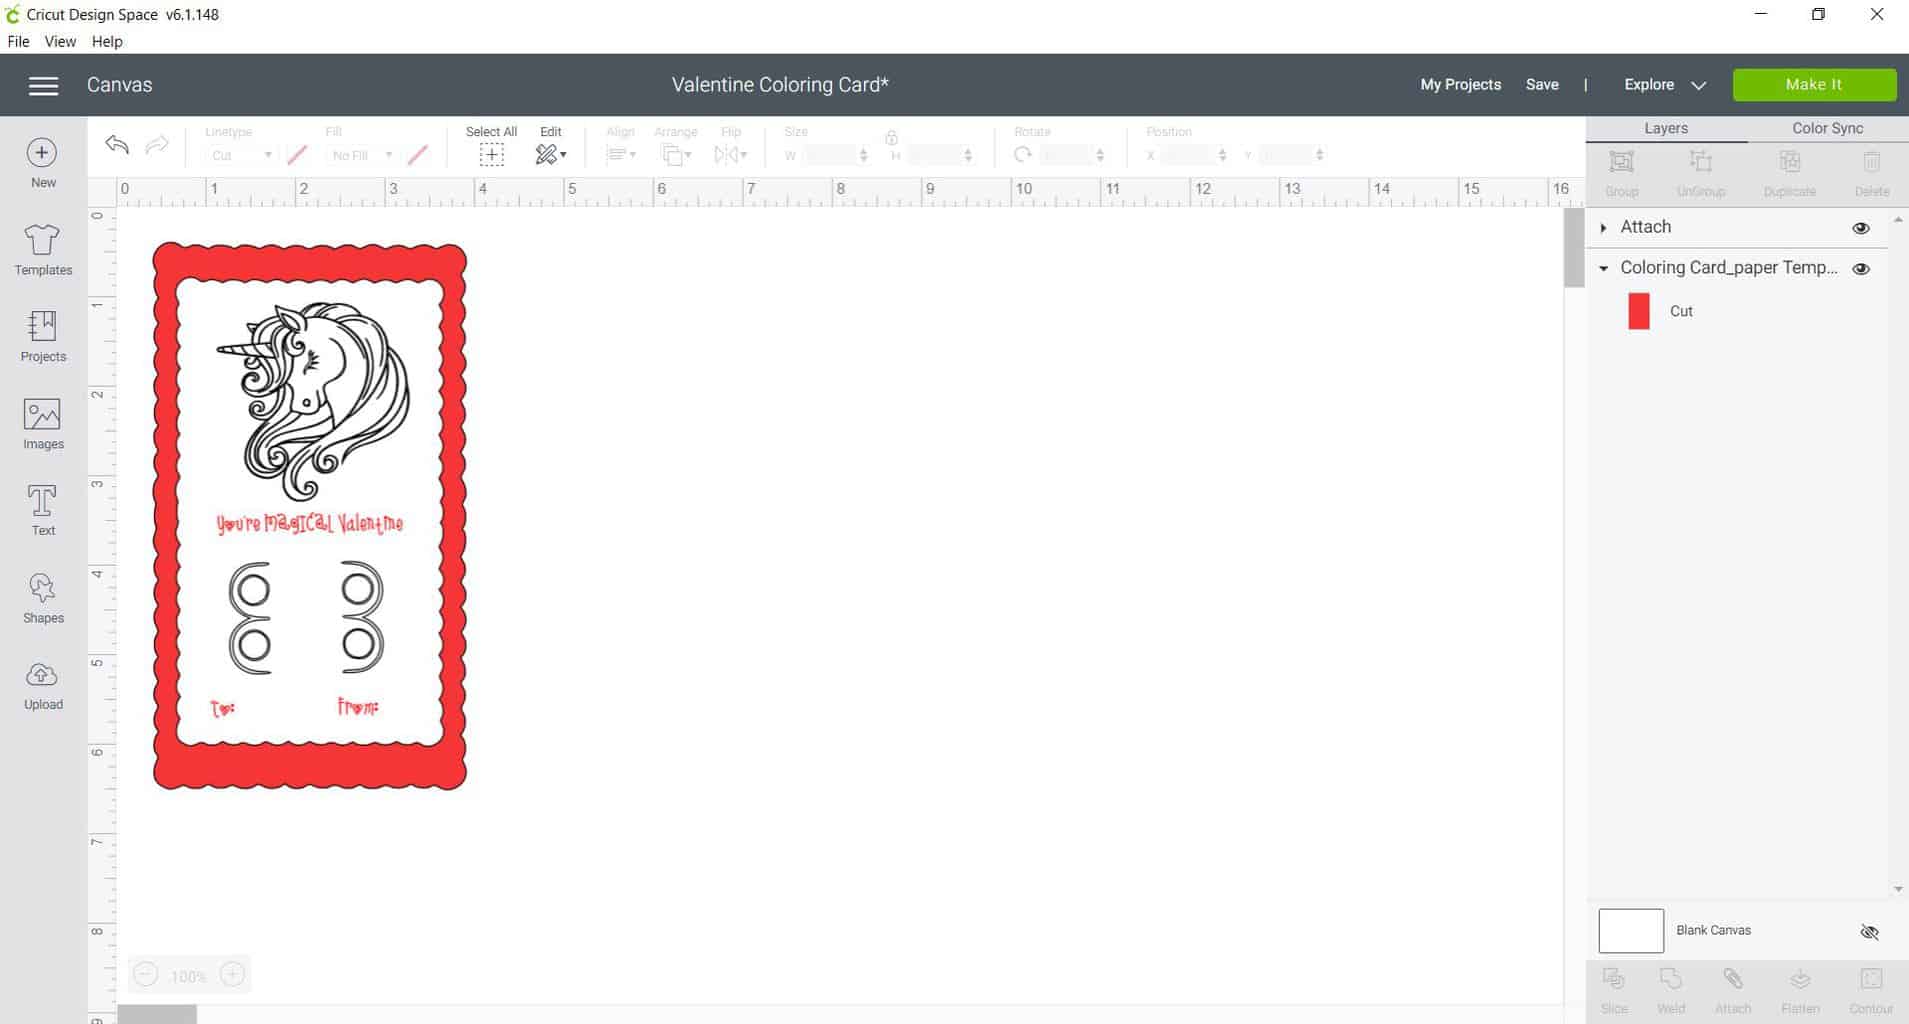
- After you are satisfied with your drawing and text page, highlight the complete image and “Attach” the design
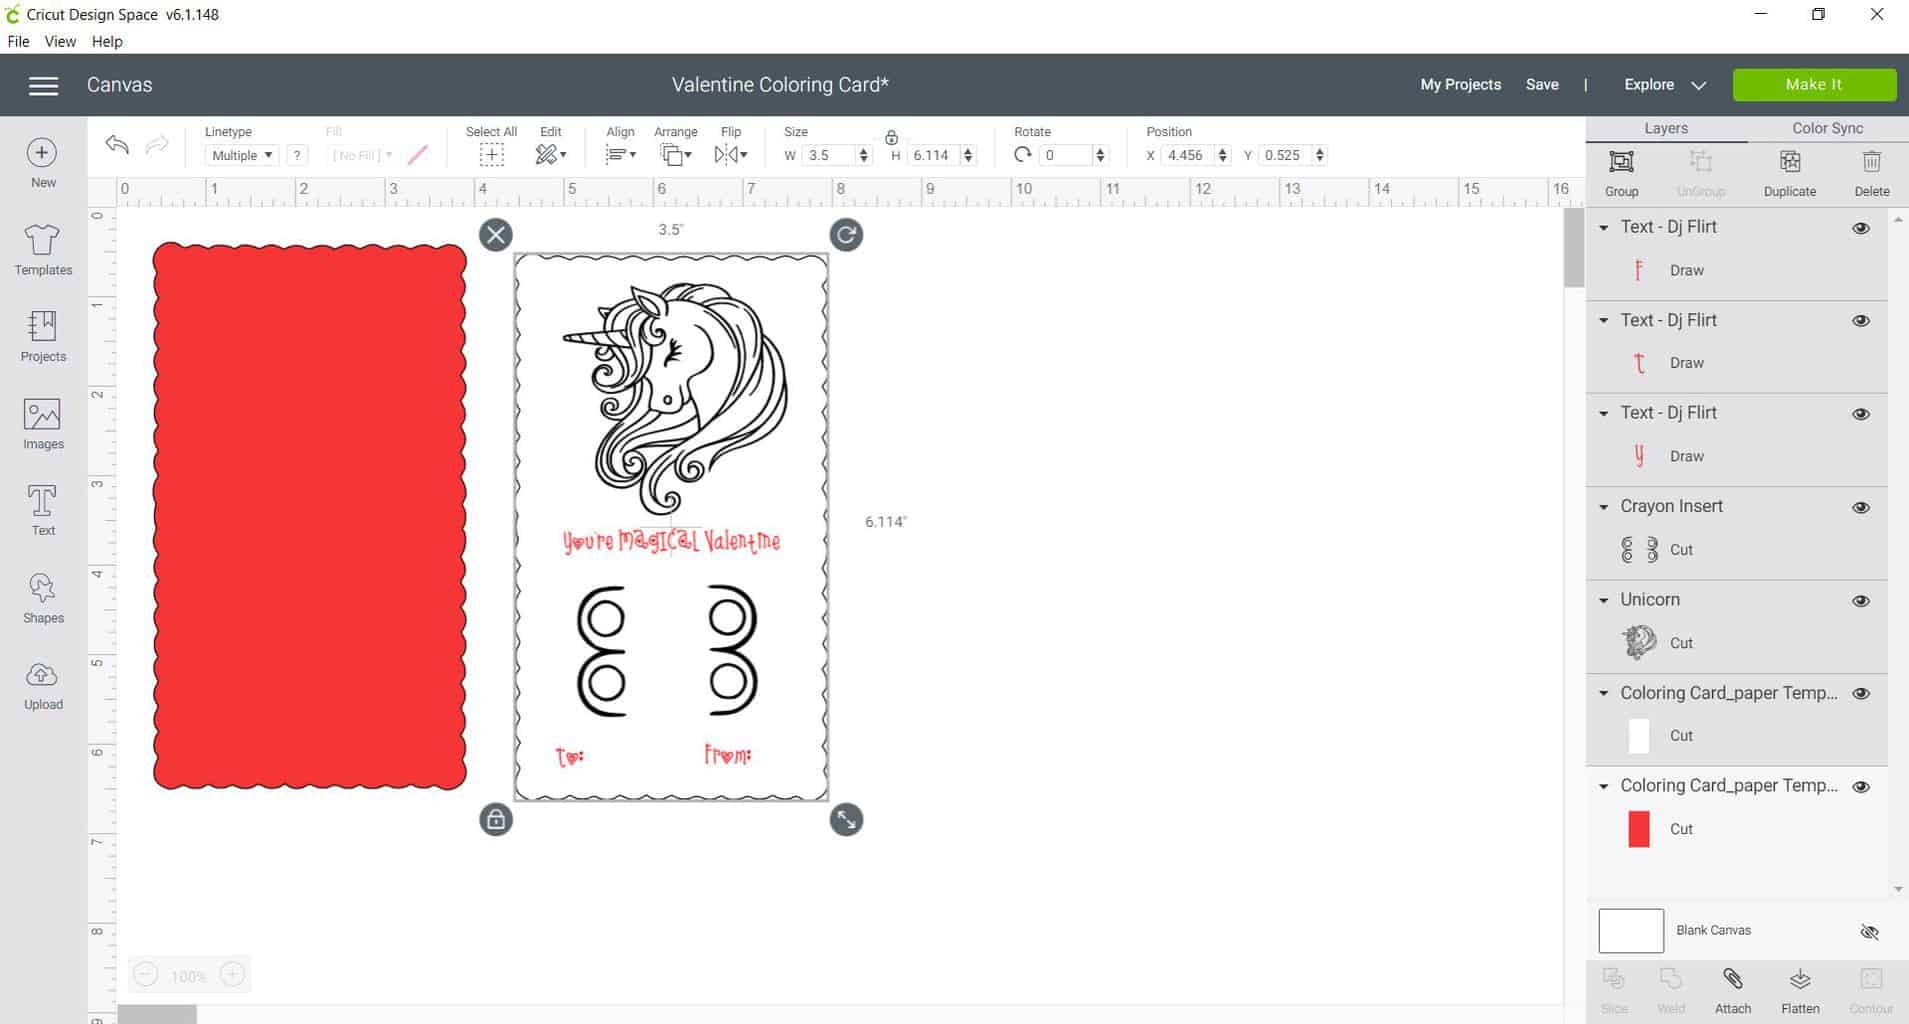
Tip: Attaching will ensure the cut and drawing will print the way it is designed when selecting the “Make it” button.
- Finally, resize the white paper drawing half an inch smaller than the other to create the layer effect.
Step 3: Making the Cards
Now it is time for the exciting part. Let's load up the cardstock so that we can draw and cut out the adorable designs.
- Select the “Make it” option (make sure that your machine is on so that you can connect to your cutting machine).
- Select your paper size, then select “Continue”.
- Select “Cardstock” as the material to cut.
- Load the mat into your cutting machine and insert the first color choice of pen (as shown on the steps in Cricut Design Space)

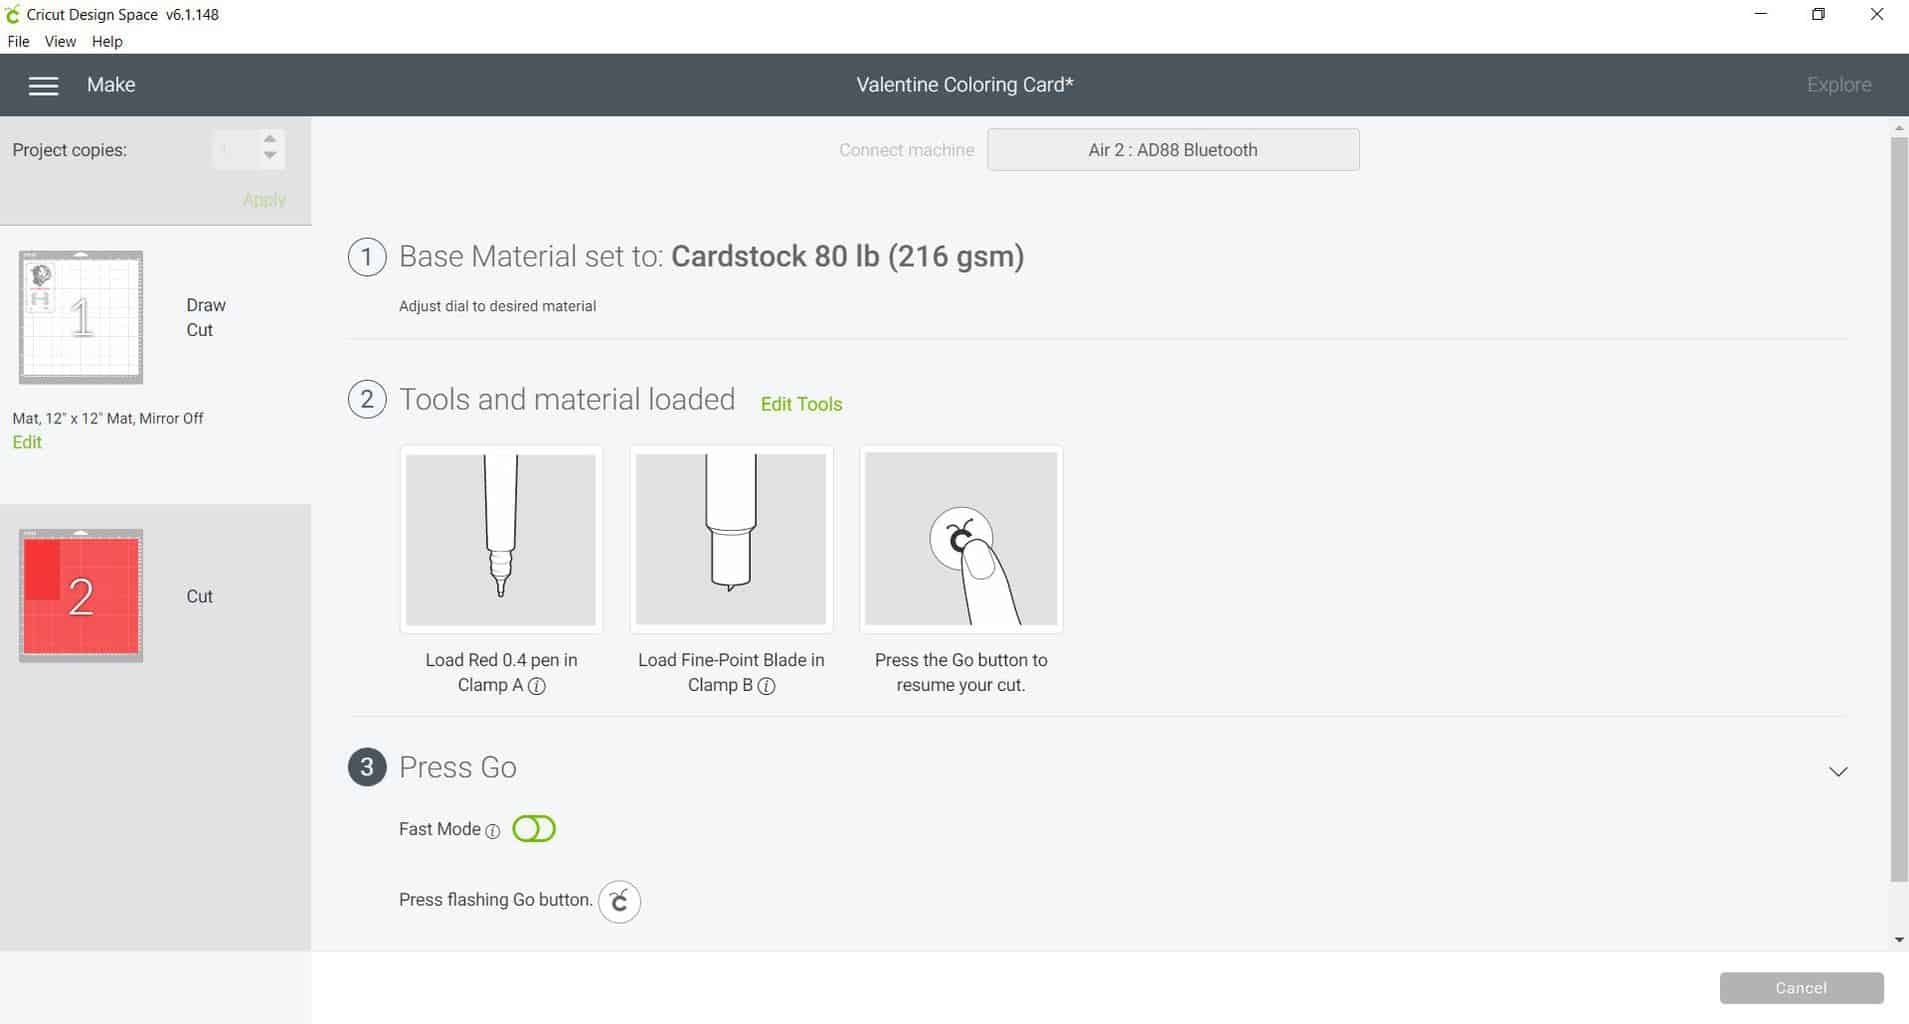
Tip: Make sure you check which colored pen goes first by reviewing under the “Tools and material loaded” tab, otherwise the wrong color may be drawn on your design.
- Select the “C” Cricut icon and allow the first pen color to draw
- Load the second color into the machine and select continue
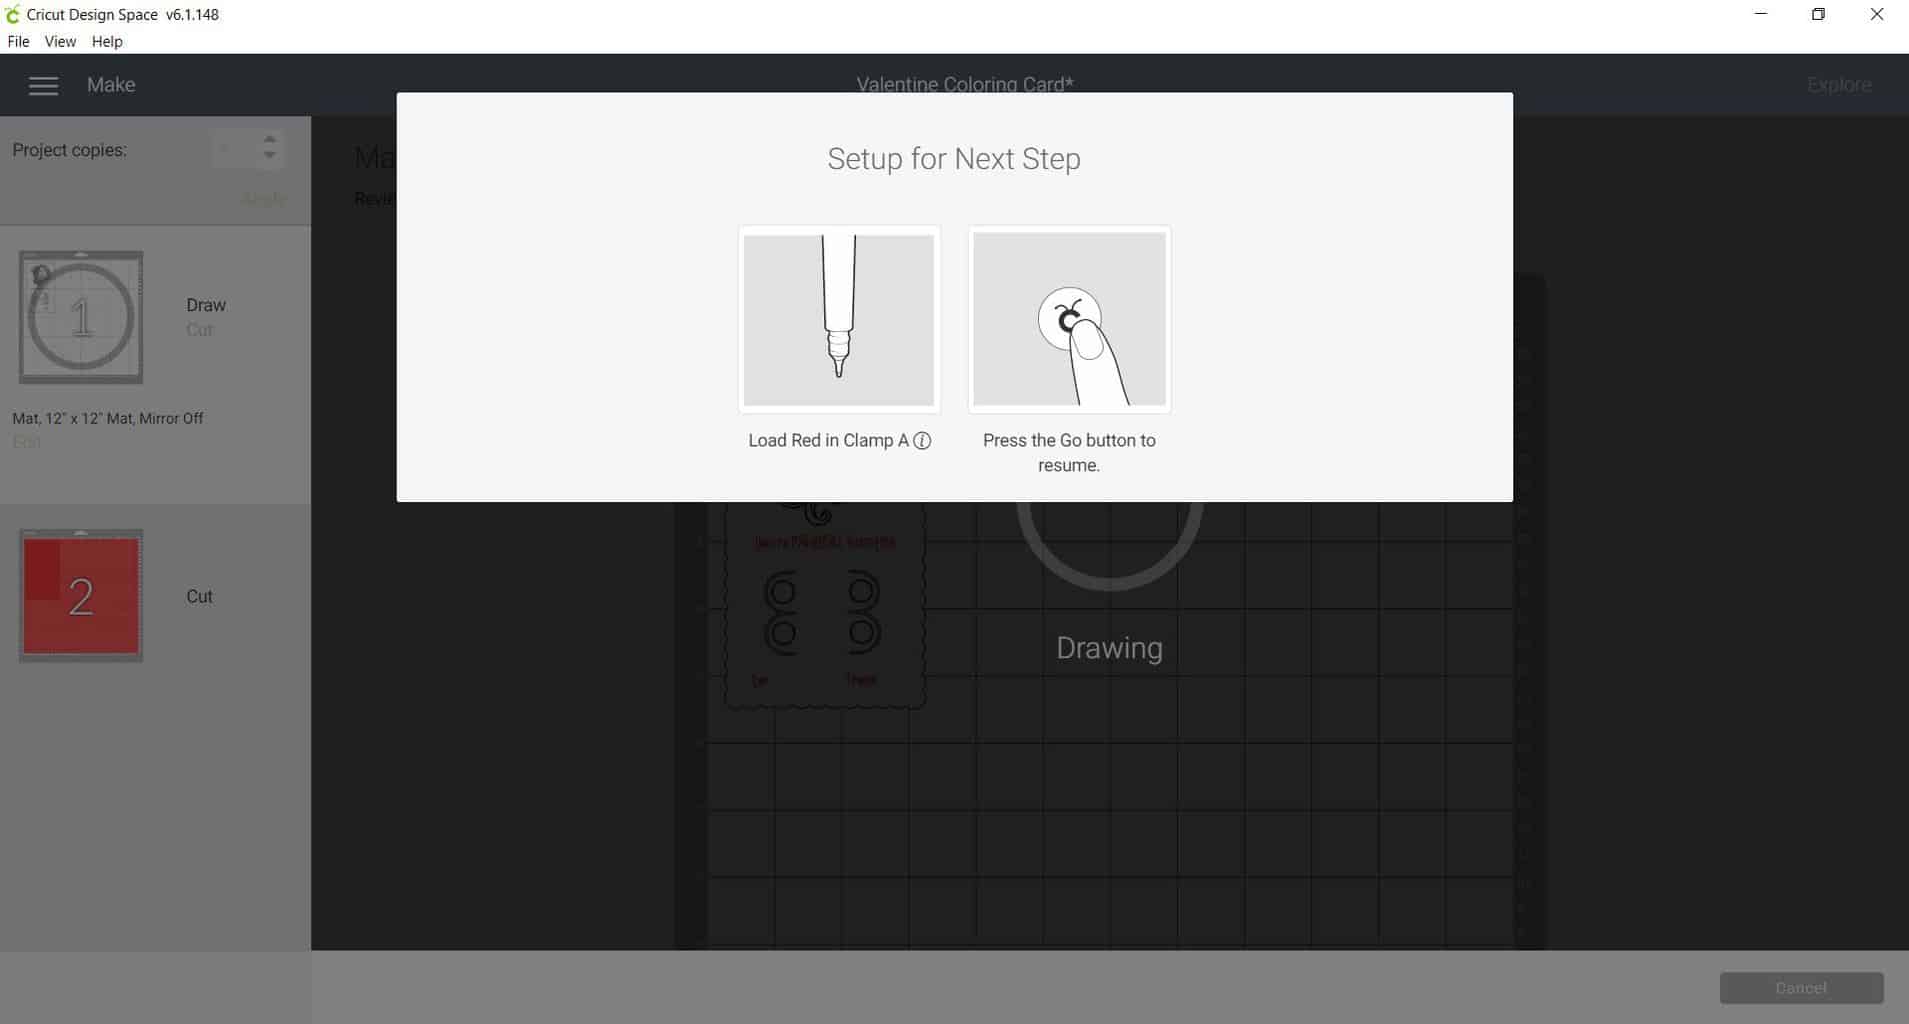
Tip: DO NOT select the arrow button on the cutting machine, this will cancel the project cutting/drawing.
- Unload the mat and reload with the next mat or cardstock to be cut.
Step 4: How to Assemble
Now we are ready to put all the pieces together into a beautiful and cute card!
- Glue the cardstock with the drawn design on top of the plain cut out (make sure to not glue down the cut circular holes).
- Lift up the circular holes and place the crayons through the holes.
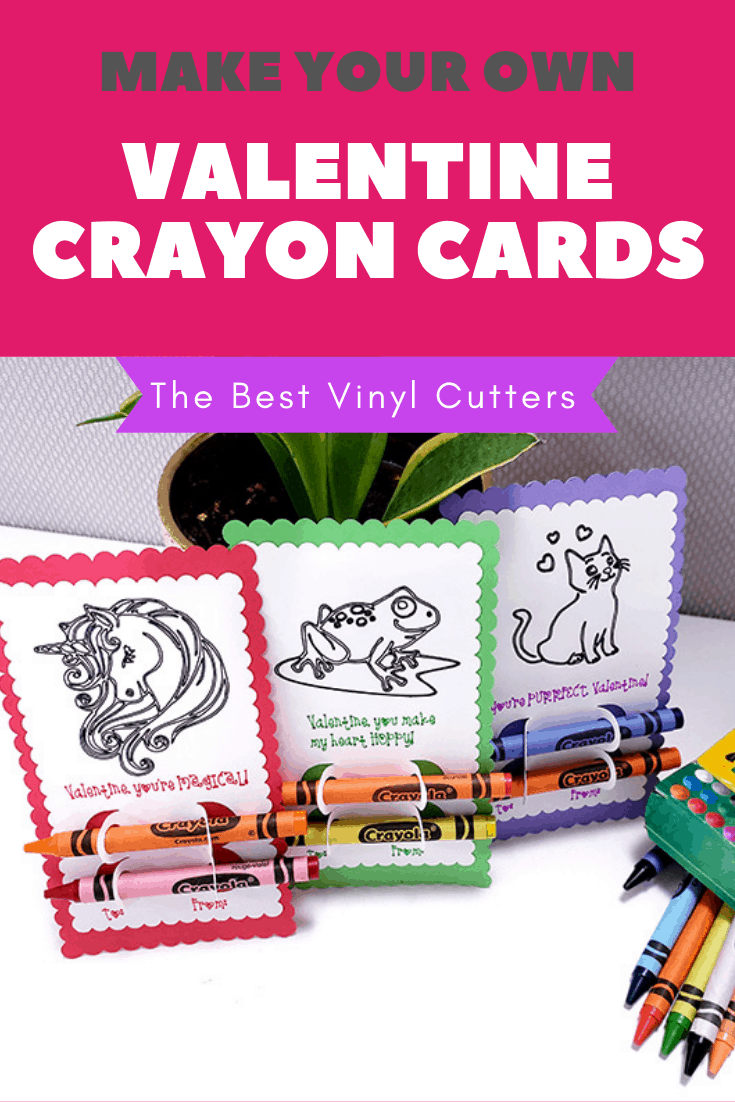
And just like that, you have your Valentine's day coloring card with crayons! You can mix and match your animal design, catchy phrases, and color pen choices.
Let me know what catchy phrase you use?
Looking for more inspiration on what you can make with paper or cardstock? Find a list of our favorite cardstock projects for Cricut machines here.