November is here and I bet you are all starting to count down towards that beautiful Christmas day!
Just yesterday I decided to start decorating my home a bit, so that life can feel a bit more festive.
We will be away for Christmas this year, so I might just as well start decorating early so that I can enjoy the house all pretty in the festive spirit.
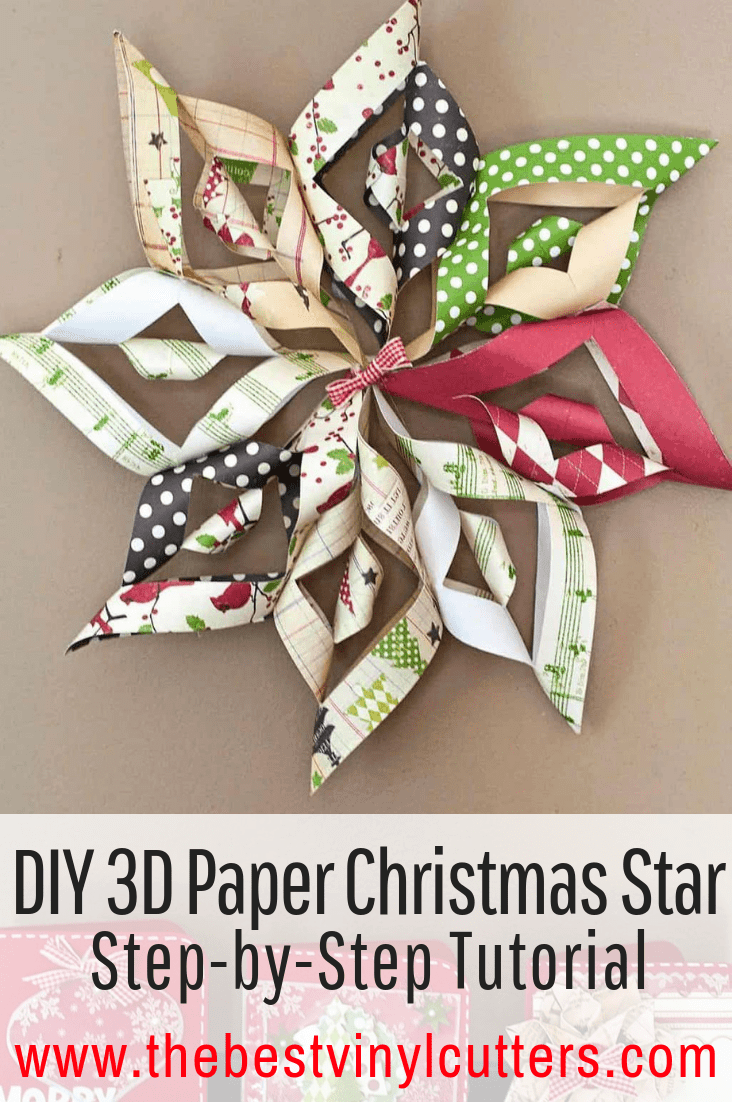
So today I wanted to share with you a lovely DIY 3D Christmas Star decoration. I can promise you that these are slightly painful to make, but hey, I think that the finishing result definitely pays off for the repetitious work you will have to do.
So let's hop right into the tutorial, shall we? I found a great video tutorial that I added to the bottom of the post as well.
How to Make a Paper christmas Star
Wondering how to make a paper Christmas star? Find below the materials that you will need in order to create your own 3D star for Christmas.
Materials Required:
- 6 Pieces of Square Paper
- Ruler
- Scissors
- Pencil
- Ribbon
- Stapler
- Clear tape
- Hole Punch
3D Christmas Star Instructions:
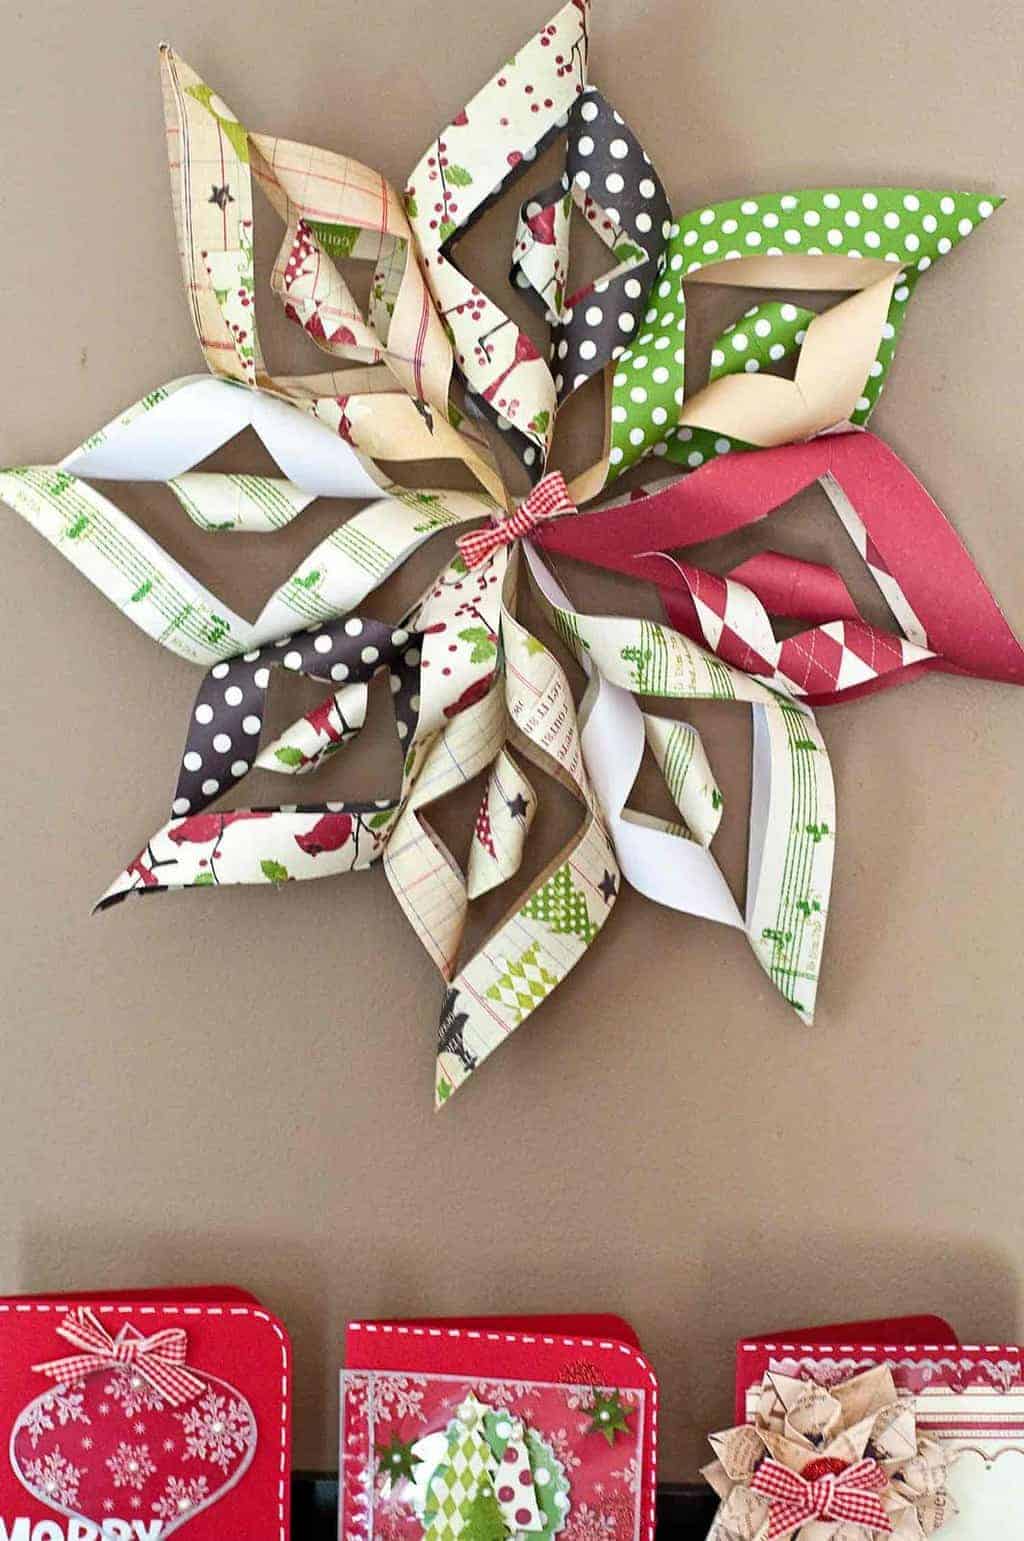
- Prepare your squares of paper. The smaller the squares the smaller the final star will be – and vice versa. I like using a mix of patterned paper and solid paper.
- As an example, let's create 6 square pieces of paper, measuring 8 x 8″.
- Fold each of the square pieces of paper in half diagonally so that it creates a triangle. Now repeat the process so that it forms a smaller triangle.
- If you measure from the top of the point of your triangle down to the bottom, it should measure out 4″.
- Now measure and mark 1″ intervals down the center of your triangle (from the pointy top to the base).
- Cut along these three straight lines towards the fold of the triangle. IMPORTANT – Don't cut through the fold, stop around 1/4″ before the fold.
- Open up the square piece of paper you have just cut and flatten it back out carefully.
- Fold the smallest inner triangle cuts towards each other, and glue to keep in place.
- Take the next triangle cut and fix those ends together but this time in the opposite direction.
- Repeat this process until all ends have been fixed together to create 1 point of your star.
- Repeat this process with the remaining 5 pieces of paper. You should end up with the 6 points to your star.
- To create your star, grab 3 of your points and place them so they are facing the same direction. Staple the top of the points together to create a semi-circle.
- Repeat the previous step for the remaining 3 points of your star and staple both half’s together to secure.
- Your paper star is now complete! For the last step, you might want to adhere some ribbon so that you can hang the star. Using a hole punch, carefully punch a hole in the top of the star. Thread through your ribbon and neatly tie a bow for a finishing touch.
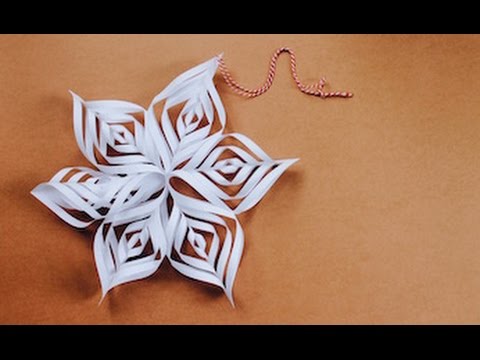
Now that might not be as easy to follow along and I don't think that step-by-step instructions will help either, but I found this great video tutorial on YouTube that you will be able to follow along.
Use my measurements to fill in the visual instructions and you will have one beautiful Christmas star in no time at all.
Video Instructions of the DIY Christmas Paper Star
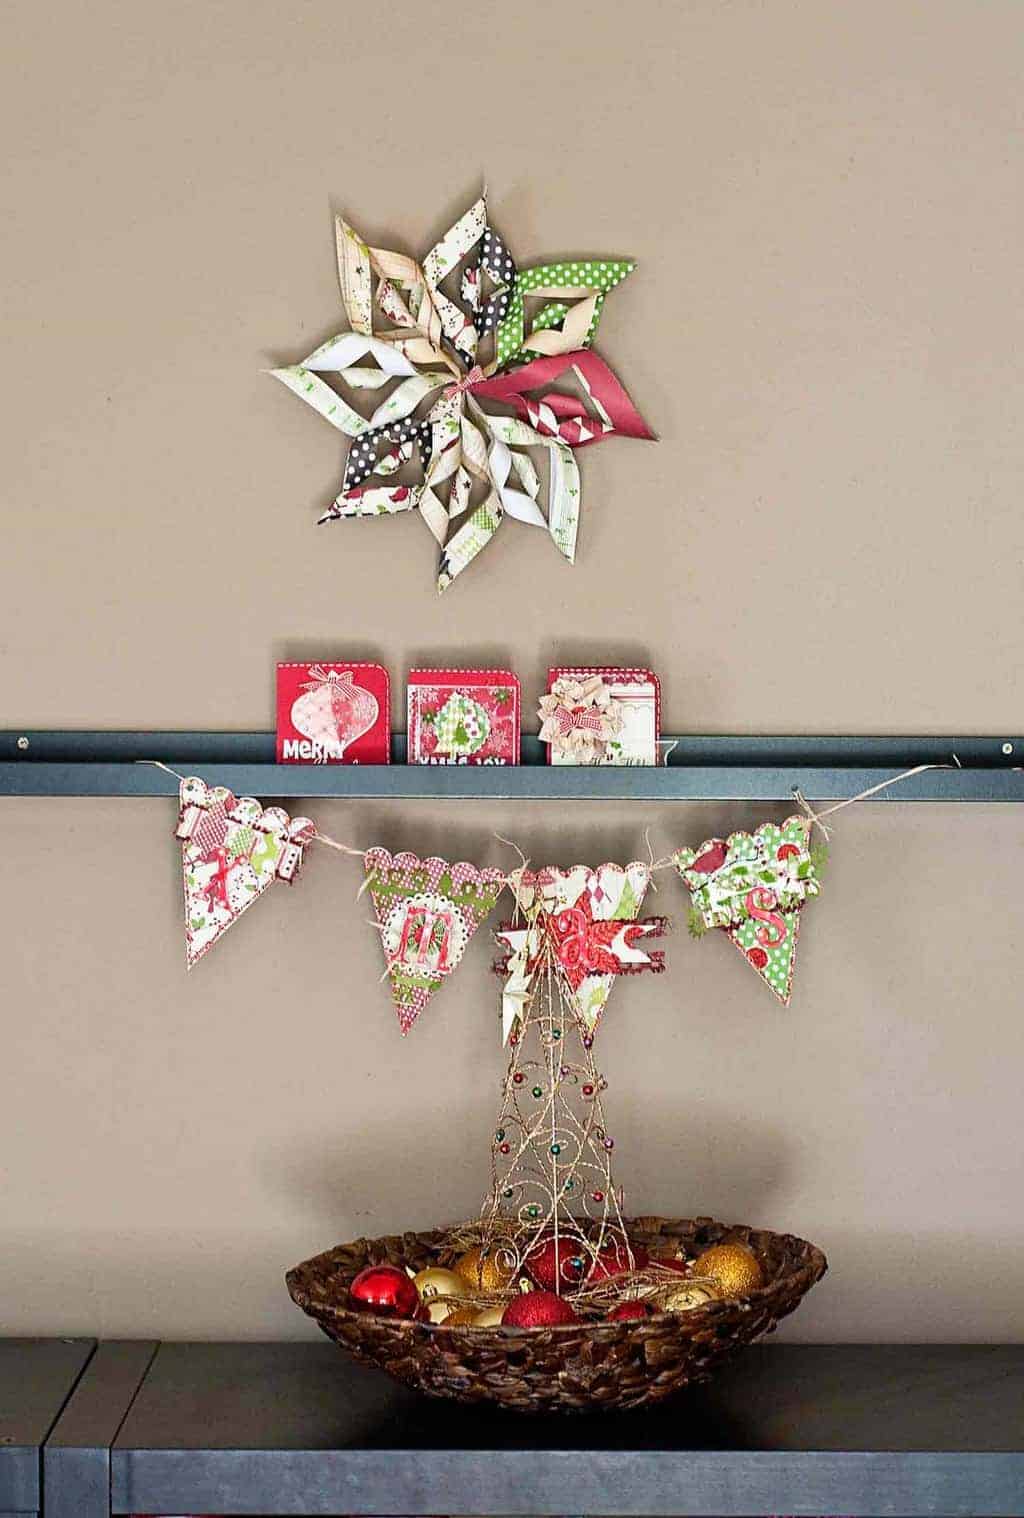
I wanted to use my star as a prominent decor piece on the wall as you enter my home. So I simply used some blue-tac and stuck it right onto my wall.
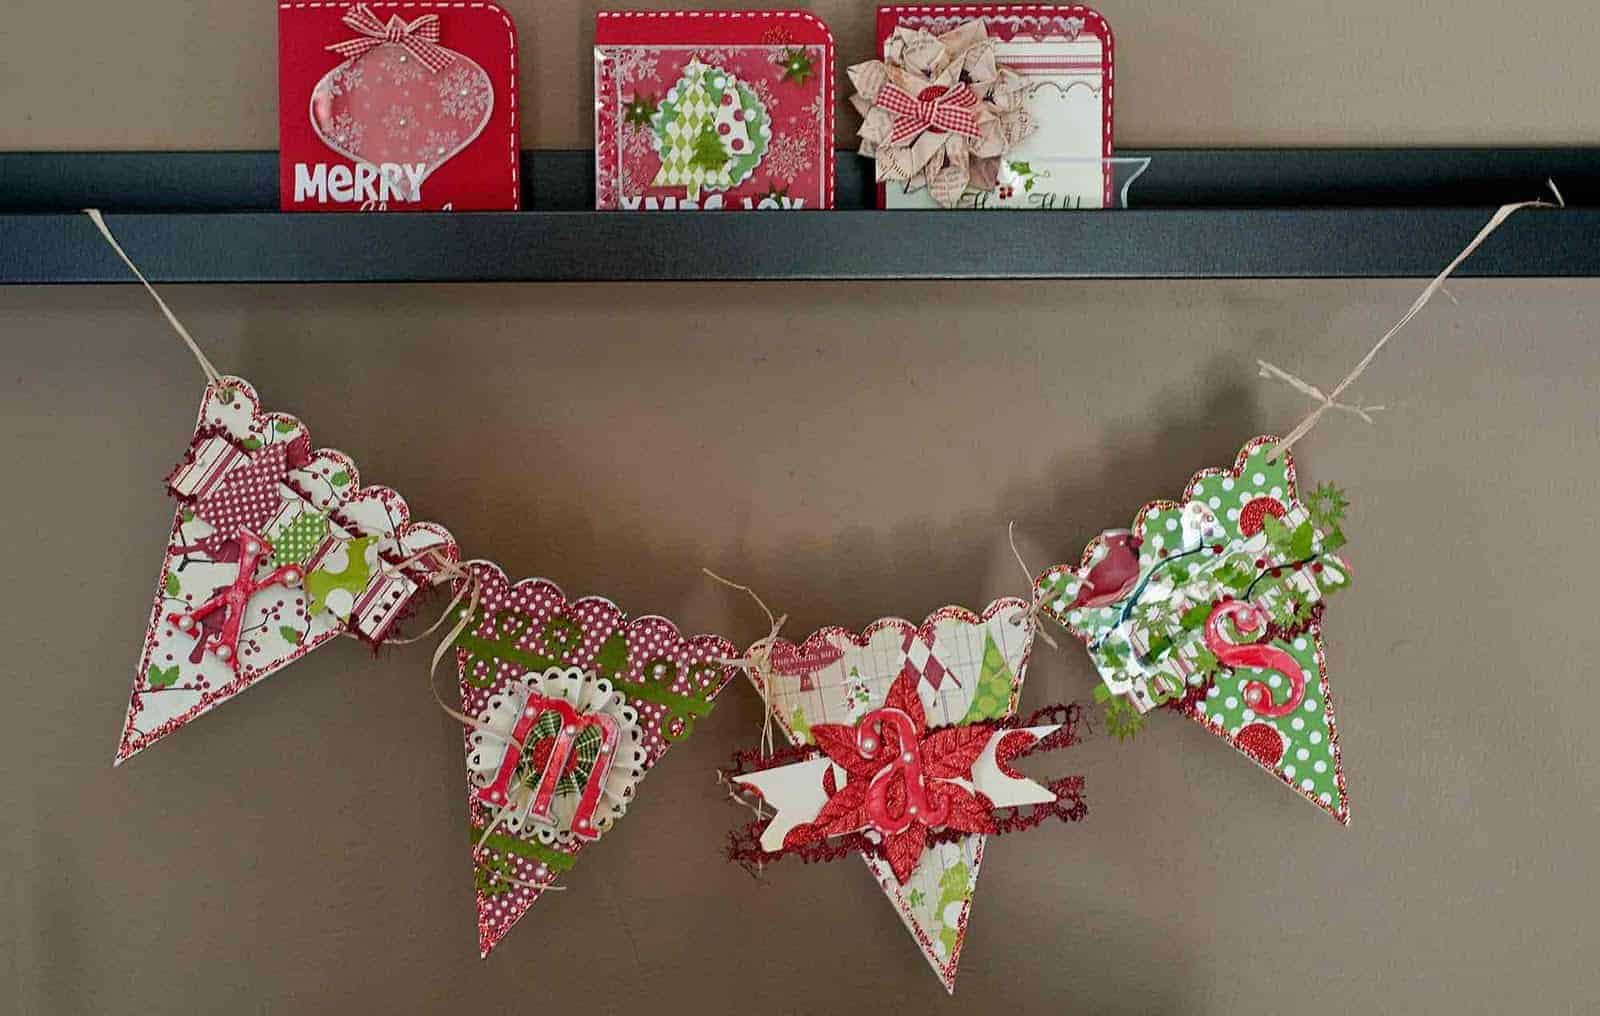
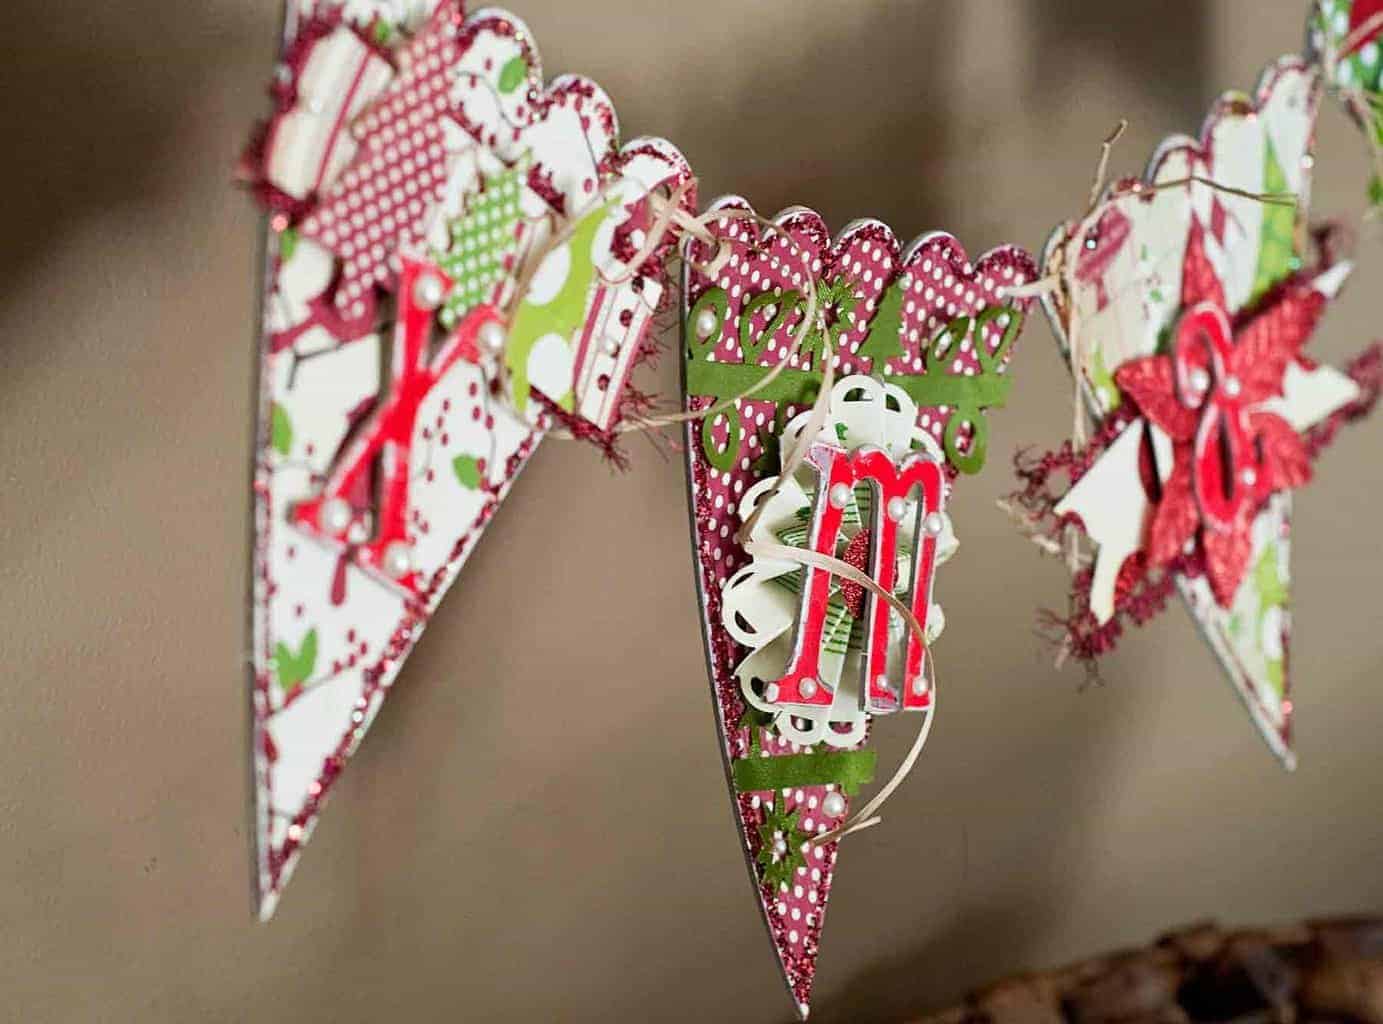
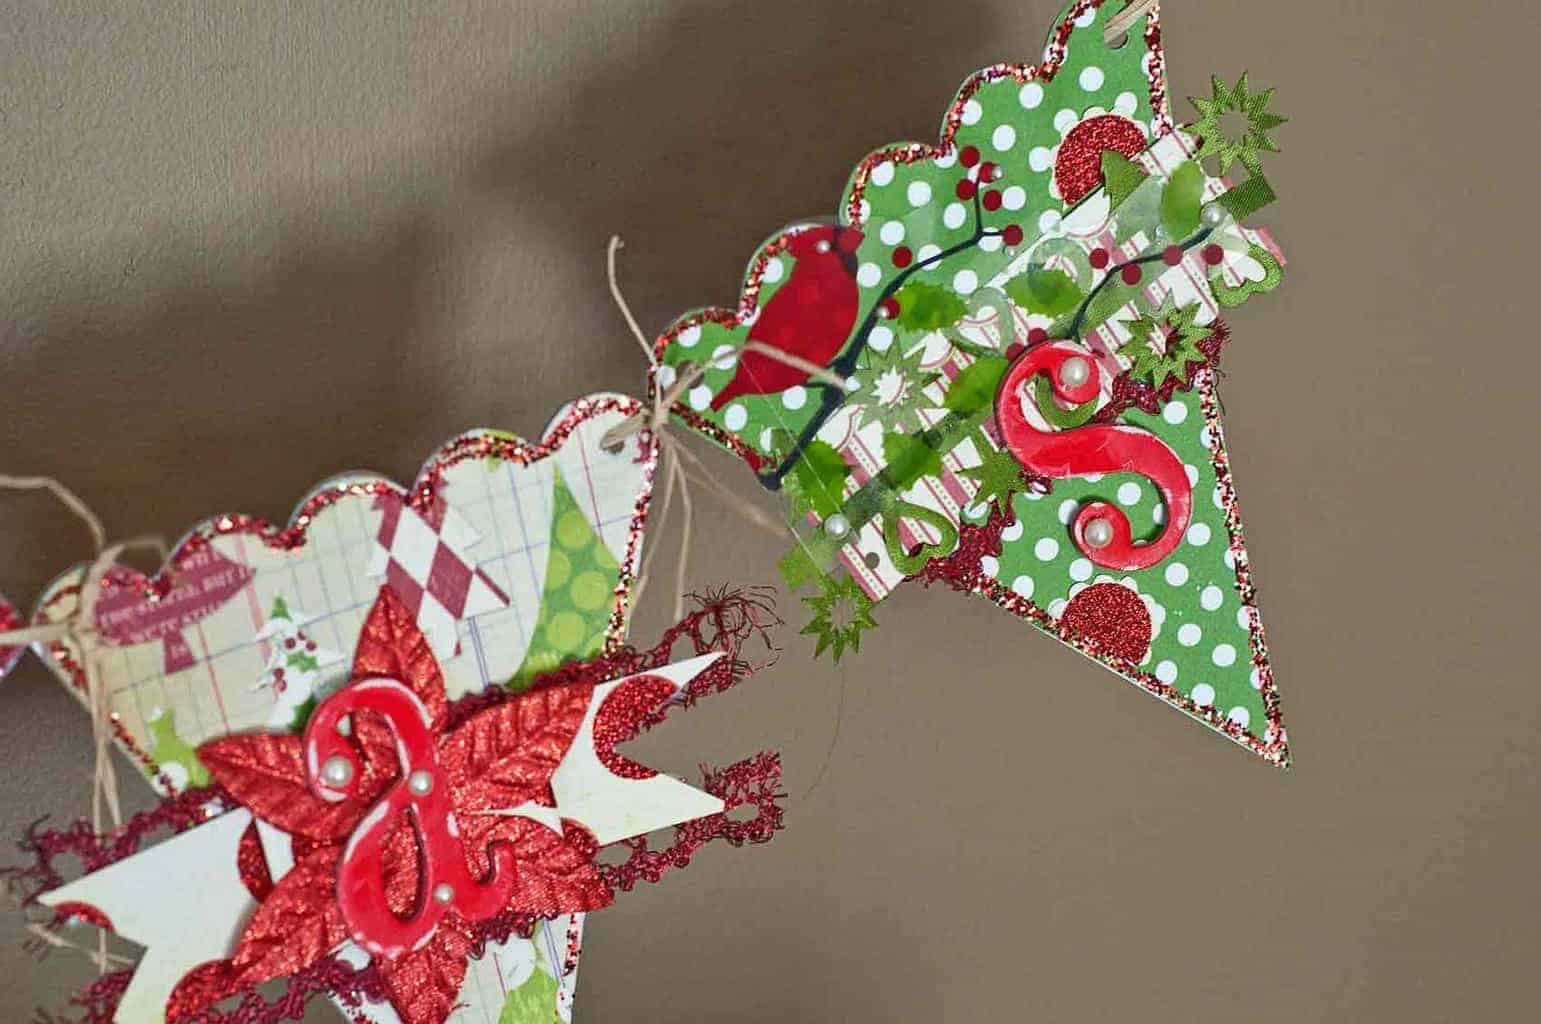
Underneath that, I have an IKEA frame shelf, which I emptied and filled up with some homemade Christmas cards. And underneath that, I simply hung a Christmas banner that I created with my scrapbook goodies.
This is the end result – I'm loving it!
To save some time, you can always use your die cutting machine to cut out your squares for you – especially if you are planning on making more than one of these stars.
A die cutting machine is really handy if you want to cut out some chipboard flags for your banner as well.
Conclusion
Creating a 3D Christmas star out of paper is an easy and fun way to decorate your home for the holidays. With just a few simple materials, you can make your own unique star in no time!
Now that you have your home ready, it's time to start thinking about making your Christmas table decor so you don't leave everything till the last minute.
Christmas can be such a hectic time of the year, but with some planning and creativity, you can make this holiday season extra special.
Start by gathering materials like fabric, ribbons, ornaments, and twinkle lights to spruce up your table.
With these tips and ideas, you'll have all your friends and family feeling merry and bright in no time!
If you have enjoyed this paper craft be sure to see our list of the best 3D paper crafts for more ideas and inspiration!
Pin This To Access the Instructions Later
Leave me a comment:
- I would love to know what you are making this year for Christmas – please share your crafts in the comments below.