Weeding is difficult for some, but for others it is fun. Some crafters say weeding is their stress reliever but to others, it is a stressful nightmare.
Weeding is easy if you are dealing with big designs and letters but what if you have tiny letters with lots of flourishes, it can be a little tough and frustrating. Well, that is, unless you know about this weeding hack.
So today, I wanted to share a handy technique that will allow you to easily weed tiny letters, flourishes, or fancy letters on your design. It is called reverse weeding.
But first, before we hop into this tutorial to teach you how to reverse weed, let's just look at reverse weeding basics.
What is Reverse Weeding?
To understand reverse weeding, you need to understand what normal weeding is. When we weed vinyl, we remove all the excess and extra vinyl that we do not need.
So essentially we only leave behind our vinyl decal. Once we have our vinyl decal, we use transfer tape to move it from the backing sheet to the new surface.
Now reverse weeding just reverses these steps. So we start from the back. FIRST, we apply transfer tape to the vinyl (before we even weed any vinyl at all). Then once the vinyl is on the transfer tape, we weed away the excess vinyl.
When Should You Use Reverse Weeding?
I reverse weed when I am doing designs with either tiny (or thin) letters when it has fancy flourishes or intricate details.
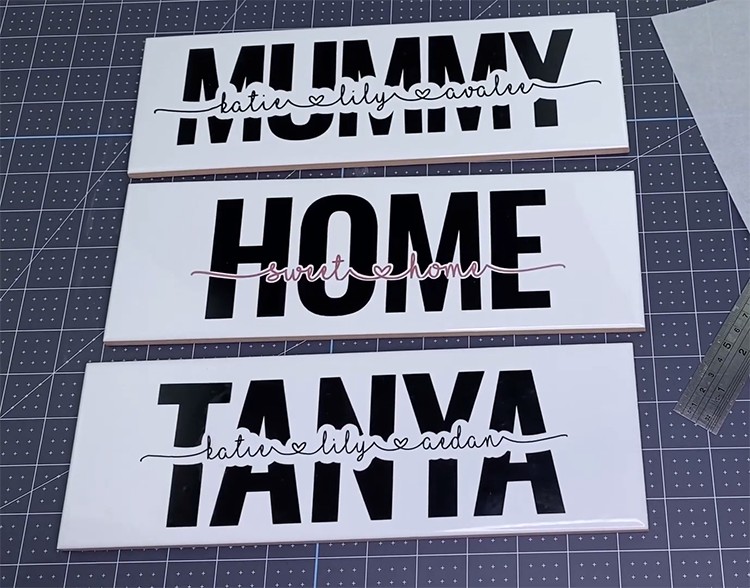
On these tiles above, I just normal weeding for the big chunky letters – ‘Home', ‘Mummy' and ‘Tanya' and then did reverse weeding for the tiny, fine letters with the flourishes.
Why Should You Reverse Weed?
To save you frustration! It is so hard to weed vinyl and leave behind teeny tine fine details. And then it is even harder to get the transfer tape to stick to that teeny tine small surface to transfer it over.
It only makes sense to instead apply the transfer tape and transfer ALL the vinyl and then weed the design on there.
Tip 1: Use Good Quality Adhesive Vinyl
Take note that it is important to have good quality vinyl as crappy vinyl is harder to cut, weed, and transfer. You will save yourself A LOT of frustration simply by purchasing vinyl that is easy to work with (trust me, some are a nightmare to craft with!).
Fortunately, I have tried all the top brands and the top bundles from Amazon to find the ones that are easy to work with. Find the best adhesive vinyl brands here and where can you buy them.
If you are new to the world of adhesive vinyl, you will also find this post helpful as well. The best adhesive vinyl tools to make crafter's lives easier.
Tip 2: Use the RIGHT Type of Transfer Tape
Now, you can have the best vinyl in the world to work with, but if you buy crappy transfer tape, or you buy transfer tape that is designed for other types of vinyl, then you will get super frustrated when it comes to transferring your design.
Either your transfer tape just won't stick …. no matter how much you give it a good scrape, OR it just won't release the vinyl when you want to apply it to the new surface.
So to save you some frustration, we have compiled a list of not only the best transfer tape but also detailed which transfer tape matches what kinds of vinyl as well. See our transfer tape comparison guide here.
Reverse Weeding Adhesive Vinyl Supply List
Find below the steps to follow in order to do the reverse weeding method effortlessly and flawlessly.
Supply List
- Oracal 651 Adhesive Vinyl (or your choice of adhesive vinyl)
- Transfer tape (Find the best transfer tape to buy in our post here)
- Cricut StandardGrip Cutting Mat
- Cricut Weeding Tools
Tutorial: How to Reverse Weed Adhesive Vinyl
This is easier than you think. Simply follow the steps below to add this new technique to your craft tool belt.
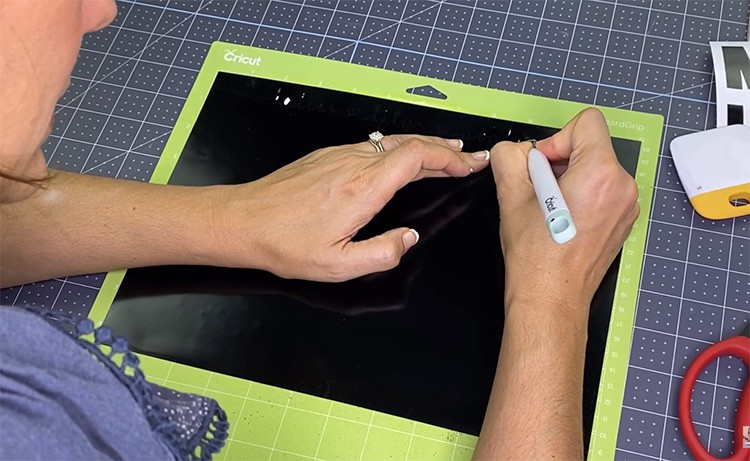
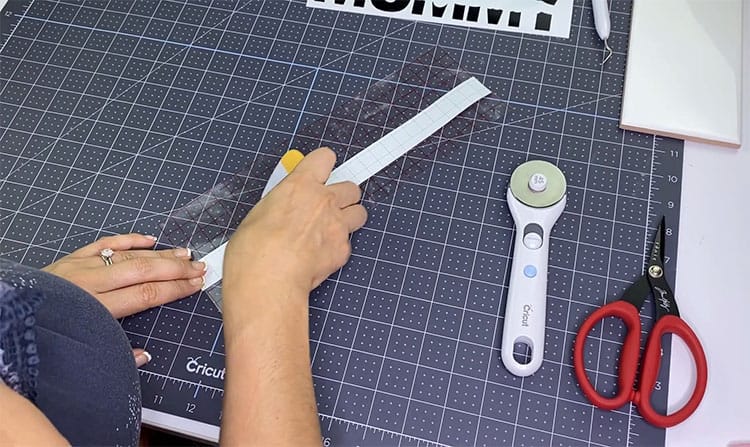
- Cut the vinyl exactly the size of the text.
- Remove all the insides of the letters using your weeding tool. You can also do this step later, but I find it easier to do before I apply the transfer tape. (Tip you can use a BrightPad for this step – here is a great post on the benefits of using a light box to weed vinyl).
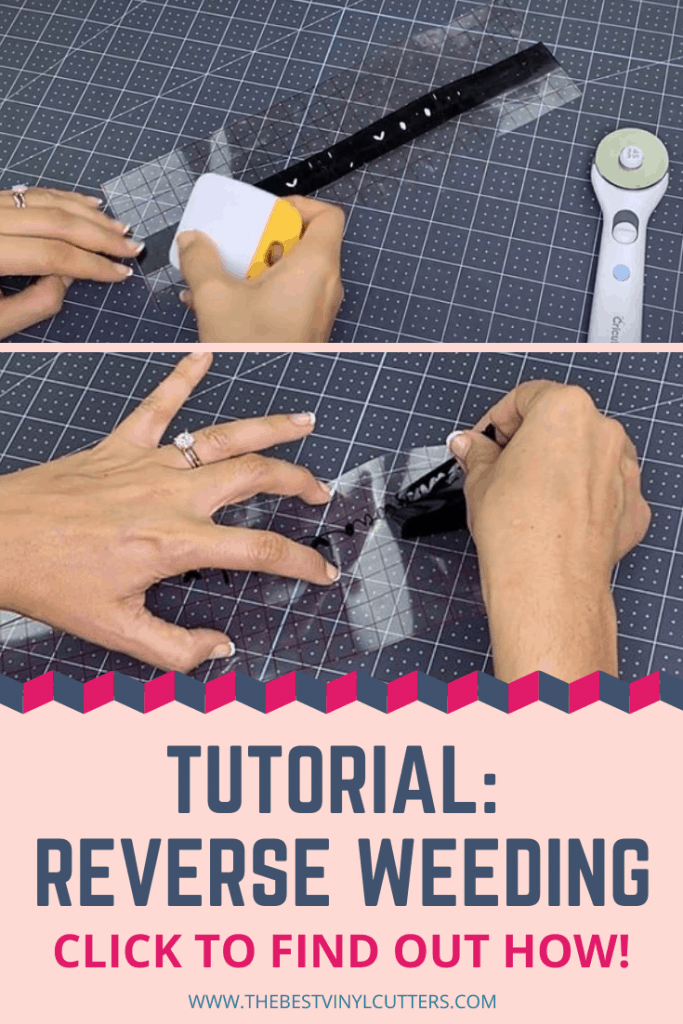
- Cut transfer tape big enough to fit your text and stick it on top of your vinyl.
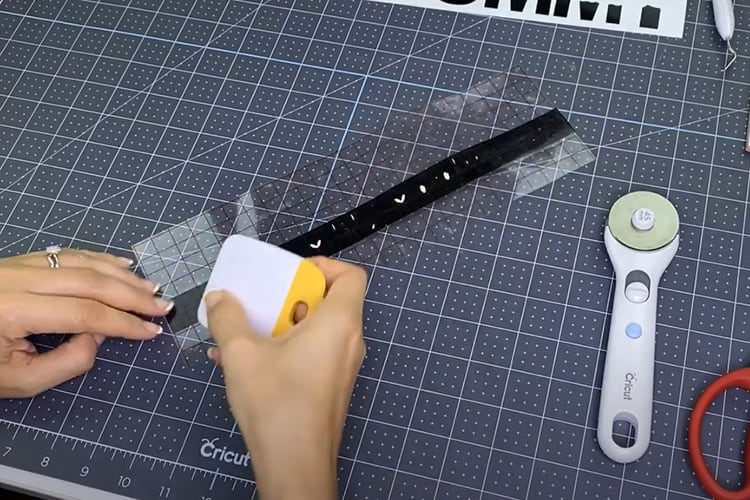
- Rub the front and back of your vinyl using the scraper. Here we are trying to make sure that the tiny letters will stick to the transfer tape properly.
- Peel off the vinyl backing, leaving the block of vinyl on the transfer tape.
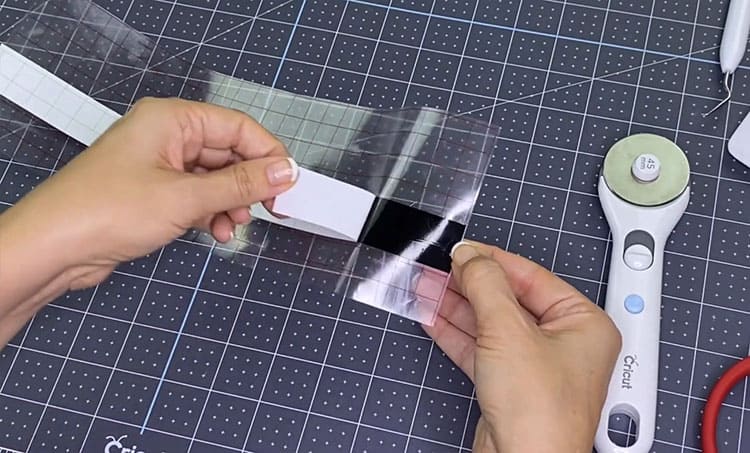
- Peel off the excess vinyl around the text carefully. If the vinyl won't stick, use your scraper again to rub the front and the back of your vinyl or lift up the vinyl carefully with the help of your fingernails.

- The text is now on your tape and ready to be transferred to your new surface. Simply layed the transfer tape on your new surface (I applied mine to a tile) and use your scraper to ensure the decal sticks properly.
- Slowly peel away the transfer tape.

And now you know how the reverse weeding technique works, so simple isn't it? So you are ready to tackle all of those decals that have tiny letters with fancy flourishes.
Do you have other techniques that you can share with us? We would love to hear from you 🙂