Are you trying to figure out how to clean your Cricut mat?
Cricut mats are expensive to purchase and if you have a few basic supplies on hand, you can easily and quickly clean up and restick your mat in no time at all!

This article will show you how to clean and restick your Cricut mat, which will ensure that it lasts for a very long time. It is important to note that the cleaning process will depend on whether you have the older style Cricut Mats (they have flowers on them) or whether you have the new Cricut Mats.
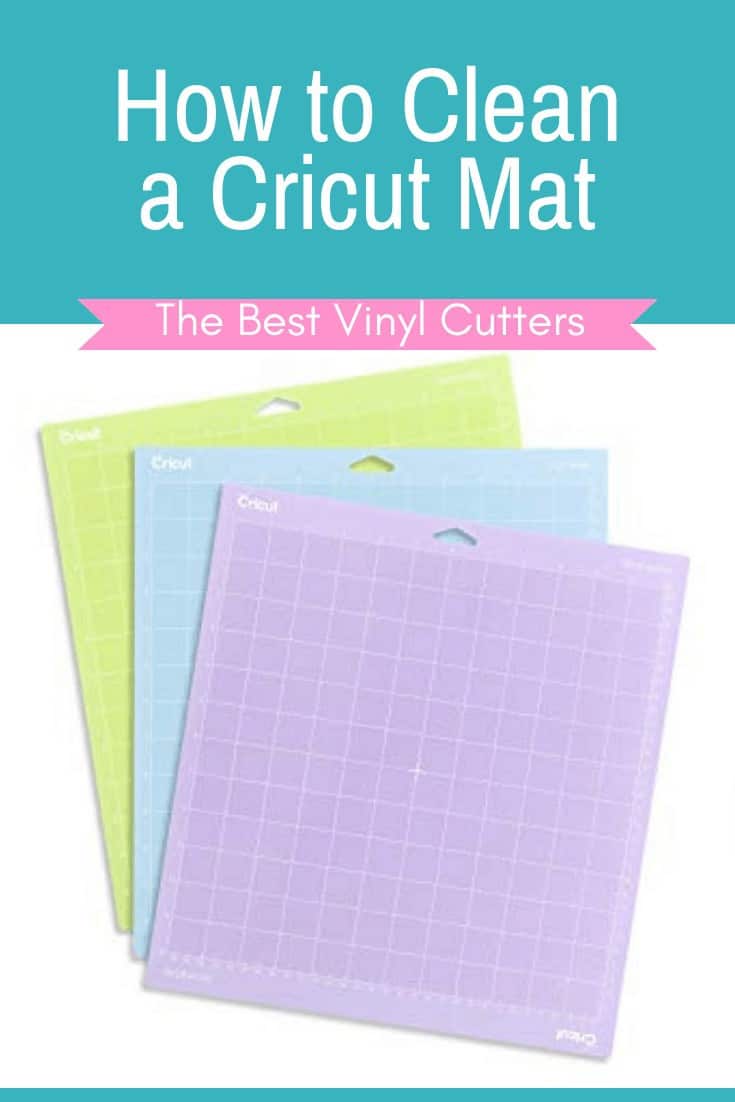
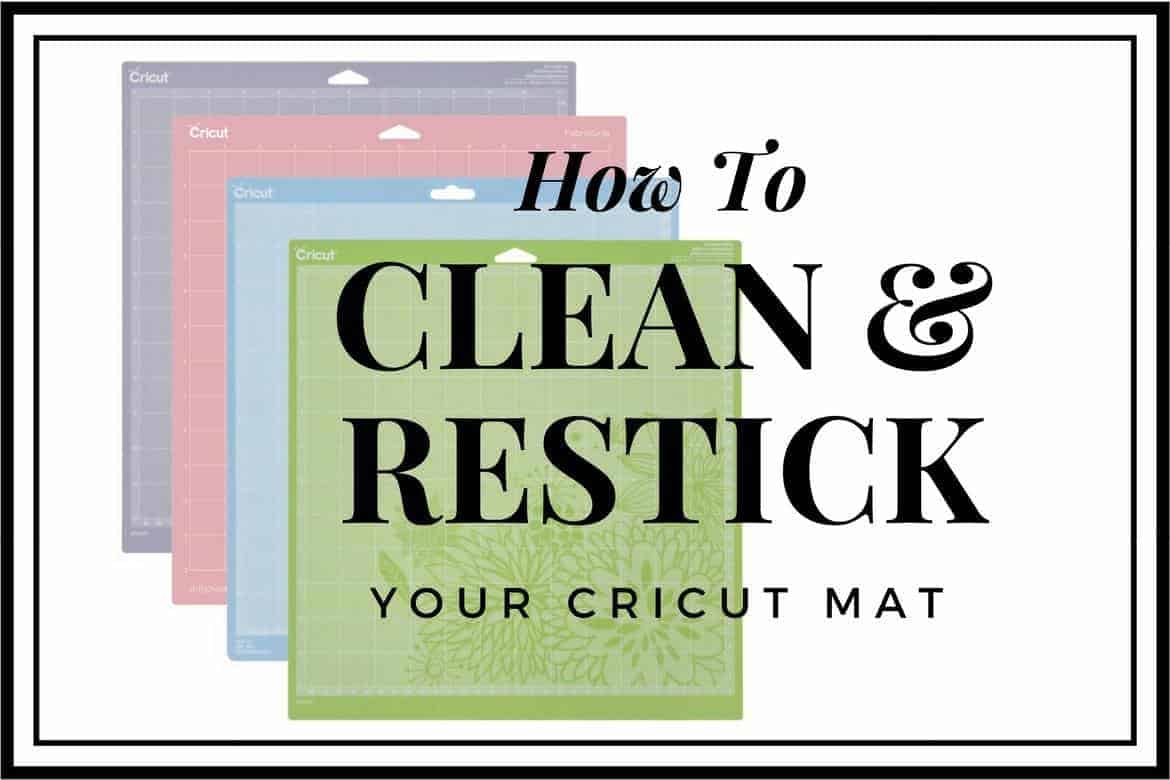
You can get also get away with a harder clean on your stronger adhesive mats (green and purple) in comparison to your lighter adhesive mats (pink and blue).
Below you will find the following two sections:
- How to Clean a Cricut Mat and Remove Residue with a Spray
- How to Restick your Cricut Mat
Note: You might find that your mat is clean and sticky enough after step 1 and that step 2 is not necessary at all.
Second Note: Whilst it is heaps cheaper to simply clean and restick a Cricut Mat, you might be breaking your warranty by doing so.
If you want to play it safe, you might simply want to invest in a new Cricut mat altogether. (or if your machine is out of warranty anyways, simply go ahead and clean away).
Of course, you always have the option of investing in a new Cricut machine altogether (if you happen to have lots of $$$).
Essential Cricut Mat Cleaning Supplies for the New Mats:
- Lint Roller
- Soft Toothbrush
- Blue Dawn Dish Soap
Essential Cleaning Cricut Mat Supplies for the Old Mats:
- Cricut Cutting Mat (of course)
- Paper Towels
- Scraper
- Blue Painters Tape
- Cricut Mat Cleaner – We love both the Goo Gone and the Totally Awesome Sprays
- Adhesive Spray – We love the Loctite 100 Repositionable Spray Adhesive
–
How do you Clean a Cricut Mat? [Steps for the NEW Mats]
Find below some quick info on how to wash a Cricut mat. You can find instructions for the old mats below this section.

1. Remove the Build-up of Residue
Before doing a heavy clean on your mat, you can simply if a simple quick clean will be able to do the trick. We often give our mats a quick once-over with a lint remover.
2. Can you Wash Cricut Mats? YES!
Are your mats still grubby? Try out a popular way of cleaning them by using the blue Dawn dish soap with some warm water. First, try out a soft toothbrush and move in circular motions to try and remove the residue, if that doesn't work you can try to use a scraper (but don't scrape too hard or you might remove the adhesive).
When you are happy, simply hang up your mat to air dry and it should be sticky again.
Steps on How to Clean a Cricut Mat [For the OLD Mats with Flowers]
Find below some quick and easy Cricut cutting mat cleaning tips and techniques for the older-style mats. You can also try these steps for the green mats if the previous steps didn't work for you.
1. Remove the Build Up of Residue
The first thing to do when cleaning a Cricut Mat is to remove the left debris and residue that is currently stuck to your mat.
- Grab your cleaner spray and give your mat a good spray.
- You can then use a Cricut scraper to scrape the cut pieces of the mat so there is no residue left.
- Simply use a paper towel to wipe away all the yucky residue.
- Rinse your mat off with soapy water.
- Let it air dry for a bit.
It is important to note that your mat might still be sticky after this process. If it is, we recommend that you skip the next step.
You can test the stickiness by simply popping paper onto the mat and seeing if it has a good hold.
Recommended Cutting Mat Cleaner that you can use for the Cricut Mat
- Click here to grab the Totally Awesome Spray. How to clean the Cricut mat with Awesome Spray? If you choose to use this spray, we recommend that you don't leave the spray to soak for too long on your mat as it might strip away all the stickiness.
- Click here to grab the Goo Gone spray. If you use this spray, you want to let the spray soak for 10-15 minutes before you scrape it off.
We love and use both of these sprays, so it doesn't matter which one you pick. You might even have one of them in your house already.
Here is a helpful video to show you how to clean a Cricut Cutting Mat:
How to Make a Cricut Mat Sticky Again
If your mat feels as if it has lost its stickiness after cleaning, you can apply more adhesive to the mat.
You will want to make sure that the adhesive you choose to use is a repositionable type, please stay away from the permanent bond sprays.
We love and always use the Loctite 100 Repositionable Spray Adhesive.
Find below our quick steps for how to restick a Cricut Mat:
- So once your mat is dry, use your blue painters' tape and tape off the edges of the mat. This is an important step that will prevent any adhesive from getting onto the edges, which may interfere with the rollers of your machine.
- Give the mat a quick light spray – don't go overboard here! Hold the spray about a foot away and just lightly mist over the top of the mat.
- Let the mat air dry for around 10 minutes.
- Remove the tape.
Is your Cricut Mat too sticky? – also helpful for new Cricut Mats:
When a Cricut mat is extremely sticky, it would be a good idea to condition the mat.
You can condition the mat simply by patting your hand all over the mat. Conditioning is important as thinner paper tends to tear or wrinkle easily when you struggle to remove it from the sticky mat.
Cleaning and taking care of your Cricut mat will keep you from having to buy a new one after every project. These mats are simple to clean and care for.
Use the simple steps above and you will be able to use a lovely and clean Cricut mat for your next project.
We hope you enjoyed our guide on how to clean Cricut mats. You can find our whole entire Cricut Machine Resource Hub here.
